
Because of our, euphemistically put, shared history, kroepoek (Indonesian shrimp crackers, the Indonesian spelling is kerupuk or krupuk) is very common and very popular in the Netherlands. You can buy it at every supermarket and ‘Chinese/Indonesian’ restaurants sell large rectangular sheets of kroepoek with their take-out food. Many of my countrymen are probably not even aware that they contain shrimp and I’m sure the vast majority does not have a clue how kroepoek is made.
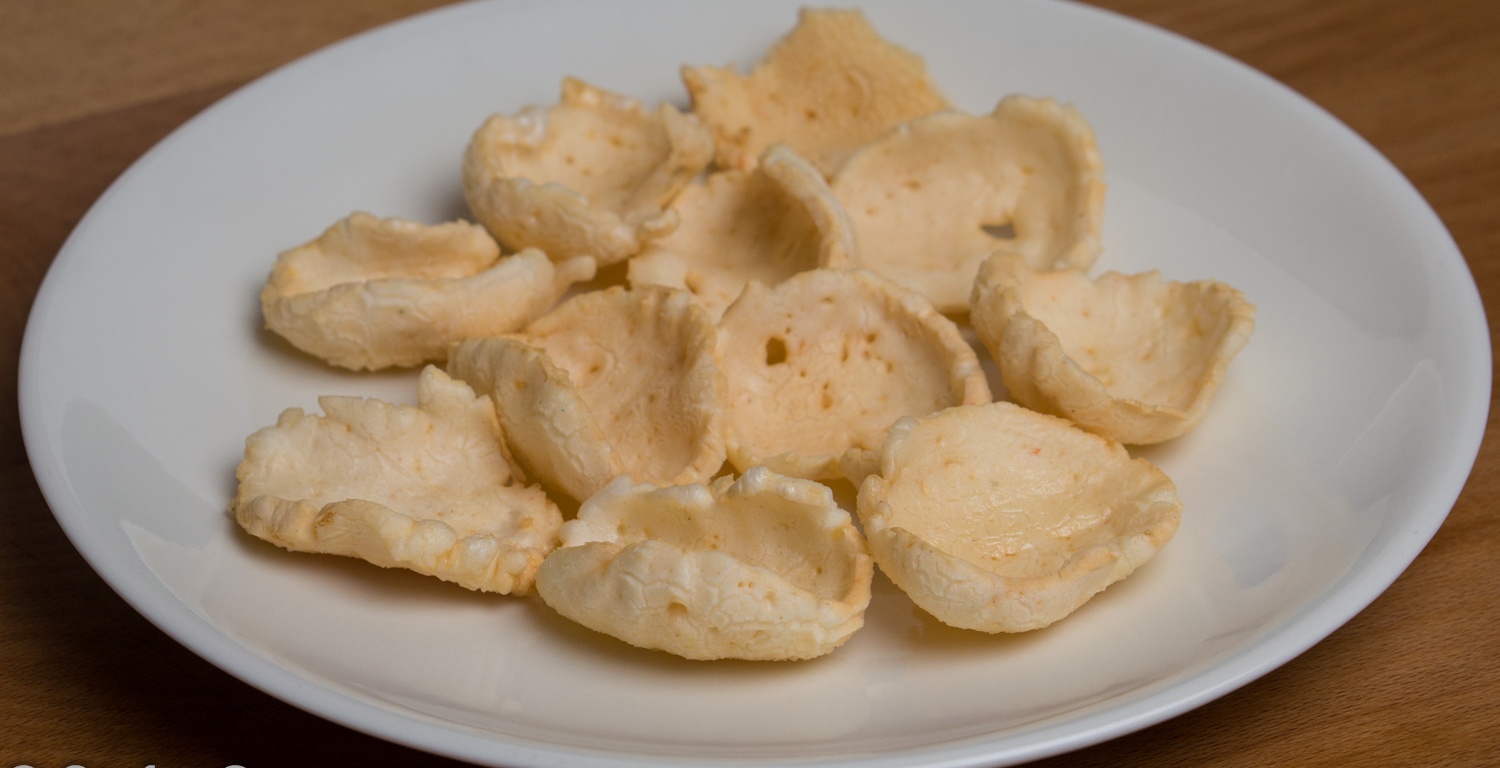
To make krupuk, you start with a paste of shrimp, salt, garlic, and optional other flavoring. With this paste you make a dough using tapioca flour. The dough is then steamed until it is cooked through, then sliced thinly and subsequently dried. Traditionally this step is performed in the Indonesian sun, but an oven or dehydrator works just fine as well. Finally the dried pieces are deep-fried so they will expand and crisp up. You can see on the photo that they expand quite a bit and curl up a little.

It is a bit of work, but the result is great. This homemade kroepoek has much greater depth of flavor than the store-bought stuff, probably because I’ve used twice the amount of shrimp (there is only 18% in the commercial version compared to about 36% in mine). Instead of using MSG (E621) I’ve used fish sauce, which is its natural counterpart. It takes some skill to get them as crispy as the store-bought stuff, as you have to slice very thinly and cook at just the right temperature. I’ve looked at some online recipes to figure out the recipe, with this blog post as the most helpful.
The dried slices can be stored in an airtight container for a pretty long time, so you can make a large batch on a rainy day and then deep fry them to have fresh shrimp crackers in a couple of minutes whenever you want.
Ingredients

For the dough
200 grams (7 oz) shelled and deveined shrimp
about 200 grams (7 oz) tapioca flour/tapioca starch
2 cloves garlic, chopped
1/2 tsp salt
1/2 tsp freshly ground white pepper
1 Tbsp fish sauce
For frying
2 litres (2 quarts) vegetable oil
Preparation

Put the shrimp, garlic, salt, pepper, and fish sauce in the blender…

…and blend…

…to obtain a paste. You may need a bit of water to get things going, which you will need to compensate later on by adding more tapioca flour. If you are a traditionalist, feel free to make the paste with pestle and mortar 😉

Use a stand mixer fitted with the paddle attachment to mix the shrimp paste with the tapioca flour until the dough comes together.

Switch over to the dough hook and knead until the dough is smooth, 5-10 minutes. You may need to add a bit more tapioca flour. The dough needs to gather around the hook and obtain a consistency similar to that of fresh pasta dough.

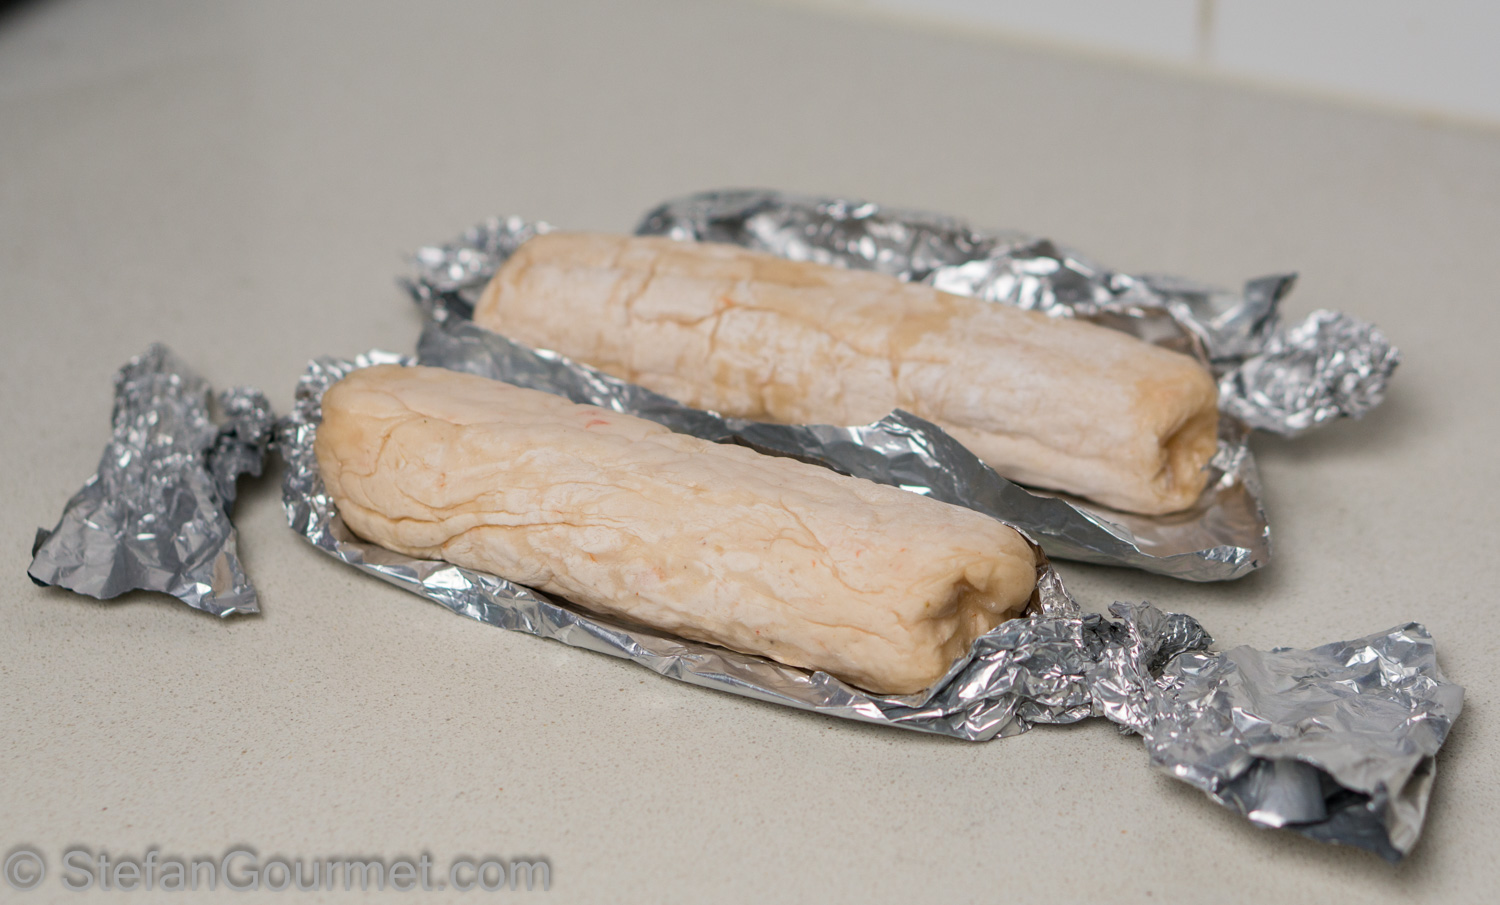
Shape the dough into cylinders with a diameter of about 4 cm (1.5″).

Wrap them in a banana leaf or in aluminum foil (so they won’t get wet) and put them in a steamer.

Steam for 1 hour, or until cooked through.
Allow to cool.

With a very sharp knife or a mandolin, slice as thinly as you can.

Arrange the slices on a wire rack in a single layer. It is okay if they touch just a little. They may stick together, but I could easily separate them again.

Dry in the sun for a couple of days, or in the oven at 70ºC/160ºF for about 12 hours with a wooden spoon wedged between the oven door to keep it ajar.
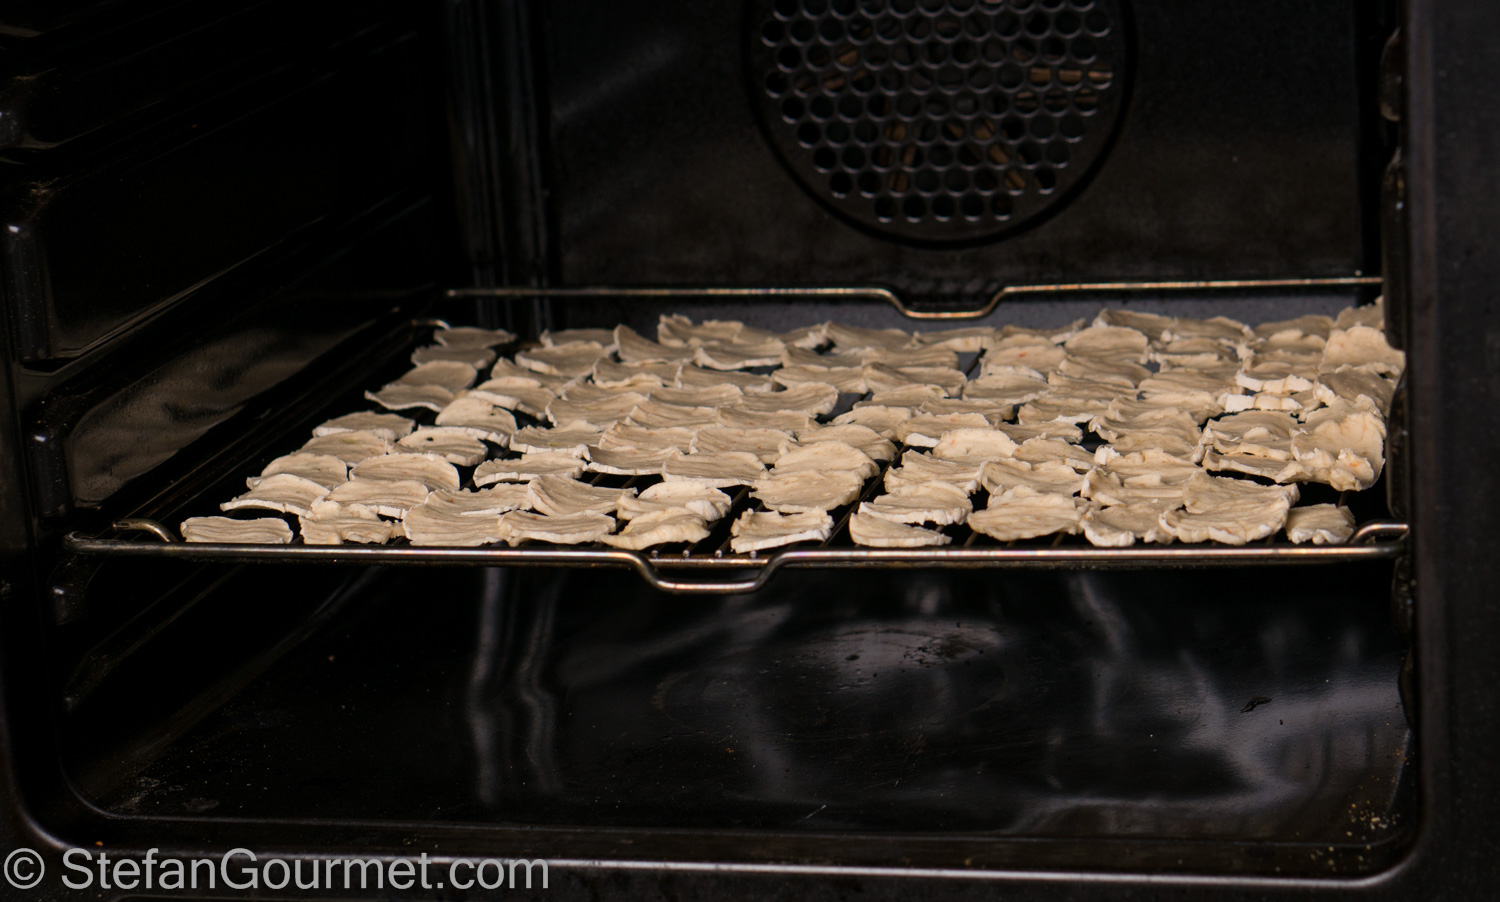
The slices should become completely dry.
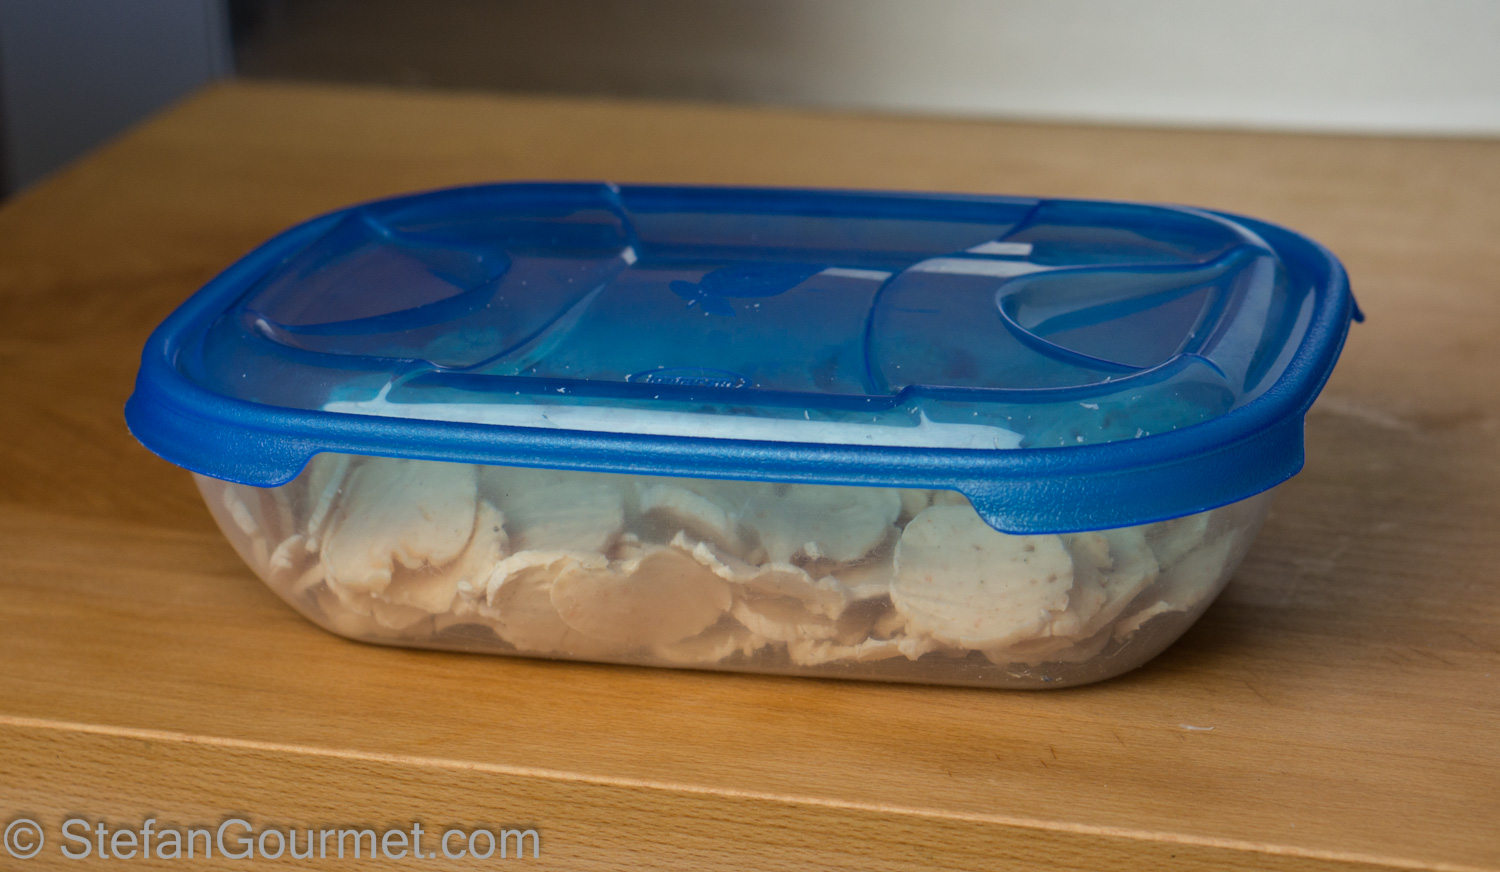
Store in an airtight container until you are ready to fry them.

Heat the oil in a wok until it is 190ºC/375ºF.

The temperature of the oil is important for the kroepoek to expand properly. This is what happens at 190ºC/375ºF, which is how it should be.

My first try was at 180ºC/350ºF…

…and then the kroepoek didn’t expand as much and wasn’t as crispy.

When the oil is the right temperature, drop in a handful of dried slices. Do not fry too many at once, as otherwise the oil temperature will drop and they won’t expand properly.

Soon they will start rising to the surface…
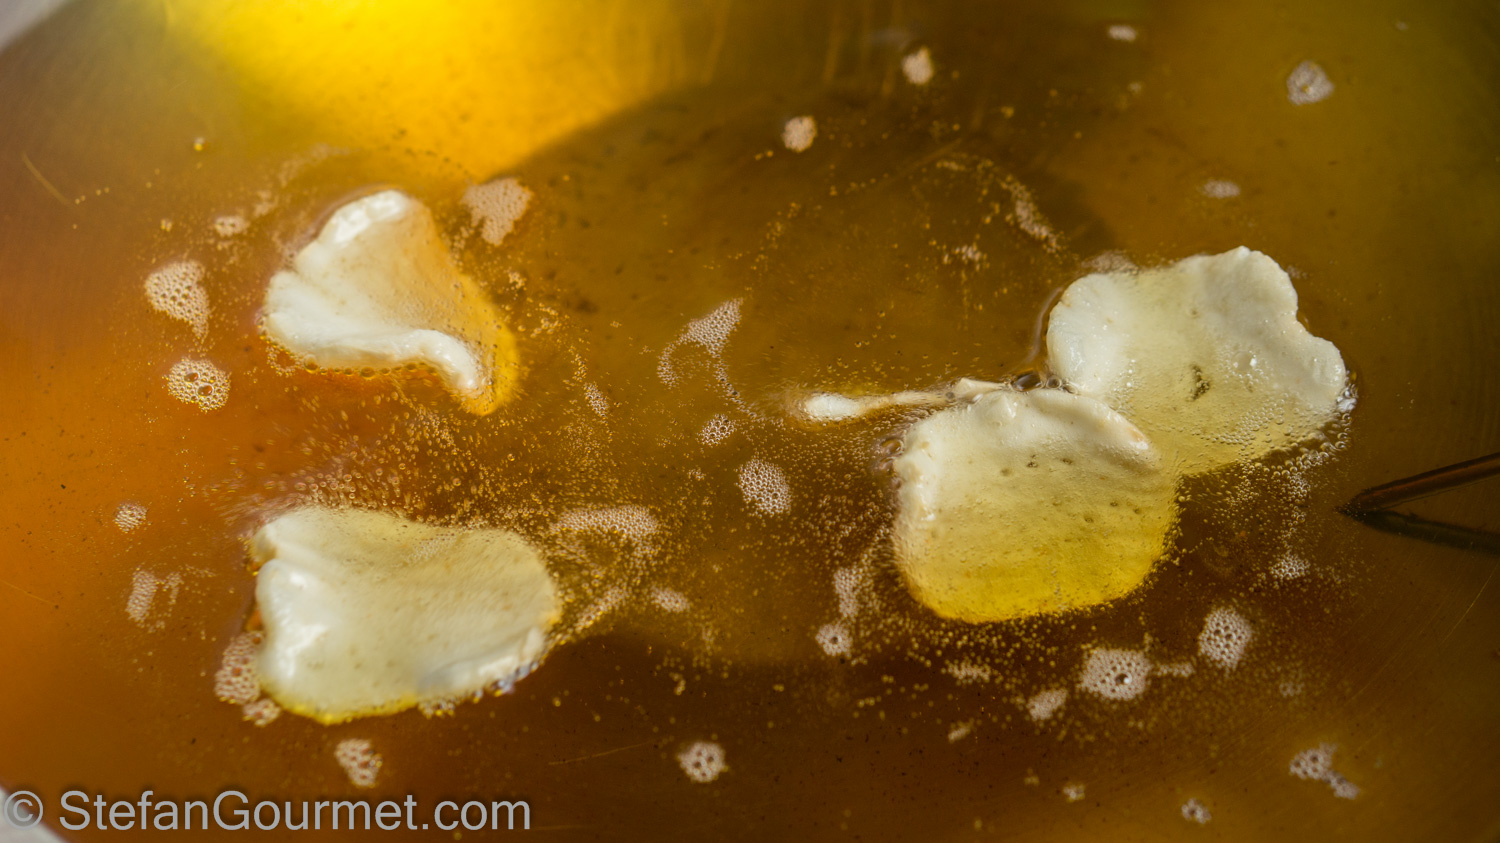
…and expanding.
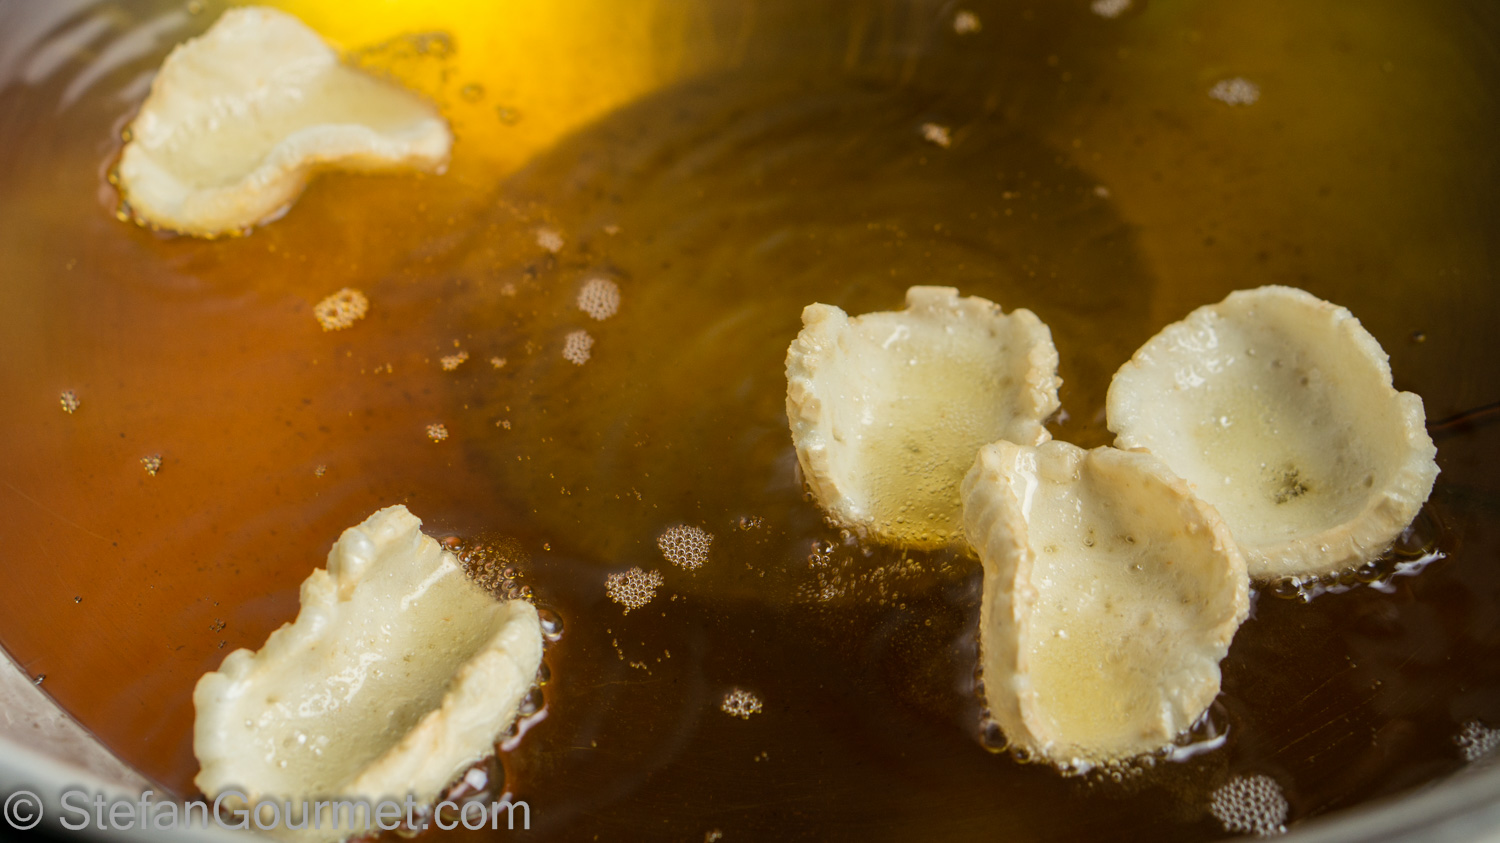
They are done as soon as they are floating, which takes less than a minute.

Lift them out of the oil with a strainer, and allow to drain on paper towels.
They are usually eaten at room temperature, but I like them warm, too.
Flashback
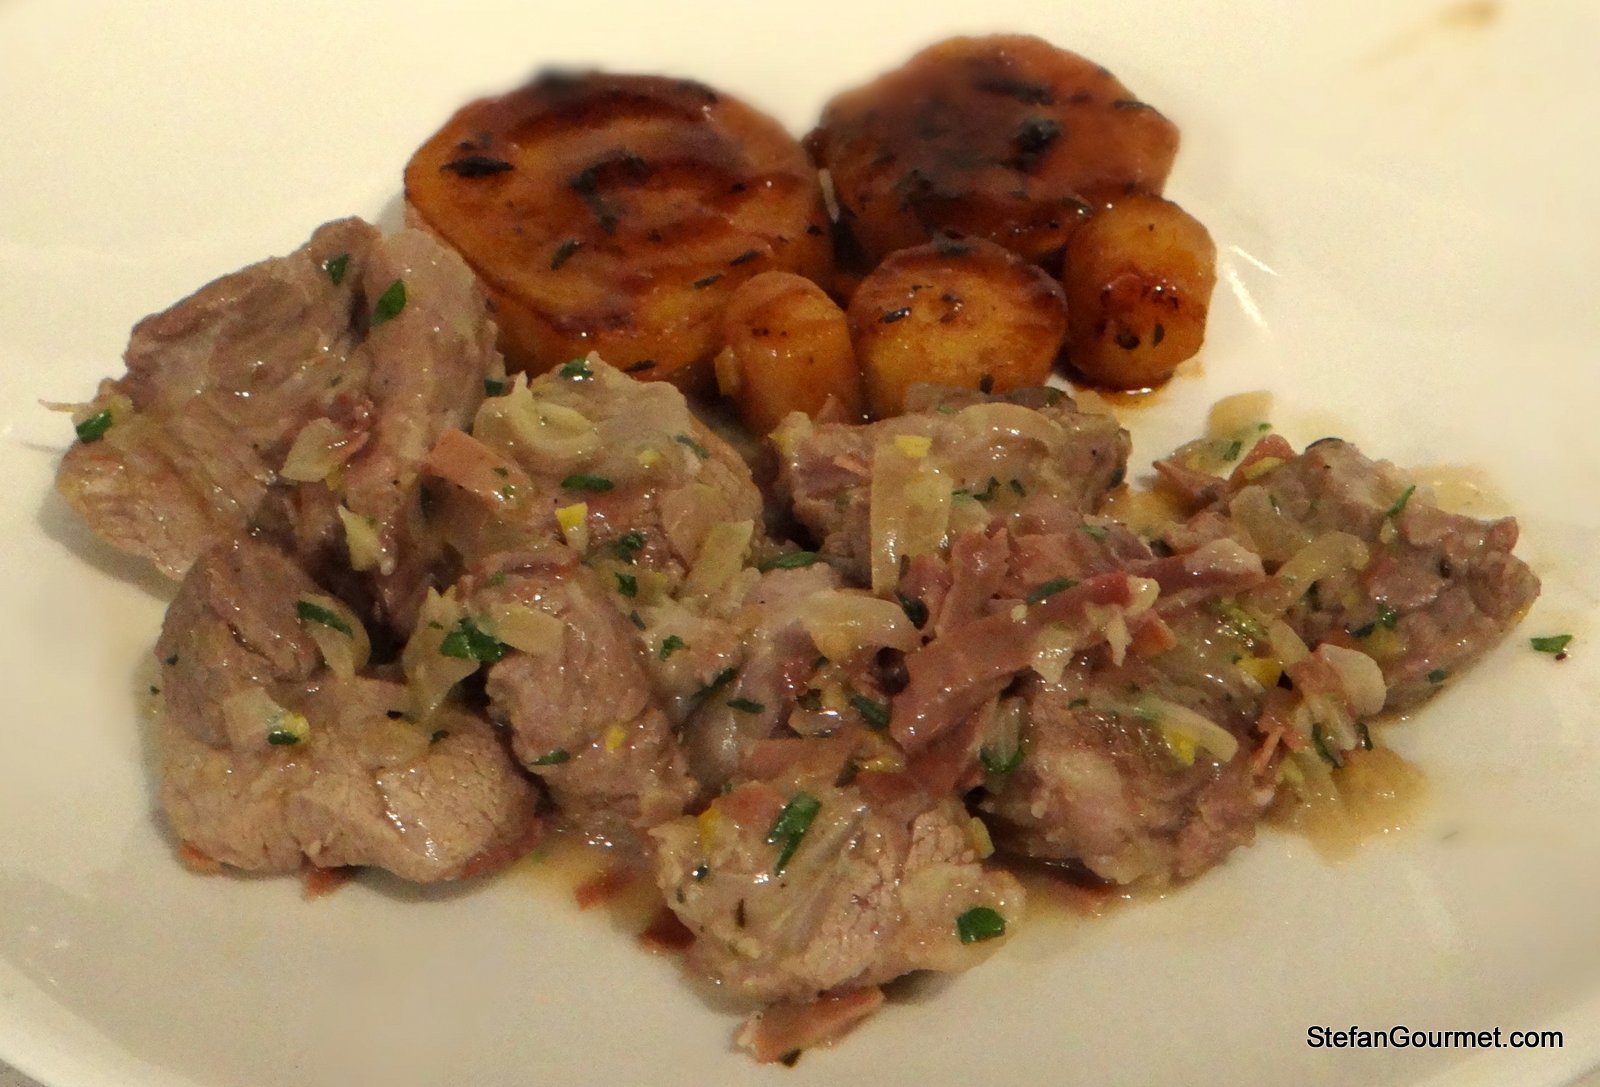
If you love lamb but you don’t like red wine as much, then preparing lamb with a lemon-egg sauce is a great idea as this dish pairs wonderfully with white wine.


Masterful Stefan. Last week, I threw a bag of the store bought ones in the bin. They were pretty awful. Yours look excellent. One thought, would chilling them help with the thin slicing?
BTW, it’s safe for you guys to come visit Ireland now that we have voted YES!
Best,
Conor
LikeLike
The YES vote was great news indeed, although I can’t say I felt unsafe there before 😉
Chilling may have helped a little. I thought of that, but was too impatient 😉
I’m thinking of perhaps using the pasta machine to get them real thin. Not sure if that’ll work better before or after steaming.
LikeLiked by 1 person
An excuse to make them twice more!
LikeLiked by 1 person
This is wonderful – great explanation. I do love these. I wonder if they could be made with a gelatinous fish (or even squid) rather than shrimp. We have a shellfish allergy in the family and it would be nice to share this with them.
LikeLiked by 1 person
Although I haven’t tried this myself yet, I’ve seen many versions with many types of the ingredients so I’m pretty sure that fish (e.g. trout) would work.
LikeLike
Al primo sguardo avrei pensato a qualcosa di meno complicato!
LikeLike
Thank you for sharing this recipe…
LikeLike
Pazzeschi Stefan! Non mi ci proverò mai a fare questi crackers di gamberetti ma ti invidio molto. Bravissimo!
LikeLiked by 1 person
Great accomplishment and made in a close-to-traditional manner. I’ve bookmarked it as I’ve never successfully done it like this.
As the Finna vegetable crackers you find so easily in Holland weren’t available, and my ex hated shrimp, I ended up with an entirely different method that nicely complements your traditional method, and caters both for bigger sizes and various dietary restrictions such as shellfish allergy, coeliacs, vegetarians and vegans, AND you won’t need to live in the tropics or to own an oven.
Mix:
100 grams tapioca flour
150-160 ml (=150-160 grams) water
1 chilli pepper
1 small carrot
1 tsp unrefined cane sugar
1/2 tsp salt
1/2 tsp ground black pepper
1 tsp ground coriander seed
30 grams celery stalk
2 teaspoons tahini (sesame paste) or 1 tbsp sesame seeds (10 grams)
Optional: Additional veg (pakchoi, celery, etc)
Optional: Fish sauce and/or khaffir lime leaf for a more Thai touch
Blend the above ingredients into a batter.
To make the wet crackers:
– Stir the batter;
– Place about a teaspoon of batter onto the indentation of a saucer
– Cook in microwave on high for 20-30 seconds (Note: Batter should turn
to a “glue”-like consistency)
– Peel off glue disc under running water and place onto a somewhat
flexible sheet for drying (or stretch clingfilm over a dish and place it on that).
Wipe the saucer dry after the cracker is
peeled off, prior to placing new batter on it. It is suggested to work
with 2 or 3 saucers at a time.
– Repeat until all batter is used. Makes around 20-40 crackers depending
on saucer size.
– Dehydrate the crackers (will most likely take several hours):
– Place in sunlight (live in Holland or the UK? Tough luck!), or
– Inside a dehydrator (Don’t have one? Read on!)
– Place in front of a fan (RECOMMENDED!!!), or
– Place in front of a fan heater, or
– Air dry in a dry place for at least 24 hours
– When the surface of the crackers is no longer sticky, peel them
off the drying surface and flip them over to continue drying.
– Crackers need to dry enough to permit snapping them in half.
– When the crackers are dry to the touch and hard (no longer flexible)
they are ready to store.
To finish off, deep fry in hot (180°c+) oil for a few seconds.
LikeLiked by 1 person
Prior to using the microwave method, I used to steam slices one by one, which took a lot longer and wasn’t very finger-friendly. By placing the wet “crackers” in front of a fan, I’ve managed to start a batch like this early in the morning and have my krupuk fry-ready by dinner time. Steaming an entire roll of dough limits the diameter of each slice. My slice-at-a-time method doesn’t have this limitation (though your microwave would ideally have to be perfectly level to guarantee even thickness throughout). Since I use a batter instead of a dough, the slices don’t need to hold a roll-shape, which permits using gluten-free flour.
The texture of my method is easy to vary by increasing or decreasing the water content. Less water gives a more delicate, denser cracker akin to the bagged Thai crackers. More water makes things puff up more (but when taken too far, makes the crackers chewy and less crispy, similar to when the crackers don’t dry out enough).
LikeLiked by 1 person
Thanks Marc for the recipe and your detailed explanation. They will certainly be used when I am going to experiment more. I’ve also thought about using a pasta roller and parboiling the dough like you would a sheet of lasagna. That would allow for a larger size and makes it easier to get them really thin.
LikeLiked by 1 person
I’ve recently ran into glass candle dishes (for big fat candles) – they’re easy to find and have a slight edge around them. I’m sure they’ll do great for making big crackers in the microwave.
LikeLike
Thanks, good suggestion!
LikeLike
Don’t have a packet in the pantry to probably add another Western spelling 🙂 !! Am very definitely going to try your way! Not that I like deep-frying but sometimes it is the only way to go . . . . these look great!!!
LikeLiked by 1 person
Thanks, Eha. I actually weighed one piece before and after frying, and concluded that of the final krupuk about 25% is frying oil. Oh well, just don’t eat too many 🙂
LikeLiked by 1 person