
As promised in my review of sous-vide equipment, I’m going to write more about sous-vide techniques. This is the first post in a series, that will be in the new categorie “Sous-Vide tips & tricks“.

In cooking we often strive to combine a tender and juicy interior with a crispy and flavorful crust, which is an irresistible combination. Sous-vide is a great way to cook the inside of a piece of meat, making it perfectly tender and juicy, but it doesn’t provide a crust. One of the options for putting a crust on a piece of meat that was cooked sous-vide, is deep frying. (This technique is also interesting if you don’t have sous-vide equipment, but in that case you can only use it for a very tender steak like beef tenderloin.)
The advantages of deep frying for searing meat are that it works well for irregularly shaped pieces and that the crust is more crispy than with other methods. The main disadvantage is that you need a lot of fat to deep fry and that you have to be careful not to overcook the inside. For a larger piece of meat this is less of an issue, but for a thinner steak the core of the steak will be well done by the time a nice crust has formed.

As you can see in the picture, this relatively thin (about 2.5 cm/1 inch) piece of hanger steak is still medium rare on the inside after searing it in the deep fryer. How did I manage that? By first cooking the steak sous-vide, then freezing it, and then deep-frying it in very hot beef tallow (190C/375F). When timed just right, the crust is deep brown, crispy, and flavorful, while the inside is still medium rare. Freezing is that trick that is used here to make this possible. This post explains how to accomplish this step by step.

I started with a beautiful piece of wagyu hanger steak from local wagyu farm Het Koeienhuis. Hanger steak is a so-called ‘butcher’s cut’, a lesser known cut (in Dutch: longhaas, in French: onglet) that has a lot of flavor and can be prepared as a steak if done correctly. This means slicing it against the grain, and removing the membrane that runs through the center. It is still a bit tough when prepared like a steak. You can fix this by cooking it sous-vide for 4 hours at 55C/131F, which will tenderize the meat just enough by keeping it medium rare. (If you use beef tenderloin instead, you can skip cooking it sous-vide and go straight to the freezing part. Please note that beef tenderloin is much more tender than hanger steak, but has far less flavor. And it is more expensive.)

In this case, I removed the membrane and sliced the steak into medallions. I seasoned them with salt and freshly ground pepper.
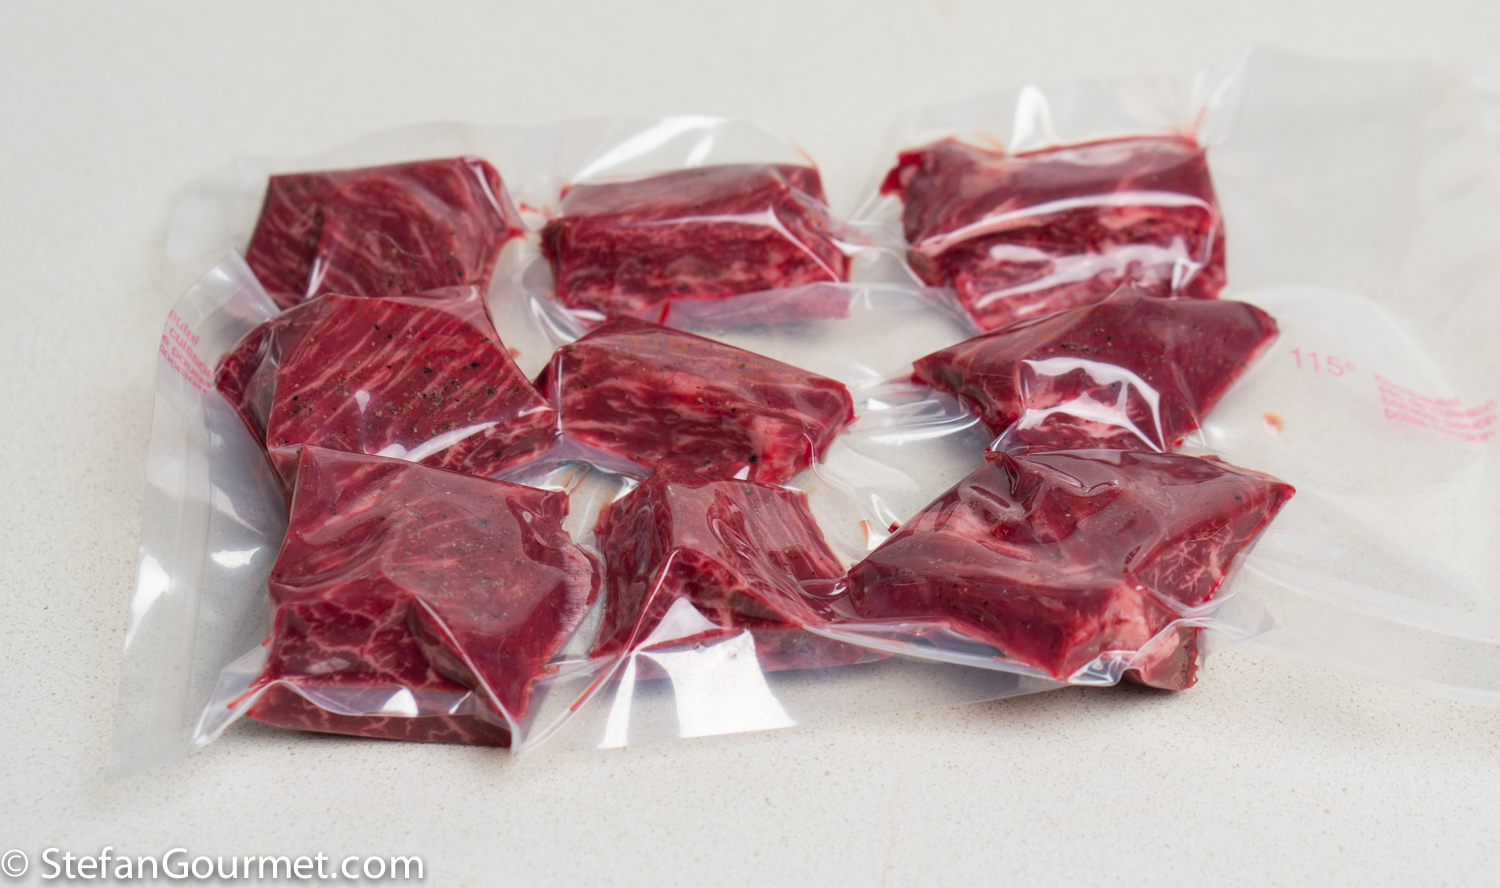
Then I vacuum sealed them.
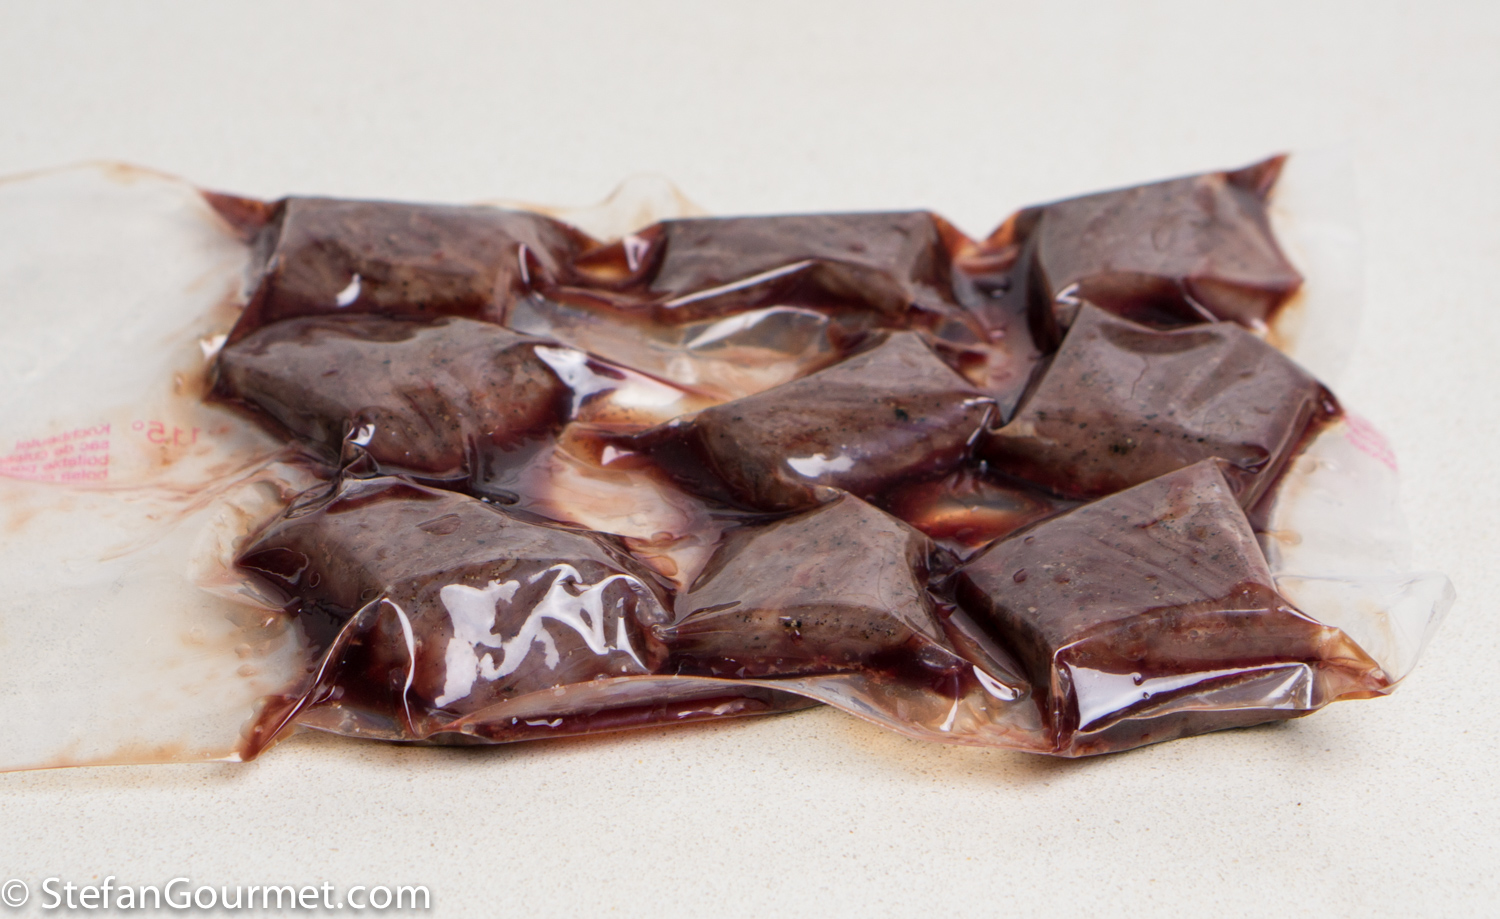
And cooked them sous-vide at 55C/131F for 4 hours.

I chilled the bag with the meat quickly in cold water (add ice cubes if needed).

Then I drained the meat and kept the juices to make a sauce.

I patted the medallions dry with paper towels.

Then I put them in a freezer bag and froze them. To freeze them more quickly, I arranged the medallions in a single layer between two cool packs that were already frozen. That way, an hour in the freezer suffices. But you could also freeze them for months if you like. Just make sure they don’t get stuck to each other. (To freeze the meat even more quickly, you could use liquid nitrogen instead if you have access to that.)

For best results the medallions should go straight from the freezer to the deep fryer. So make sure the fat is very hot (190C/375F) and that you have enough fat; I used 3 litres (3 quarts) of beef tallow. Using beef tallow for searing beef has two advantages: it gives the beef an additional beefy flavor, and it has a very high smokepoint (higher than most vegetable oils).

Do not deep fry too much meat at once, because then the fat temperature would drop by too much or the medallions would get stuck together.

I deep fried the medallions for 3 minutes.
You may have to experiment a little to find the right time. After 2 minutes my medallions were still frozen inside. After 4 minutes they were overcooked. 3 minutes was perfect.

I drained the medallions on paper towels to get rid of excess fat. Allow to rest for a couple of minutes before serving; the carry-over heat will continue to cook the inside.
Flashback

Bagna càuda is a warm dip sauce from Piemonte, made with olive oil, anchovies, and garlic and served with raw or cooked vegetables to dip.


This is fascinating! Perfect beef!!!
LikeLiked by 1 person
This works for thick cuts of meat such as beef tenderloin… while the uncooked meat is still very cold from the refrigerator pre-sear it in a very hot pan with a little oil pushing down on the meat with a kitchen towel browning all sides and ends. You can get away with this for two to three minutes only. Then sous vide, then a very quick finish in the deep fryer does the trick. I think I got this method from ChefSteps. Works great with thick burgers too.
LikeLiked by 1 person
This is a good example of pre-sear AND post-sear. I plan to do a side-by-side comparison of many searing methods and this will have to be included. Thanks!
LikeLiked by 1 person
Great technique. Very insightful.
LikeLiked by 1 person
I have been trying deep frying sous vide cooked meat myself a few times ..(i alswayys deep fry burgers whcih also is the way they do it in Modernist Cusine at home) and will atually try agian in 1 hour ( when my meat is done) This time it is some pieces of tounados. Whut i am trying is to cook the meat a few degrees lower in the sous vide than i normally would and them deep fry for only one minute which should be enough to devolop crust, but not to raise the temperature too much above my desired temperature. I have only tried it three times, but i will let you know how i goes.
LikeLiked by 1 person
Sei decisamente un uomo tecnologico!
LikeLiked by 1 person
The beef looks so mouth-watering. I think I’d like to try the freezing/frying method with some beef tenderloin that I have. Thank you for a great and interesting post!
LikeLiked by 1 person
the only thing I wish deep fryers could do is get hotter. I’m sure for safety reasons the oil can only get to 375F which isn’t hot enough for a high quality super fast sear introducing some surface overcooking. The freezing approach helps but there will be damage to the muscle fibers which might have some impact in the final texture. It’s a tough problem to solve. Still I rather use this approach because of the uniform searing and the zero smoke levels in the apartment not to mention zero oil splatter 🙂 works for me! lovely article!
LikeLiked by 1 person
Hi Paul, I think it’s not only for safety reasons but also because most vegetable oils used for deep frying become unstable above 350F/375F. Unstable is a nice way of saying that the molecules will start to break up and all kinds of toxic compounds will be created. That is why beef suet may actually be more ‘healthy’ than vegetable oil, because it will remain stable up to at least 450F.
You are right of course about freezing affecting the texture. It may be better to use liquid nitrogen to do the freezing part, but that is not easy to come by.
LikeLike
Yeah, there’s that, but I sear meat in vegetable oil. When searing, the oil will get hotter than 375 but the searing quality is better. When I deep fry on the stove I go above 400 for sure. I guess it comes down to health and based on what you’re saying, deep-frying @375F is healthier than searing or stove top deep frying. I guess I also clean my pans after every use almost all the time whereas I will use the oil in the deep fryer a few times before dumping.
LikeLiked by 1 person
I get much better searing quality and less spattering when I use clarified butter for searing meat, as compared to vegetable oil. Of course this depends on exactly what type of vegetable oil. Cleaning the pan and not reusing the pan definitely helps.
LikeLike
Clarified butter is something I need to use more. I know you’re a big fan. It does introduce a distinct flavour. A lovely one for sure 🙂 It isn’t cheap though. I wonder why it causes less spattering?
LikeLiked by 1 person
Hi Paul, you can make it yourself; 4 cups of butter will give you 3 cups of ghee. Here that would cost less than $5. It causes less spattering because clarified butter is butter from which the water (spatters) and protein solids (will burn) have been removed. Vegetable oil contains around 10% water.
LikeLiked by 1 person
Looking forward to more in this series Stefan. You have a gift for ‘debunking’ the confusing and contradictory reports.
LikeLiked by 1 person
The series hasn’t been as regular as I thought when I started it. But now that I’ve got my lighting sorted and the wine exam is out of the way, nothing should be holding me back. Looking forward to debunking brining and curing.
LikeLike
Thanks! Life has caught up with me again, but there will be more installments.
LikeLike