Whenever I have guests over for dinner I always bake this bread. Even though it’s straightforward bread, since it’s fresh out of the oven it has a great taste, texture and smell and is therefore always very well-received.
I use my breadmaker to make the dough, but use the oven to bake it for a superior crust and shape. It is not a lot of work at all to make your own bread if you own a breadmaker to make the dough for you, but you do need to consider that it will take about 5 hours from start to finish (when the bread has cooled and is ready to be sliced).
Ingredients
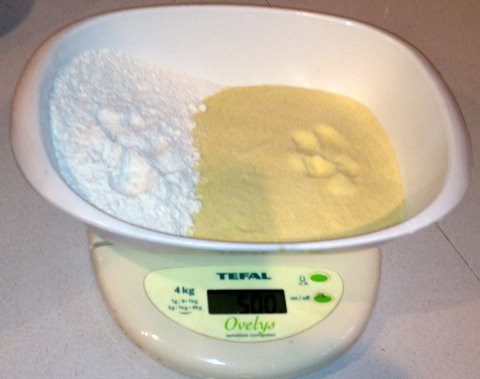 250 grams white flour for bread (Dutch: patentbloem)
250 grams semolina flour (Dutch: fijn griesmeel van de Turkse winkel)
3 teaspoons sugar
20 grams fresh yeast
3 teaspoons salt
6 tablespoons olive oil
Preparation
Crumble the yeast into the breadmaker’s bowl and sprinkle with sugar.
Then add the flour, followed by the salt, oil and water.
Use the breadmaker to make the dough, using a program that takes at least two hours. My Panasonic breadmaker is excellent because it heats the dough to let the yeast work optimally (yeast likes a temperature of 26C/79F). If your breadmaker doesn’t, use lukewarm water of approximately the indicated temperature instead of cold water.
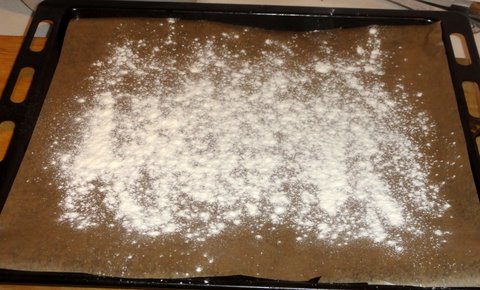
Cover a baking sheet with parchment paper and sprinkle it liberally with flour to prevent sticking.
Remove the dough from the breadmaker’s bowl (just keeping it upside down and shaking will usually do the trick) and dust with some more flour. Roll around the dough a bit so it doesn’t stick and knead it just a little to remove any air pockets.
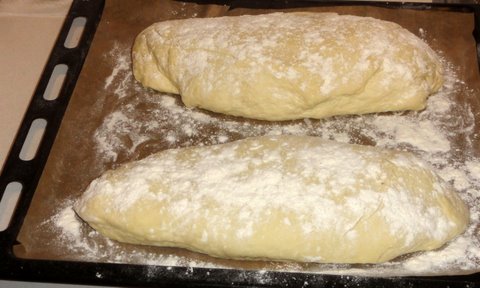
Shape the dough into the desired shape. I prefer two long shapes because that’s easier for cutting into nice slices.
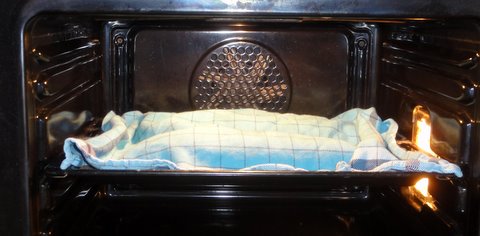
Now cover the dough with a kitchen towel and let it rise for an hour. A good trick to get the right temperature is to put the bread into the oven with only the light switched on (assuming that you do not have LED lighting in your oven, because you need the heat of an old-fashioned bulb).
After an hour the dough will have increased in size. Sprinkle with flour and bake in the pre-heated oven at 225C/435F for 30 minutes.
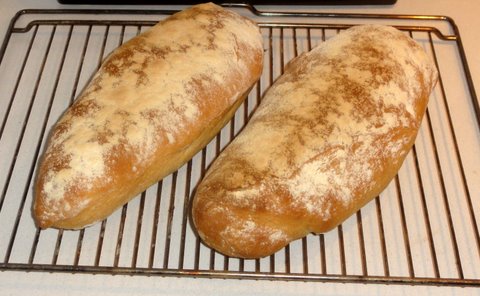
Let the bread cool on a rack. This is important to keep the crust crispy on the bottom!






I love this recipe! Since I don’t have a breadmaker myself, I tried to bake it several times by doing it all by hand. Using the dough hooks of a regular hand mixer, I mix all ingredients together until it becomes a single mass. From there I just knead it by hand for a couple of minutes on a work space sprinkled with a little flour. Then put it back into the bowl, and put it on the oven in a similar way as Stefan described for the proofing. Let it rise of 1 or 1 1/2 hours.
Then, after this first rise, knead the risen dough once more for a couple of minutes to release any trapped gas bubbles from the fermentation. Without the release of these bubbles, the dough will loose it’s viscosity and become saggy, making it impossible to create a nice bread shape with some volume.
After the second kneading, I just continued with Stefan’s instructions like the dough just came out of the breadmaker.
Works like a charm every single time!
LikeLike