
With our new ‘pet’, the sourdough starter that lives in our fridge and needs to be fed once a week, I’ve been baking sourdough bread and learning about it along the way. Before I started with this sourdough adventure, I was baking bread always the same according to recipes that I perfected over time: Italian white bread and multigrain bread. I’m still trying out different recipes with sourdough and I’ll let you know when I’ve found my favorite recipe. All the sourdough bread I’ve baked so far has been good, so I feel comfortable sharing with you what I’ve learned so far.

The basic ingredients of bread are flour, water, yeast, and salt. You can add other ingredients like sugar and fat, but those four are essential.
‘Normal’ bread is made with a ratio of 5:3 for flour and water, with 4% fresh yeast (calculated as a percentage of the flour weight, so 40 grams of fresh yeast for every 1000 grams of flour) and about 2.5% salt (again calculated as a percentage of the flour weight). This type of dough takes about an hour to double in volume when it’s rising. (The rising time depends on the temperature of the water, the temperature of the room, whether you added sugar, and the type of flour.)
‘Californian’ sourdough bread is made with a combination of sourdough starter and yeast. The ratio is 9:5:2 for flour, water, and sourdough starter, with 0.0167% fresh yeast of the weight of the flour. The sourdough starter is 1/8 of the total weight. This bread rises more slowly than ‘normal’ bread, about 4 hours at cool room temperature for the first rise and then 2 hours at warm room temperature for the second rise. Compared to ‘normal’ bread, this bread has a softer more elastic texture and more flavor. It takes about twice as long to make.

For die-hard sourdough fans, ‘Californian’ sourdough bread seems like cheating, because you still use some yeast. It is possible to make sourdough bread using only a sourdough starter for leavening. This requires a 5:3:4 ratio of flour, water, and sourdough starter, so the sourdough starter is 1/3 of the total weight. This will take even longer to rise, about 8 hours for the first proofing and 4 hours for the second. With shorter proofing times I still got a nice bread, albeit a bit dense and the crust wasn’t as crispy. What works well if you don’t have time for long proofing times is to use just a tiny bit of yeast, which I call the ‘hybrid’ recipe.
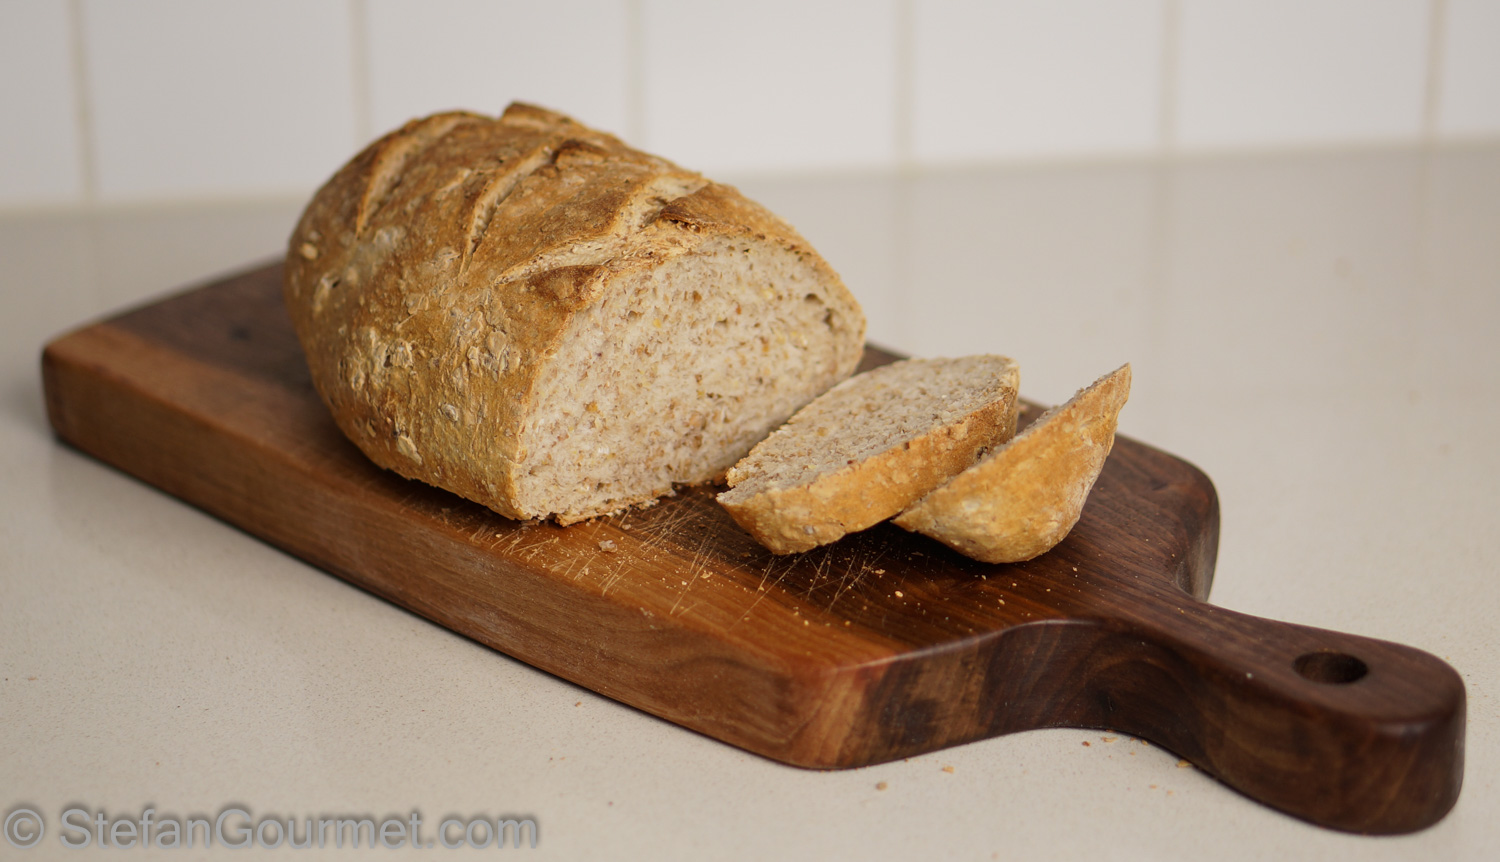
I’ve also baked a sourdough version of my multigrain bread, which turned out great. This is the bread I will be baking once a week. The night before I take half the starter from the fridge and feed it. After feeding that half goes back into the refrigerator. The other half I use to make multigrain bread. The first proofing is overnight, and then the second proofing in the morning so the bread will be ready for a lunchtime sandwich. This way, I don’t have to discard any of the starter. If I want to bake a bigger bread, I will feed the starter another day in advance without discarding any of it, thus more than doubling the amount of starter.
Ingredients

Below are ingredients for four different bread recipes with different amounts of sourdough starter and yeast, each yielding a bread of 600 grams:
| Description | Flour | Water | Sourdough starter | Fresh Yeast |
| Normal bread | 375 | 225 | 0 | 10 |
| Californian sourdough | 338 | 187 | 75 | 5.6 |
| Hybrid | 250 | 150 | 200 | 2.5 |
| Sourdough only | 250 | 150 | 200 | 0 |
Notes:
- You can of course scale the recipes to any size that will fit in your stand mixer and oven.
- The amounts of flour and water assume a sourdough starter refreshed with a ratio of 2:2:1 (sourdough starter : flour : water).
- For sourdough bread often a bit less salt is used, in this case 6 grams instead of the usual 9 grams. This is because salt makes the dough rise even more slowly.
- The water should be at room temperature for normal bread, and a bit warmer when you are adding sourdough starter from the refrigerator to the dough (30ºC/86ºF).
- If using dry instant yeast, divide the amount of fresh yeast by 3.
- I assume that if you are serious enough about baking to maintain a sourdough starter, you are certainly serious enough to get scales and work by the gram. So no cups and tablespoons this time around.
Preparation

Combine the water, sourdough starter…
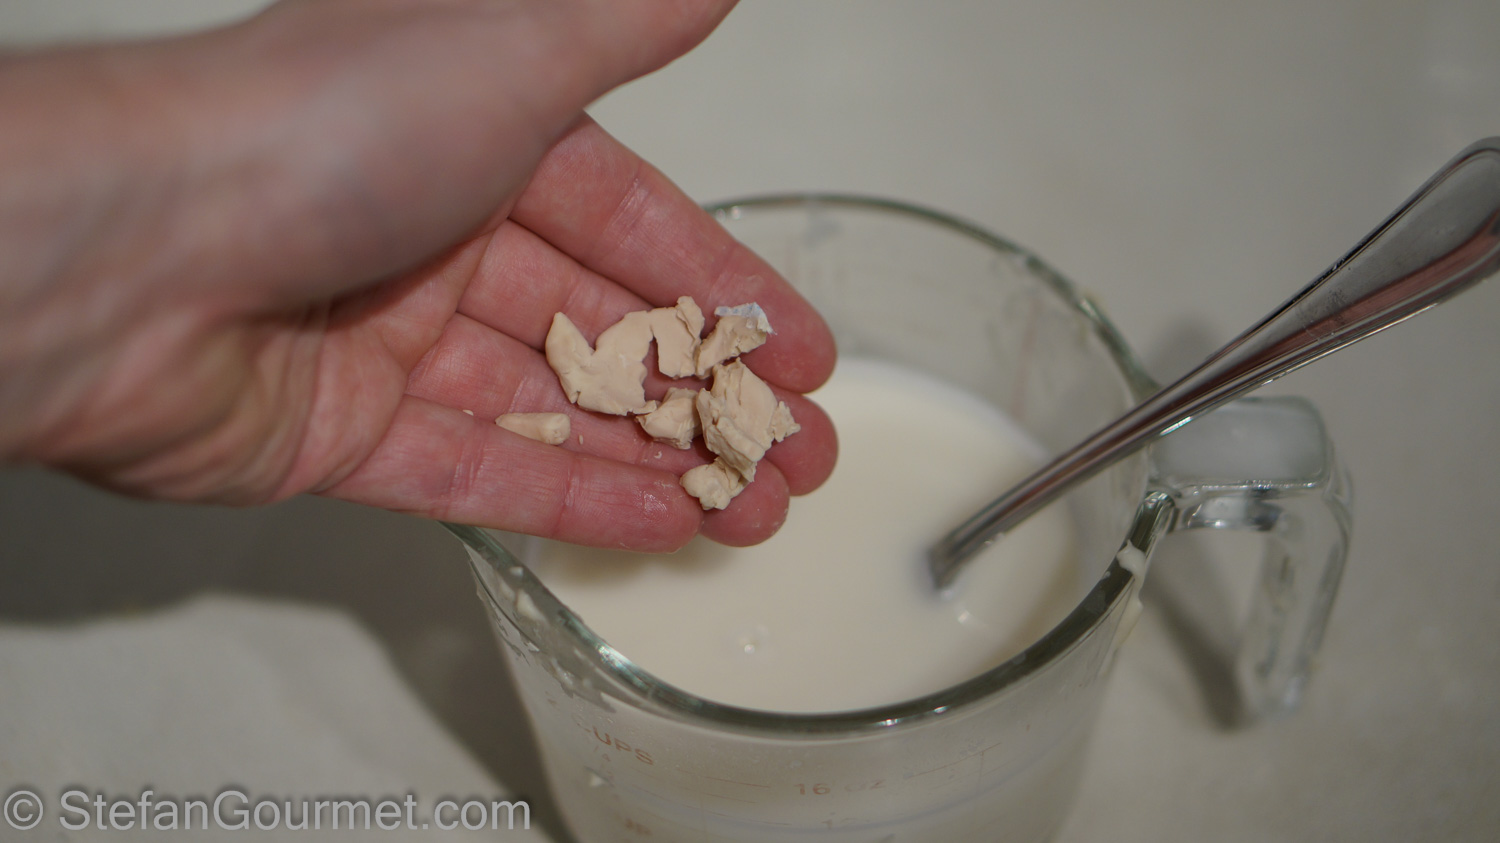
…and yeast (if using) in a bowl.
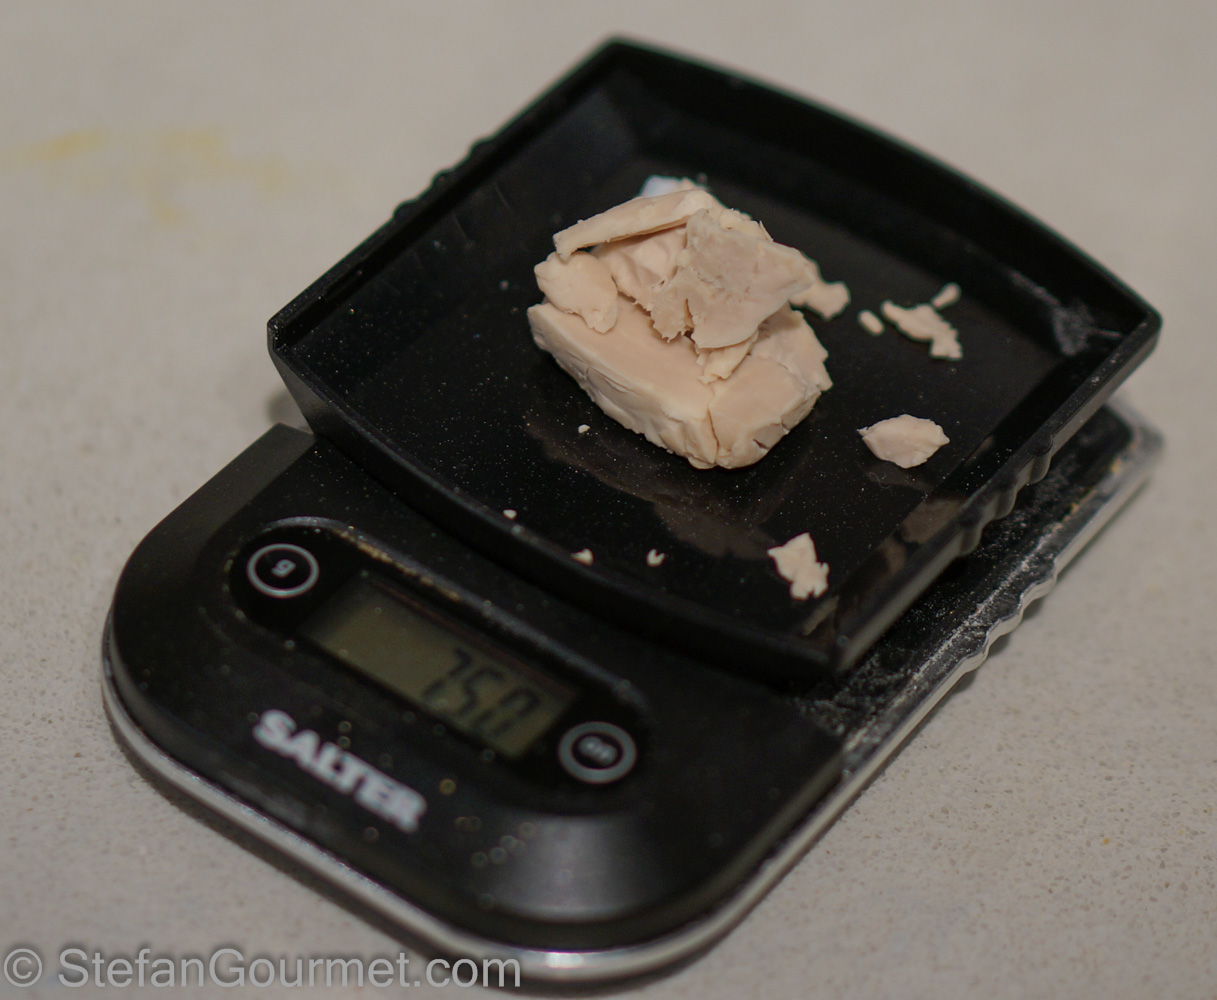
Very precise scales come in handy to measure such tiny amounts of fresh yeast.

Mix the water, sourdough starter, and yeast with a fork or whisk.

Put the flour and salt in the bowl of the stand mixer fitted with the paddle attachment. Turn on the machine on slow speed.

While the machine is running, add the water mixture.

Continue to mix with the paddle attachment until the dough comes together, then remove the paddle attachment.

Change over to the dough hook, and knead for 10 minutes.
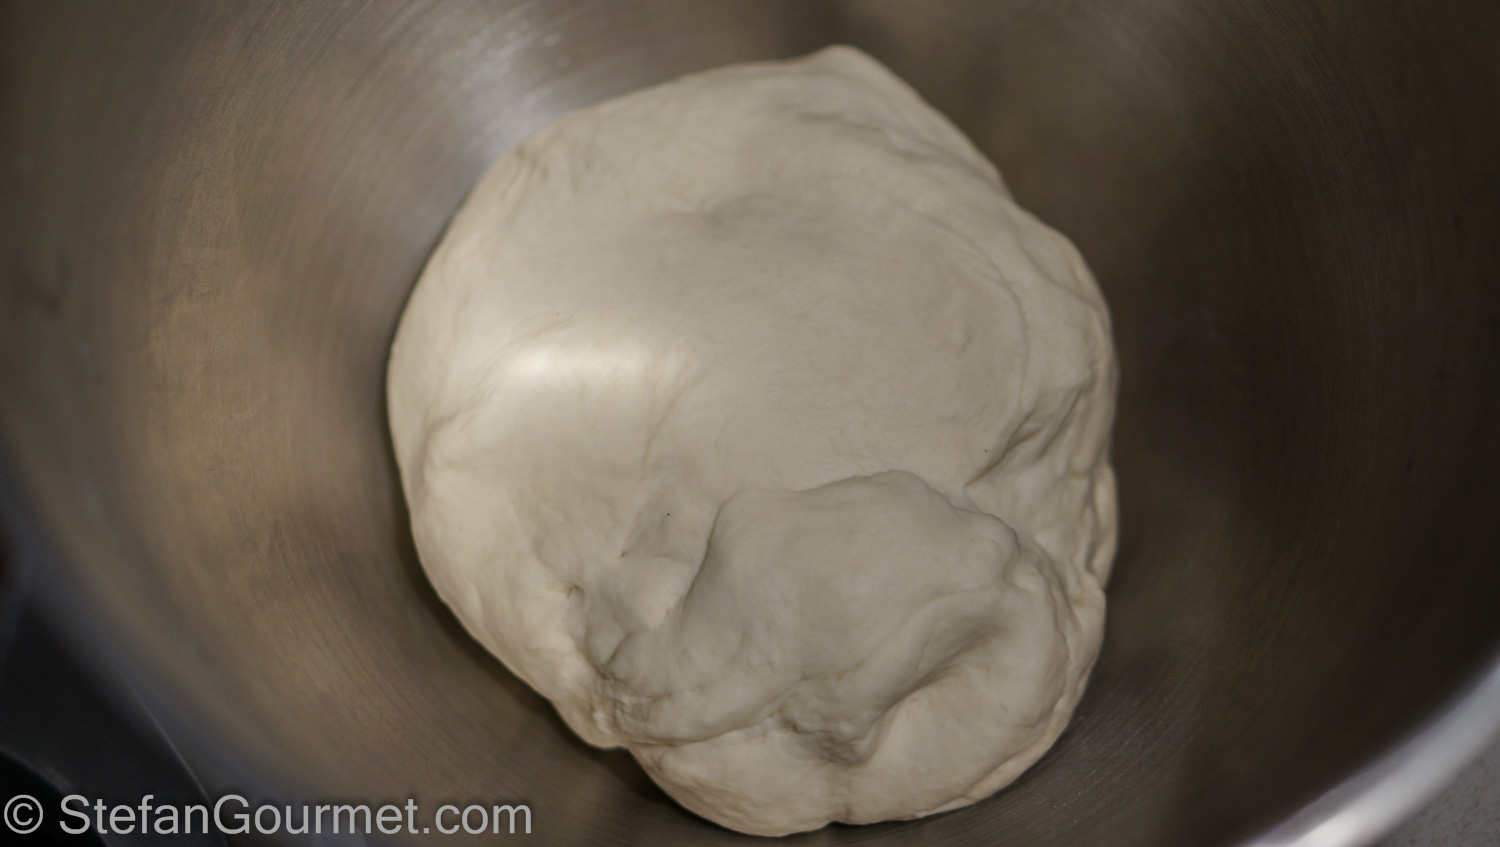
The dough should be smooth and pliable.
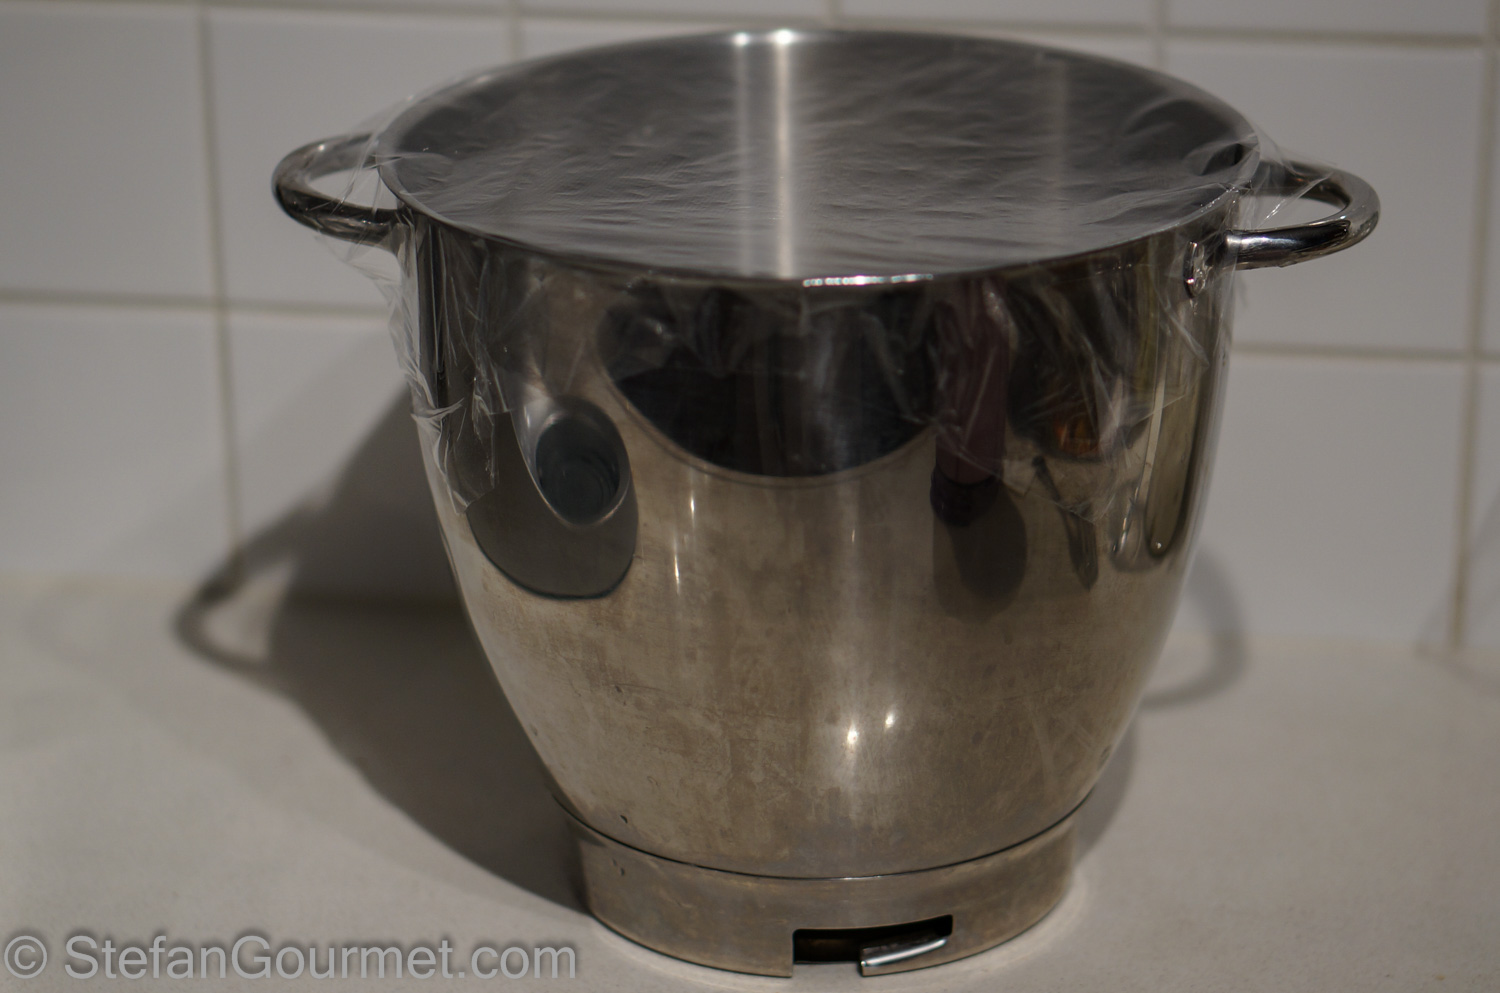
Cover with plastic wrap and allow the dough to rise until doubled in volume. The time this takes depends on the recipe you chose.

When the dough has doubled in volume…
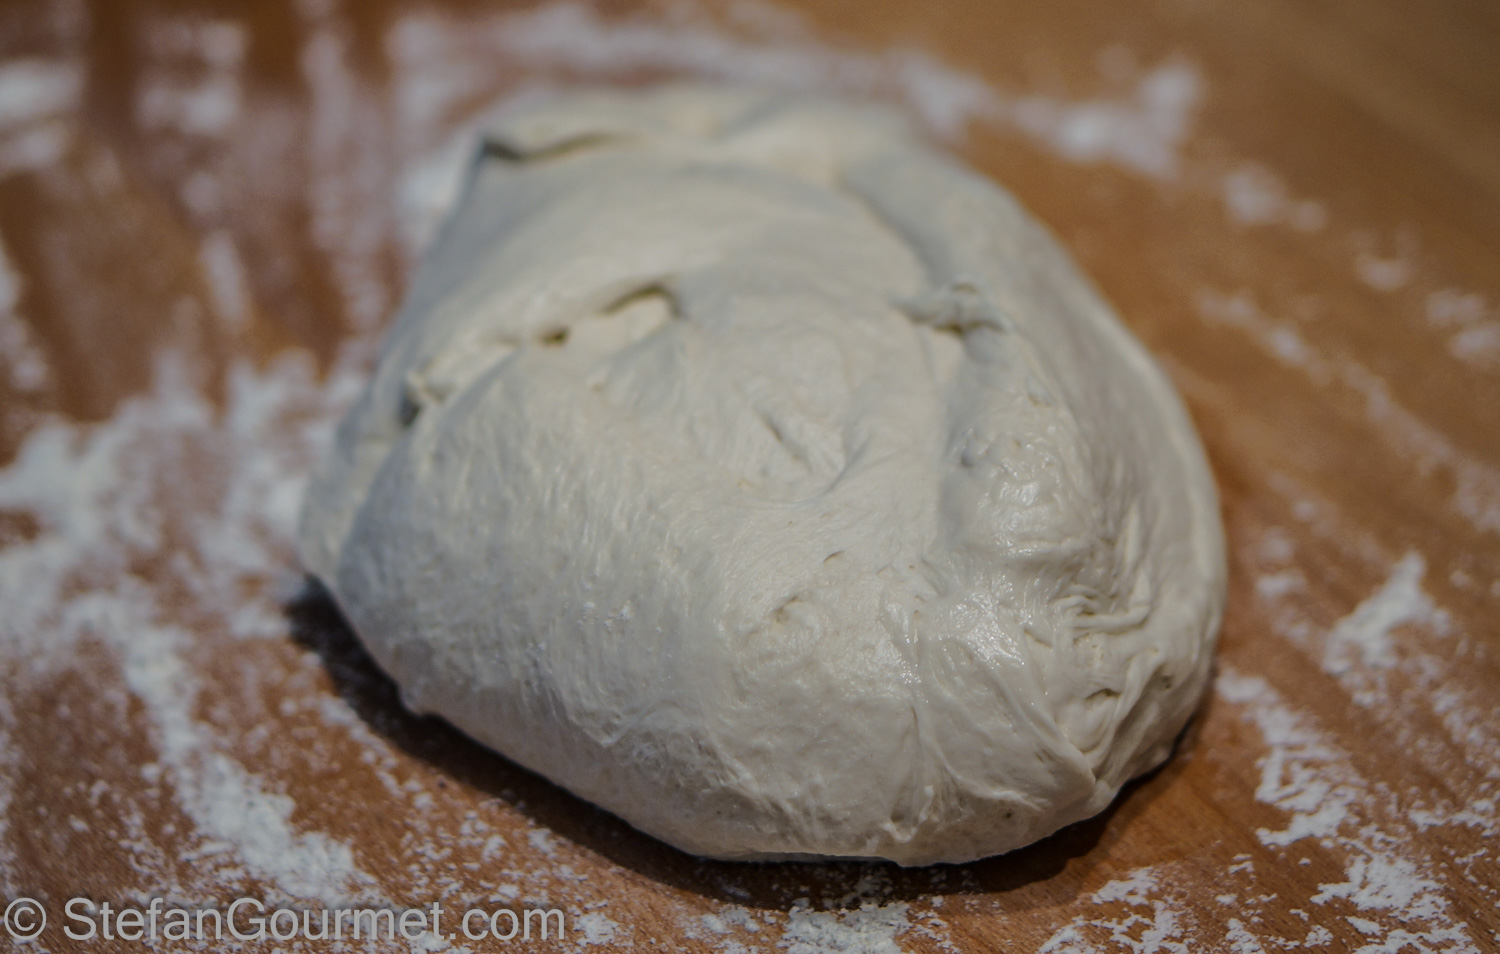
…take it out of the bowl and put it on a floured work surface. Push the air out of the dough. Shape into one or more loaves…

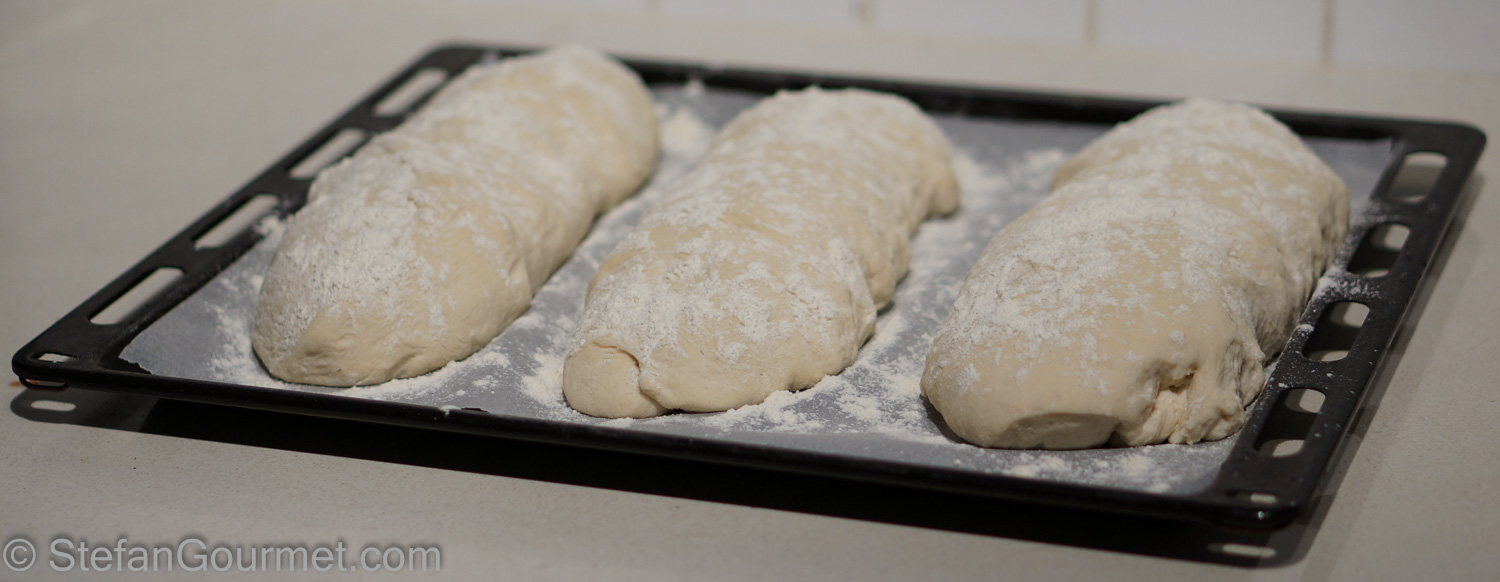
…and put them on a baking sheet lined with parchment paper.

Cover the baking sheet with a tea towel, and allow to rise until doubled in volume. The oven with only the light turned on is a great place for this.
Preheat the oven to 225ºC/440ºF (not fan forced). (If you allow the bread to rise in the oven, make sure to remove it before turning on the oven…) When the dough has doubled in volume, either sprinkle it with flour or carefully score the top a few times with a knife.
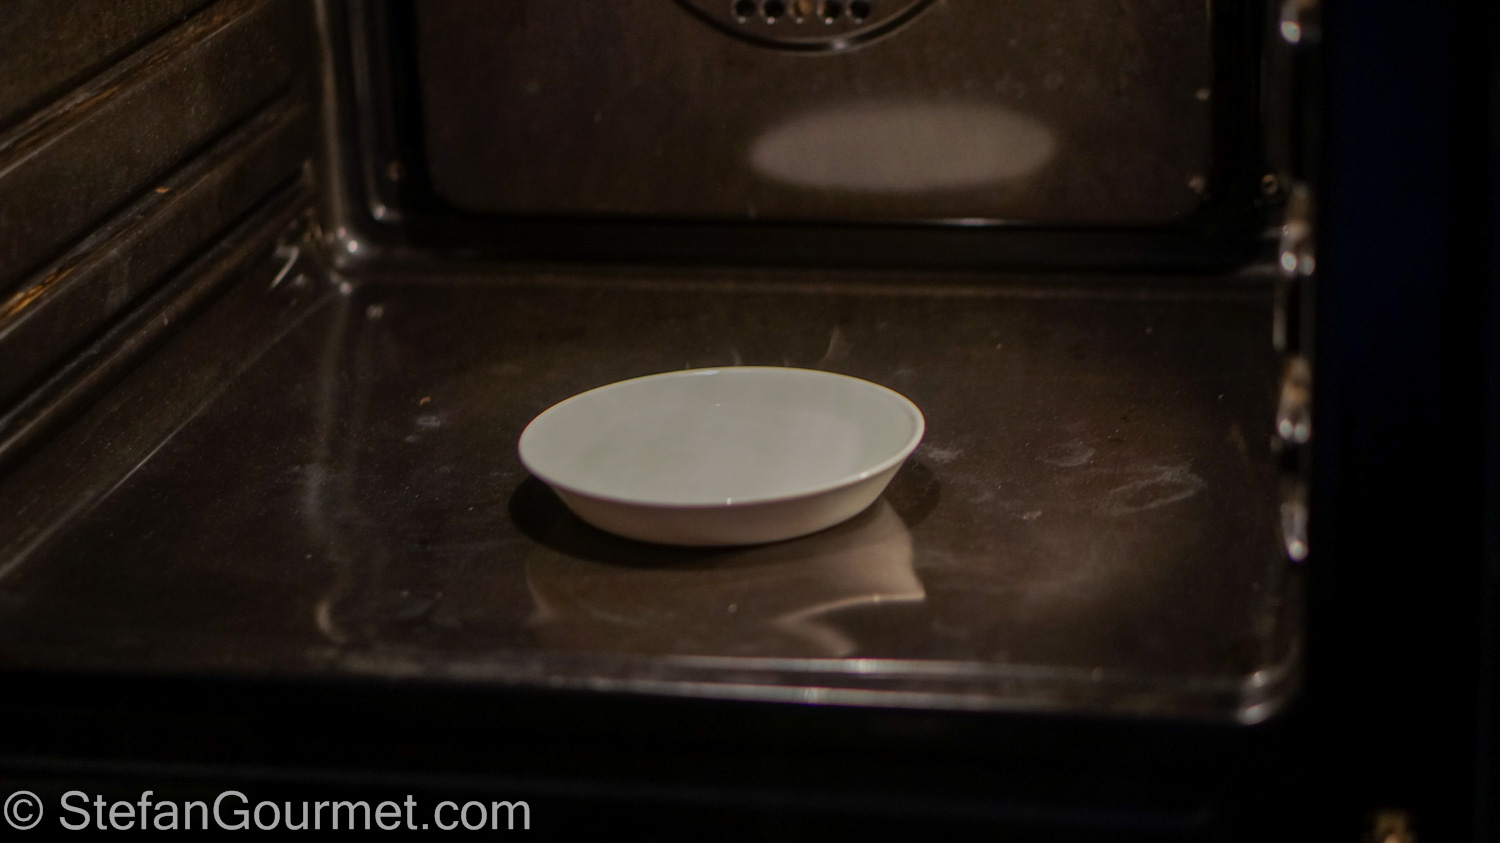
Put a heat-proof bowl of water on the bottom of the oven. This will increase the humidity in the oven and helps to make a better crust.

Bake the bread for 30 minutes at 225ºC/440ºF (not fan forced).
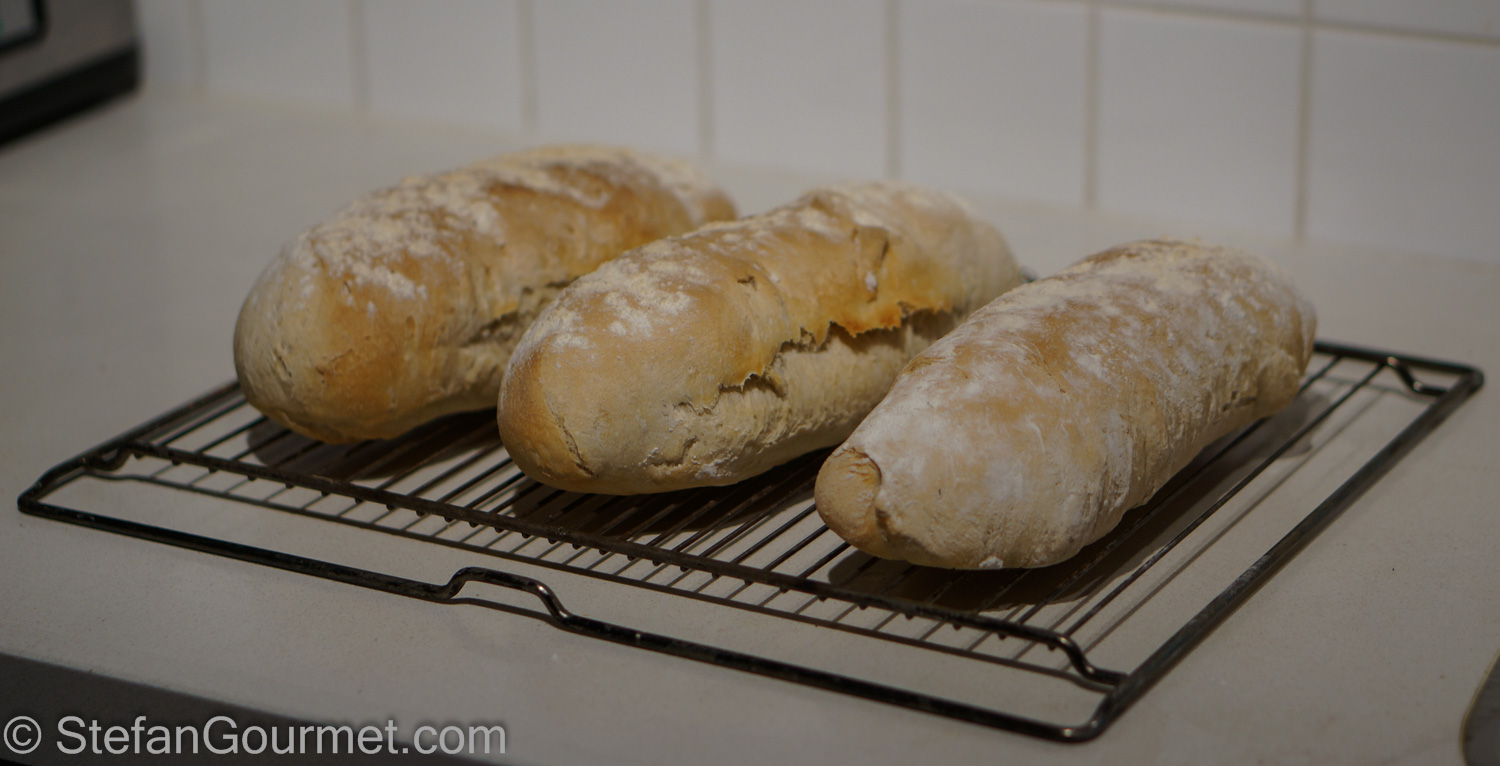
Allow the bread to cool on a rack. It is ready to be sliced after 30 minutes or so.
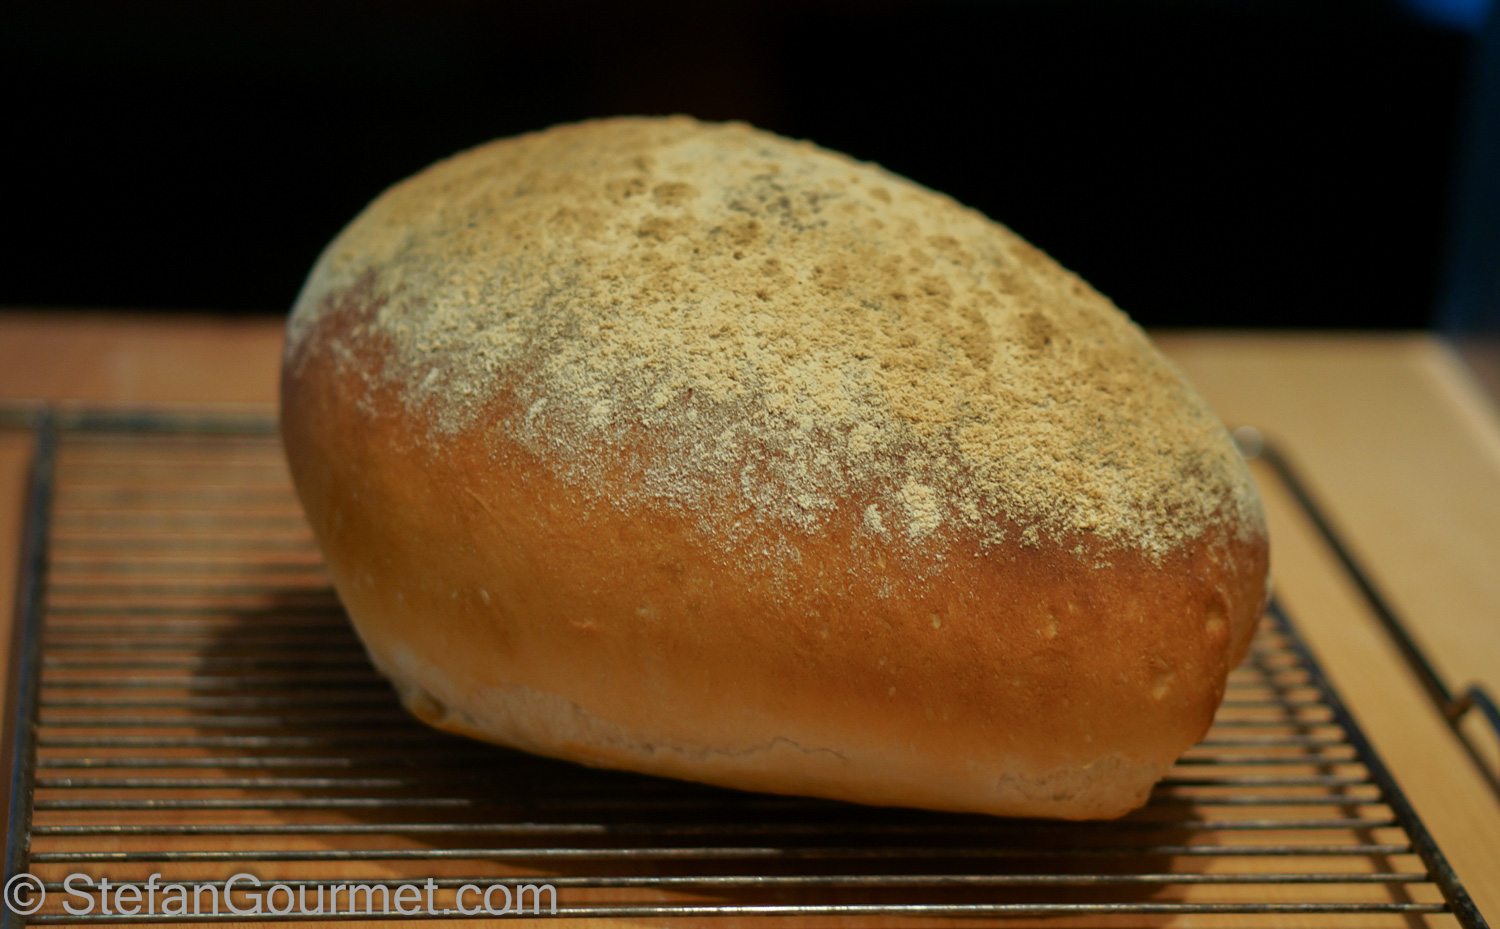
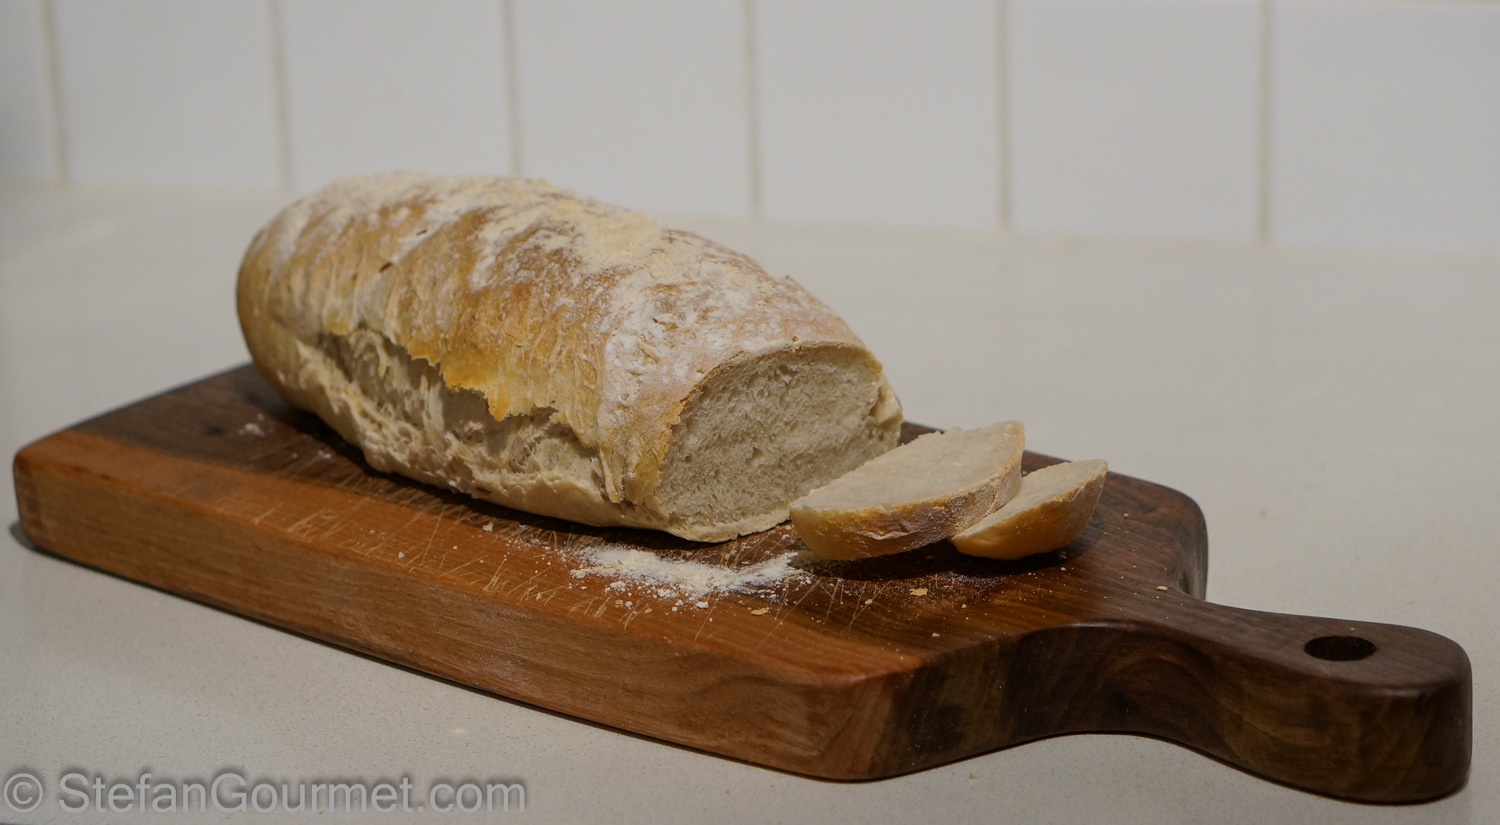
This is what my Californian sourdough bread looked like initially…
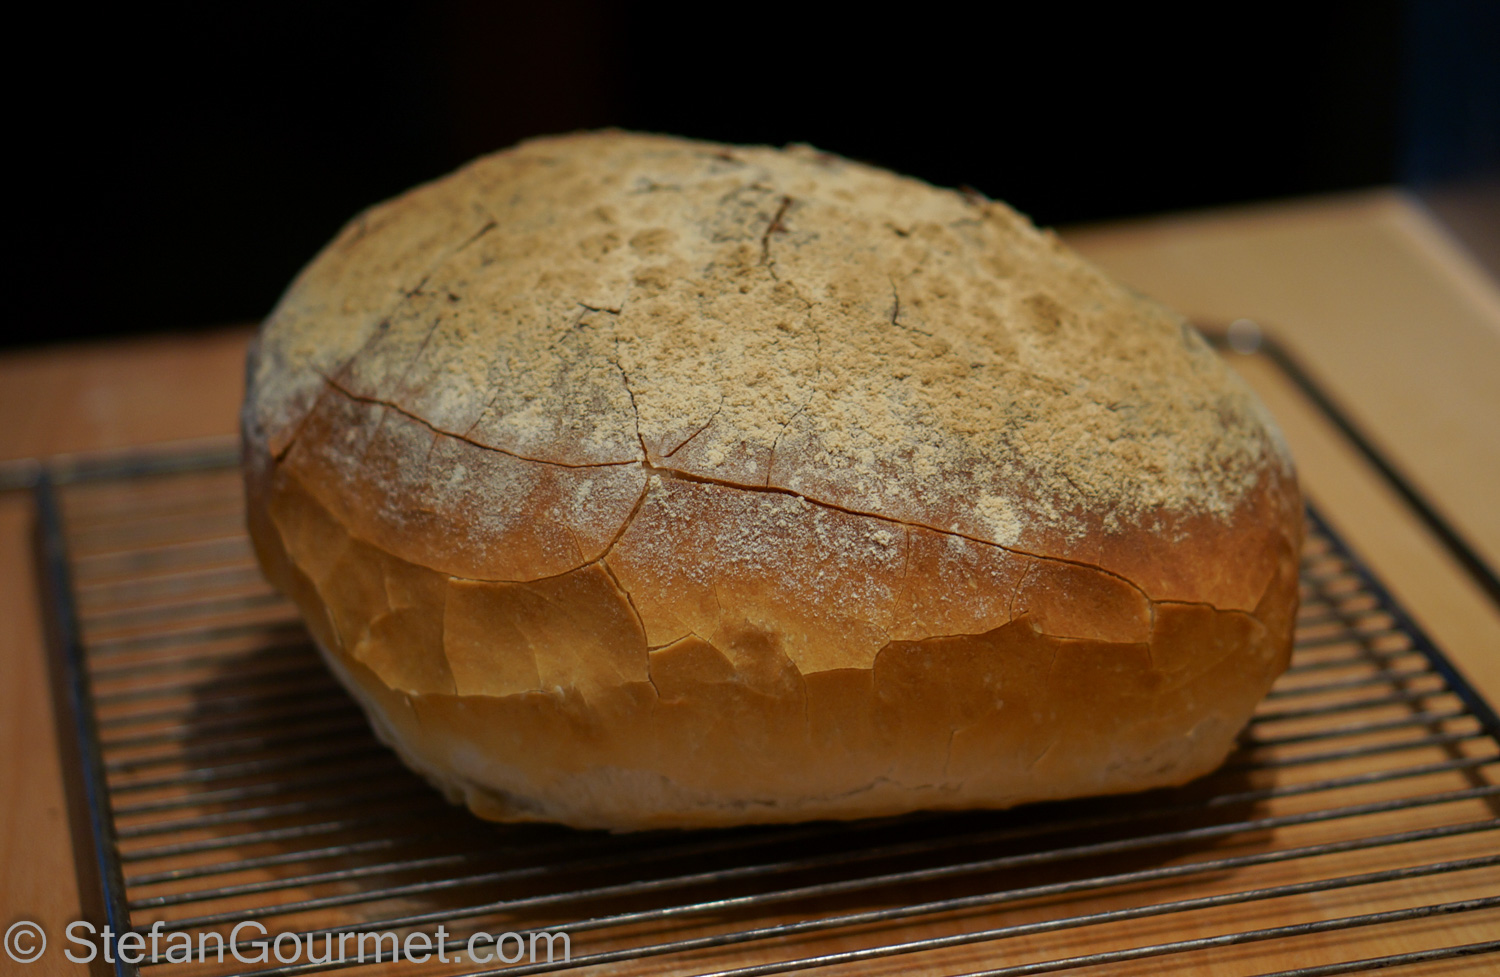
…and then after a couple of minutes the crust started to crack! Scoring the top could prevent this, although you may actually like this effect. In terms of crust, the Californian sourdough bread had the most crispy crust of all my sourdough breads so far.

I like bread best when it is still warm but has cooled enough that you can slice it without compromising the texture. This is usually about 30 minutes after it has come out of the oven.
Flashback
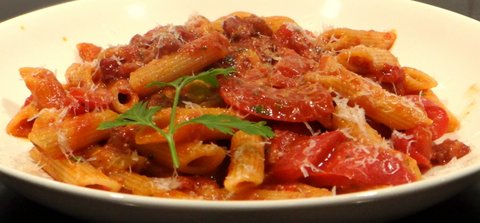
Penne with Bell Peppers and Pancetta is a quick and simple weekday pasta dish that came about when I wanted to make Penne with Bell Peppers and Salami, but only had pancetta available. You could also think of this as Penne all’Amatriciana with added bell peppers. This dish turned out to be better balanced than the version with salami, as that is a bit high in acidity. But the most important thing is that you get a lot of flavor for not a lot of work.


Hey Stefan
My basic recipe is 100g starter (at 50g water 50g flour), 270 water (or other liquid e.g. try beer or mix of red wine and water), 380g strong bread flour (can use up to 200g durum wheat flour, or about 100-150 spelt or wholewheat), 7g salt. Mix all except salt thoroughly and leave 30mins. Add salt, mix thoroughly, leave 30m to 60m. “Stretch and fold” in the bowl 3 or 4 times in next 2 hours. Leave until well risen (bit less than double). Shape and let rise until fully proofed (poke test). Bake. Very little effort, timing I use is often mix and stretch and fold in the evening, refrigerate over night (pre or post shaping) then bake next day
Good luck – enjoy!
S
LikeLike
Thanks for all your tips! I’ve never heard of the ‘poke test’ before.
LikeLike
Aha! it’s the final proofing test – you poke your finger into the shaped loaf! If it springs straight back, it needs longer proving; if it doesn’t spring back at all you are a bit late and should get it into the oven fast; if it comes back slowly / partway it is ready to bake. I find it particularly useful for sourdough as you can’t rely on time as you can with yeast…
LikeLike
A great post. I’ve never bothered with a starter, because if i want a sourdough, I just make a yeasted slurry, cover it, and let it sit for 2-4 days, then proceed with making it into bread. But I really should get a starter – it would be fun.
LikeLiked by 1 person
It is fun indeed. Your slurry method sounds like a nice shortcut. I have done something similar for pizza dough.
LikeLike
Wonderful Stefan. The cracking is lovely. I well remember, from childhood, picking the cracked pieces off home made bread. Lovely.
LikeLiked by 1 person
Welcome to the sourdough universe. May you find it – as all sourdough enthusiasts do – a wonderful and quite separate world of logic unto its own, and one that will take many years before you truly know and own it.
But the results are amazing. There is simply no bread like it.
A couple of things to consider here:
1) temperature: there are dramatic differences in rising time between say 9 and 28 degrees. At 9, you can let either the first or second rise go for 12-24 hours. At 28 degrees with a really vigorous starter, you better keep your eye on the ball – its only going to be a few hours.
2) You don’t need to be so tied to the quantity of starter. Think of it this way. The starter has a whole bunch of little yeasty animals that do what other animals do: they eat, have sex, and excrete. Presenting a lot of flour and water to a few yeasties (i.e. 100g starter with 800g of flour and 500g of water) means that they will start to charge in and consume, and reproduce….. but it will take longer. Eventually the dough will really take off – especially if the temperature is warmish. The result is a longer rise, and less of a sourdough tang as you might have with the more usual ratios you have.
3) as you get into it you are going to need a hydration table to give you the kind of openness and freedom you have introduced to those of us that hitherto never tried puff pastry or croissants before your blog (Thank You!)
Enjoy!
LikeLike
Thanks for all the tips. I will do a follow up post when I’ve gained more experience. This post was mostly to show that it can be done and to entice others to try sourdough too.
LikeLike
I agree with homecookexplorer her – the amount of starter doesn’t matter that much. I’ve been baking sourdough bread for almost 5 years now (my jar will celebrate its fifth birthday in May 🙂 ). I’ve been baking exclusively wholewheat or wholewheat/spelt breads and have also been feeding my starter only wholewheat flour.
A few tips I can share:
1) Get an oven stone and preheat it to 220C for at least an hour. Then slide the loaf directly onto the stone. It will help distribute the heat much better and yield amazing results.
2) I never use a mixer anymore. I also don’t knead my dough; instead, I mix all the ingredients with my bare hands, let it rest, then fold and let it rest again – repeating this 3 times. This allows me to compres the dough as little as possible and results in elastic but airy loaves. The reason this works is thanks to the process of autolysis by which the gluten is being developed by enzymes from the wheat cells.
3) By folding my bread rather than kneading it, I can also use a much higher degree of hydration – 75% works well, and you can increase it even further if you add some oil to the mixture (I use olive oil).
4) Be minimalistic. Most weeks my breads consist of flour, water, starter and salt. You’d be amazed by the variety of tastes and textures you’ll cme up with. Stuff like ambient temperature, duration of proofing and even air humidity will have amazing effects. Also, during winter I will sometime let the first proof last for 16 hours or even more. The cold slows down the yeast lifecycle but the lactobacilli will continue growing, resulting in a much more developed sourdough taste.
5) Smaller loaves behave better than large ones. I used to make a loaf using 800g of flour and 600g of water, but I now split the dough into two loaves – it lets each loaf rise more easily.
Good luck!
LikeLiked by 1 person
I like your approach (It’s mine too). But temperature of course is huge. I’ve sometimes let the bulk rise go 18-20 hrs at 12 C. I’ve also gone 4 hours at 32 degrees but you need to watch it carefully or it overproofs easily.
I had wondered about the mix only approach. Just to clarify its when the bulk rise is being prepared? Right after the autolyse? I would presume it’s the same when the loaves are shaped?
Keep an eye out for the latest evolution of my hydration planner it’s almost ready
LikeLike
My procedure is as follows:
1) Mix starter with water and salt in a large bowl (this is so to better distribute the starter). I use 200-250g starter, 75% water and 2.5% salt.
2) Add flour(s) and optionally olive oil and/or other ingredients (seeds, nuts, etc).
3) Mix everything together with one hand in large, circular motion, only until you have a consistent mixture. Fold 4 times, each time turning the dough by 90º after folding. Let it rest for 20 minutes.
4) Fold 4 times as above. Let it rest for 20 minutes.
5) Fold 6 times. Let it rest for 12-18 hours, depending on ambient temperature.
6) Form the loaves (I use leavening baskets to hold them). Let them rise for 4-6 hours, depending on ambient temperature.
LikeLiked by 1 person
Hi Stefan, Last night I started my starter and, fingers crossed, I am looking forward to baking with it in a couple of weeks. I just have a question re the baking part. I get the whole method no problem. I just want to double check the quantities. I’m going to go with the sourdough only recipe. So the 200g starter required is 200g after refreshing 2:2:1 (so 80g starter, 80g flour, 40g water)? I then use that with the 150 water and 250 flour from the grid? Many thanks!
LikeLike
Hi Sarah, your numbers are correct, but if you start out with 80g starter please take into account that you have to leave it for 24 hours at room temperature after feeding it. If you want to use the starter directly from the fridge, you have to use 200g of the starter. If you maintain 350 grams of the starter, you could each time use 200 grams to bake and the remaining 150 grams to feed (which will be 375 grams after feeding, taking into account a bit of loss). Hope this helps!
LikeLike
Thanks Stefan, yes it does. Having a few teething problems with my starter. After the first feed it went mad and grew about 3 times and overflowed by jar. Since then it hasn’t grown at all. Producing bubbles but not growing. I will keep going with it as I have read (numerous) other sites and have concluded that where’s there’s bubbles there’s life 🙂 So maybe it got of a rocket of a start and is now settling down before it grows again…. that’s what we’re hoping anyway. Once again many thanks for taking the time to reply.
LikeLike