
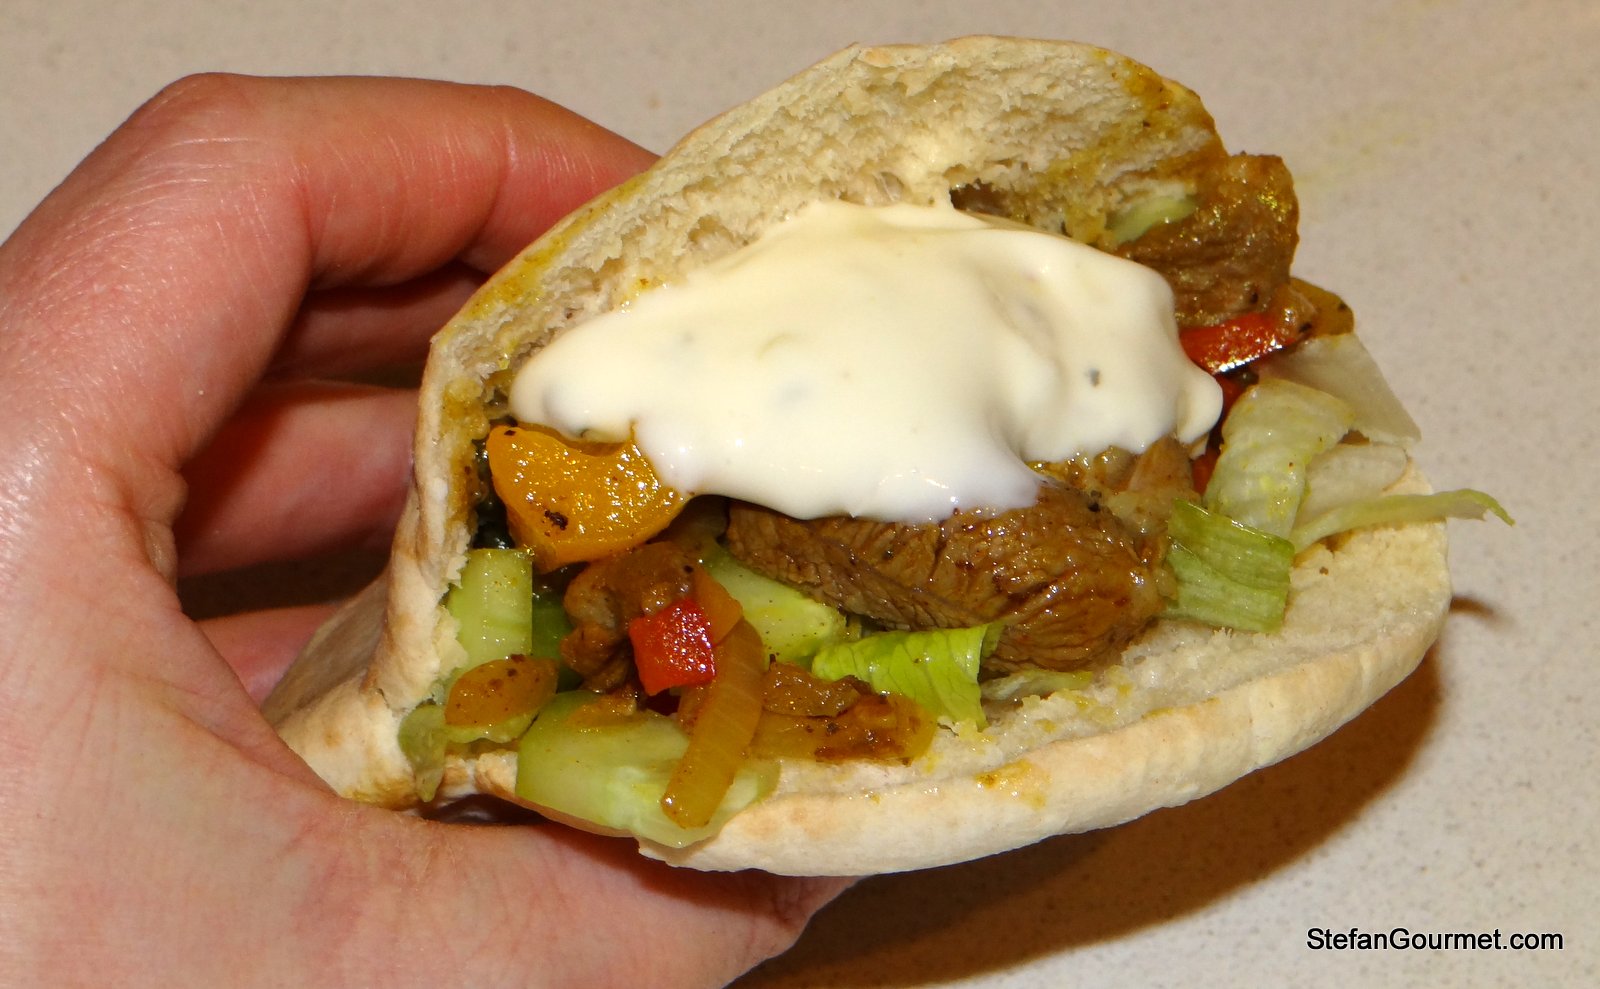
Shawarma (or shoarma as it is called in the Netherlands) is Middle-Eastern way of preparing meat with spices on a vertical spit, which is subsequently served in pita bread with salad and garlic sauce. It is a fast food staple around the world, and not something you’d expect to read about on a foodie blog such as this. Most places that sell shoarma in the Netherlands have their peak hours in the middle of the night on weekends, when people get hungry after having drunk a lot of beer. If you were the owner of a shawarma place and you were serving your fare mostly to customers who are too drunk to care, would you care about the quality of what you are serving? I’ve had such a shawarma sandwich (broodje shoarma) on a few occasions, but never cared much for the soggy, greasy, overspiced and overgarlicked concoction with a taste that lingered way too long. Not surprisingly however, it turns out that if you make a shawarma sandwich from scratch, it is actually outstandingly delicious! And when I say from scratch, I really mean from scratch, including baking your own pita bread.
I prepared this batch of shawarma in preparation for a 10-day boat trip with a group of 30 or so this summer. Together with a friend I will be charged with cooking all the meals during that trip, and shawarma is planned to be one of them as it is so popular. Since I had never made it before and had hardly ever eaten it, I had an experienced testing panel that also provided expert advice. One member of said panel even prepared the garlic sauce, which needed to be prepared a day in advance to allow the flavors to develop. We tried store-bought pita bread to see whether it would be worth baking our own. The verdict was clear: homemade pita bread was vastly superior. It has more flavor and better texture: crispy on the outside and soft on the inside.
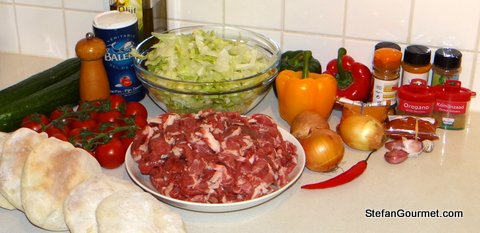
Shawarma is originally made using lamb, but it is also made with chicken or even pork. The latter is certainly not authentic, given the Middle-Eastern origin of the dish. However because of the spices you probably won’t taste the difference anyway, so pork can be a cheap but acceptable substitute. I used a mixture of lamb shoulder, lamb neck, and leg of lamb. It is important to use meat with some fat, because fat meat has more flavor. Even though the word shawarma has been derived from the Turkish word for “turning”, you do not have to own a vertical spit to prepare it. As the meat is sliced thinly, it can be stir fried just as easily.
If you’ve never had pita bread with shawarma made from scratch from fresh ingredients, I urge you to give it a try. It will be very different from what you have likely had in a fast food place.
Ingredients
For 6 sandwiches (enough to feed 2 – 3 people)
450 grams (1 lb) lamb (neck, shoulder, leg) cut into strips
1 bell pepper, diced
100 grams (1/2 cup) chopped onion
1/2 chile pepper, seeded and minced
1 clove garlic, minced
olive oil
100 grams (1/2 cup) diced tomato
75 grams (1/3 cup) diced cucumber
75 grams (1 cup) shredded iceberg lettuce
optional: chile paste such as sambal ulek or chili sauce
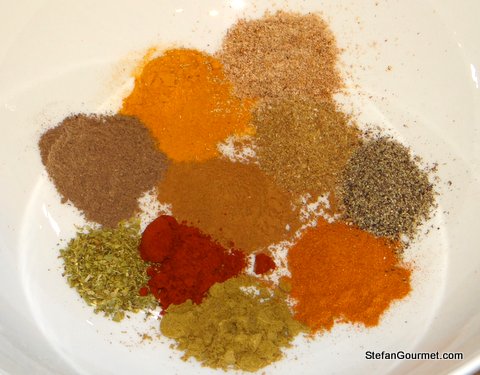
For the shawarma spice mixture
1/2 tsp dried oregano
1/2 tsp ground cinnamon
1/2 tsp ground cumin
1/2 tsp freshly grated nutmeg
1/2 tsp freshly ground black pepper
1/2 tsp ground allspice
1/2 tsp paprika
1/2 tsp ground turmeric
1/2 tsp ground coriander
1/2 tsp ground ginger
1/2 tsp cayenne pepper
1 tsp salt
For the garlic sauce
125 ml (1/2 cup) Greek/Turkish yogurt
125 ml (1/2 cup) mayonnaise
2-3 garlic cloves, crushed or grated
1 tsp chopped fresh flatleaf parsley
1/2 tsp sugar
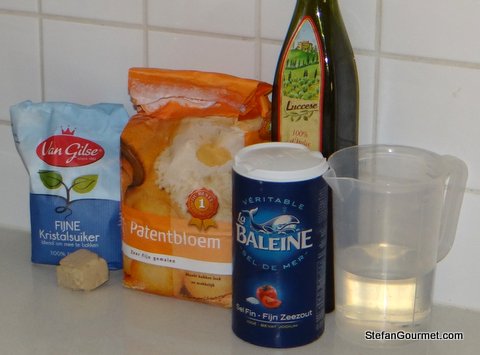
For 6 pita bread
300 grams (2 cups minus 2 Tbsp) all-purpose flour
180 ml (3/4 cup) lukewarm water
1 Tbsp extra virgin olive oil
15 grams (1/2 oz) fresh yeast (2 tsp dry yeast)
1 tsp salt
1 tsp sugar
Preparation of the garlic sauce
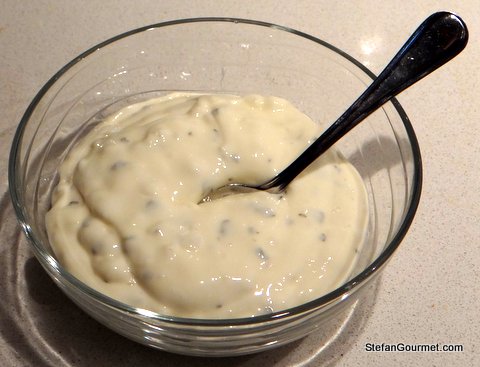
Combine mayonnaise, yogurt, parsley, crushed garlic, and sugar in a bowl. Stir to mix. Cover with plastic wrap and refrigerate overnight.
Preparation of the pita bread

Combine about half of the lukewarm water with the yeast and the sugar and stir to dissolve. Allow to stand until frothy.
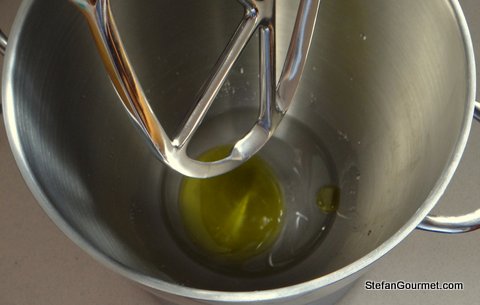
Combine the remaining water with the salt and olive oil in the bowl of a stand mixer.
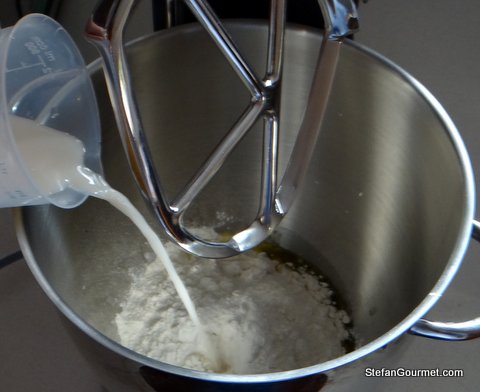
Add the flour and the yeast mixture.
Process with the paddle attachment until all the flour has been incorporated. Remove the paddle attachment, scraping off the dough with a spatula.
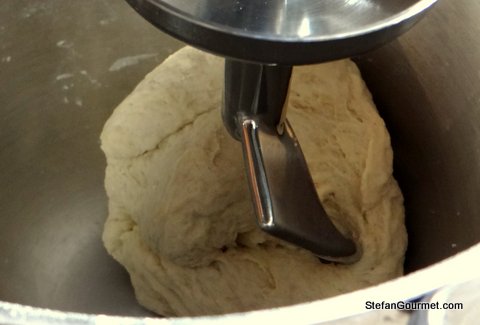
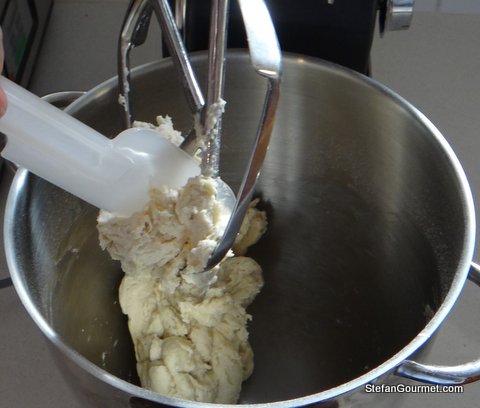
Insert the dough hook and knead for 10 minutes or until it is wrapped around the hook. The dough should now be smooth and elastic.
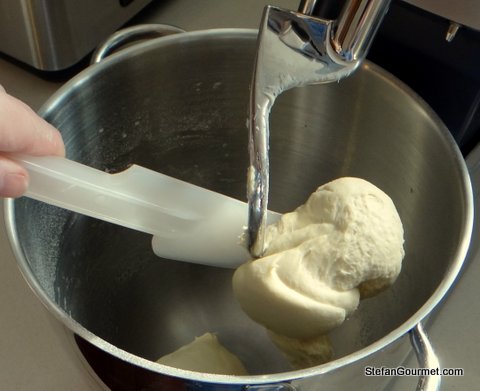
Scrape the dough off the hook with a spatula.
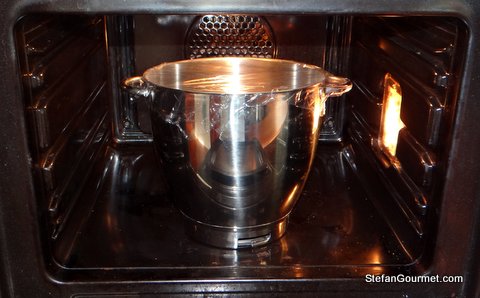
Cover the bowl with plastic wrap and place it in the oven with only the light turned on.
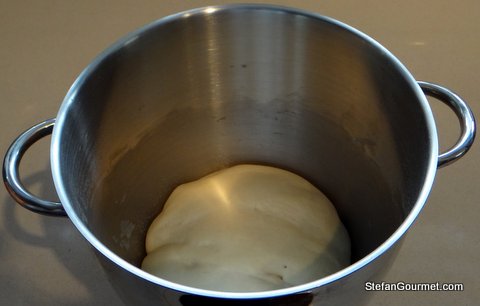
Allow the dough to rise for about an hour or until doubled in volume.
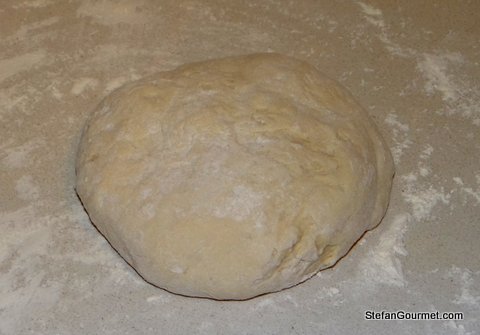
Knead the dough briefly by hand on a floured work surface to expel any surplus air.
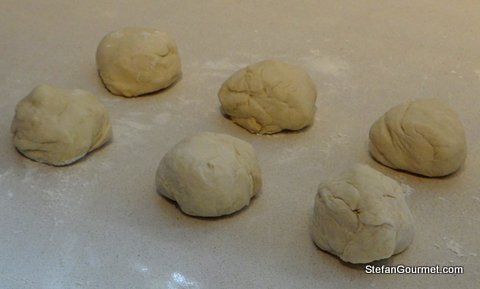
Divide the dough into six balls that are approximately equal in size. (Use scales if you like.)
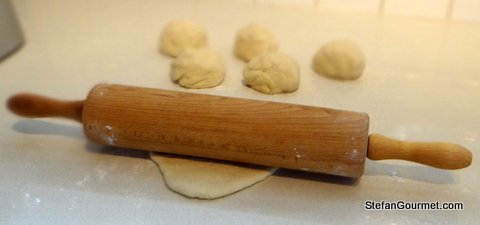
Roll out each ball into a circle of about 5 mm (1/5 inch) thick.
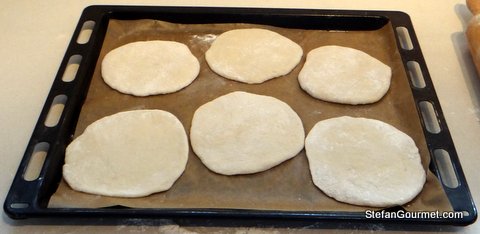
Put the circles on a baking sheet.
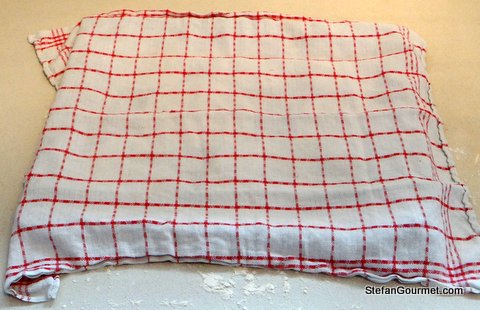
Cover with a kitchen towel and allow to rise for 10-15 minutes. Meanwhile, preheat the oven to 230C/450F.
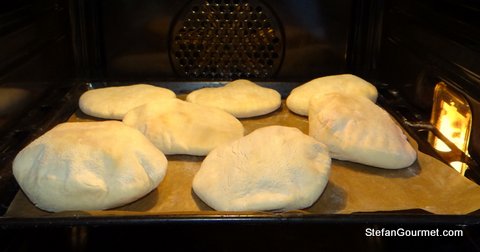
Bake the pita bread at 230C/450F until puffed up and slightly golden, about 10 minutes.
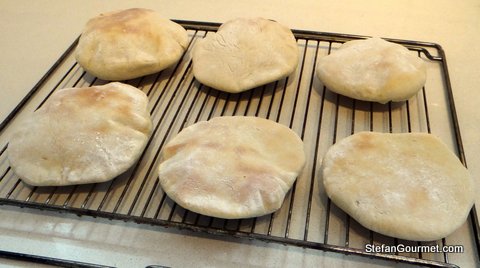
Allow them to cool on a rack. They are best served when still slightly warm.
Preparation of the shawarma
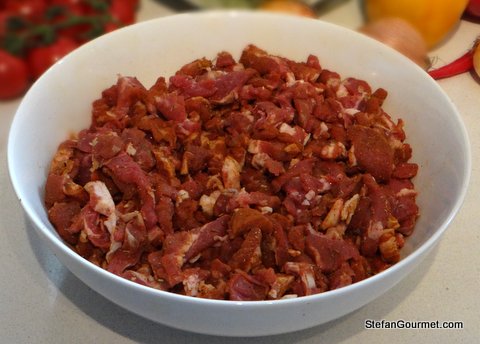
Mix all the spices together, then mix with the meat. Allow to marinate for 90 minutes at room temperature.
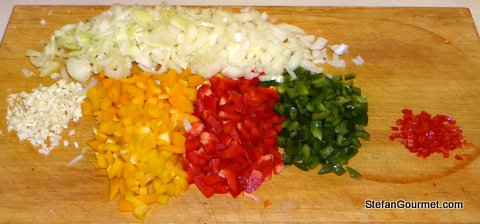
Clean and cut the bell pepper, chile pepper, onion and garlic.
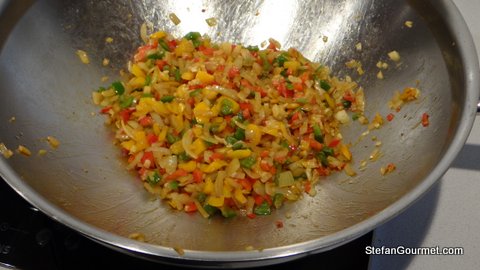
Stir-fry the vegetables in olive oil over medium heat until golden, about 5 minutes.
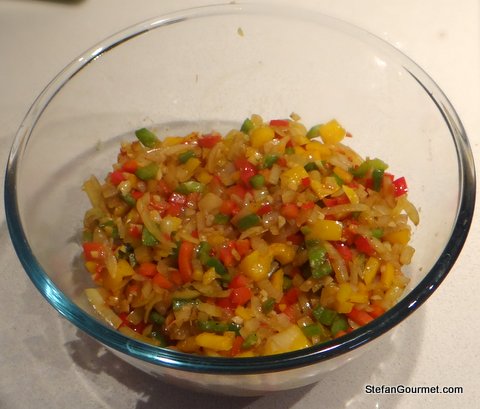
Set the vegetables aside.
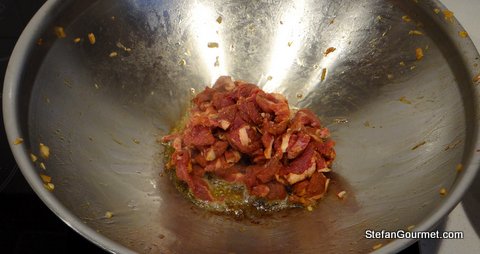
Stir-fry the meat in batches in olive oil over high heat so they will brown quickly rather than stew.
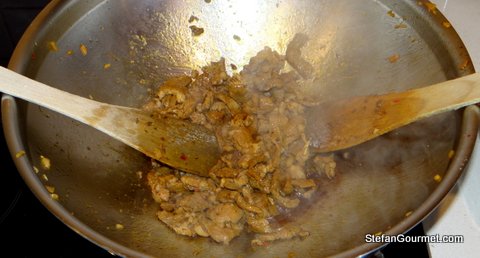
Stir-fry for a few minutes until browned. Since the meat is sliced thinly, it will be cooked quickly. Do not overcook the meat.
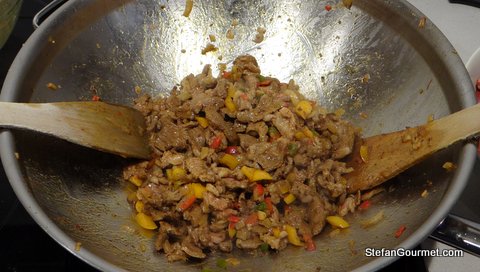
Combine all the meat and the vegetables and toss briefly to heat up.
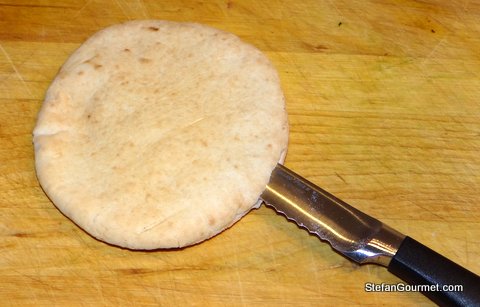
Cut open each pita bread halfway with a serrated knife. It should be hollow on the inside.
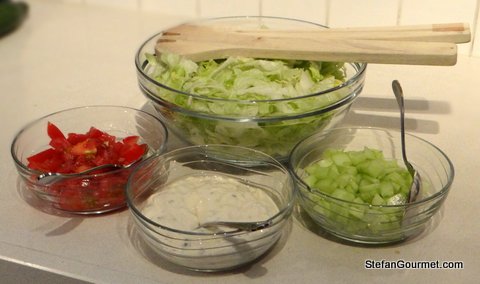
Serve the meat with the pita bread, diced tomatoes, diced cucumber, iceberg lettuce, and garlic sauce.
Allow everyone to stuff their own pita bread with lettuce, tomato, cucumber, meat, and garlic sauce. Some people like to add chile paste or chile sauce as well.
Wine pairing
With this gourmet version I thought it would be appropriate to offer a wine pairing suggestion. Although shawarma is usually served with beer (or after beer…), lamb shawarma is also outstanding with a nice glass of pinot noir. The wine should not have strong tannins because of the spiciness of the meat and should be chilled just slightly (to 16C/60F). With white meat such as pork or chicken, a fruity grüner veltliner or sauvignon blanc would be nice.


Looks great… and fresh pita does make a big difference. I once did a somewhat traditional version by alternating thin slices of meat and fat along the length of a skewer, roasting it on open coals, and then ‘shaving’ off individual meat portions for sandwiches. Lot of work so I’ve only done it once… BTW, when I make donair/schawarma sauce, I use a commercial cucumber salad dressing and add sugar and chopped garlic… if I am using it for Greek souvlaki or gyros, I add mint as well
LikeLike
Sounds like a lot of work indeed. My stir frying method seems to work pretty well even though it’s not traditional.
LikeLike
I don’t know if I’m more excited about your pita breads or everything else!!! It looks so so good.
I have a sous vide question, by the way. Why does a flank steak cook in a sous vide for 48 hours, which is the same amount of time for a whole brisket? Doesn’t the volume of meat play into sous vide cooking? Thanks again Stefan.
LikeLike
Thanks Mimi. Have you ever made pita and shawarma from scratch? I was truly surprised how good it was!
I was meaning to get back to you on your previous sous-vide question. Perhaps my answer to your current question will also help solve the confusion you felt earlier.
You can think of sous-vide cooking as having two stages.
Stage 1, “Bring to Temperature”, is from the time you put something in the water bath to the time that the whole piece of food, all the way to the center, has reached the same temperature as the water. The time needed for Stage 1 depends on the thickness and shape and can take from 10 minutes for a thin sea bass fillet to several hours for a brisket.
Stage 2, “Hold at Temperature” is what happens after stage 1. Stage 2 will make the food more tender and (if the temperature is above 54.5C/130F) will pasteurize the food. Stage 2 is not needed at all for tender fish and meat, but may take several hours for tough seafood such as octopus, or up to 3 days for tough meat like veal shank.
Stage 2 happens faster (i.e. the food becomes tender more quickly and is pasteurized more quickly) if the temperature is higher. (There are also threshold temperatures, for instance if you cook asparagus under 82C/180F they will never become tender.)
(Strictly speaking stage 2 will start in the outer layers of the food earlier than it starts in the center, but usually that is not something to worry about.)
The total cooking time is the sum of the times needed for Stage 1 and Stage 2.
Now to your question: for a flank steak Stage 1 takes an hour or so, and for a brisket perhaps 4 hours (depending on the size). Since flank steak and brisket are about the same toughness, stage 2 takes the same for both of them, about 2 days if they are cooked at 57C/135F. Since Stage 2 takes about 2 days (anywhere between 40 and 56 hours will probably be fine), the time for Stage 1 is negligible for brisket and flank steak,and we simply state 48 hours for both.
Hope this helps!
LikeLike
Oh, this helps immensely. Thank you so much for taking the time to explain this. I followed the suggestions on the material that came with the sous vide and cooked a flank steak for 12 hours, and it was awful. And then I saw your suggestion for flank steak and wondered why they varied. I really appreciate your taking the time to type all of this, and will only use your guidelines from now on. I still haven’t bought a sous vide cookbook because the ratings are so varied, although the highest rated cookbook is $150., but I think it’s more for a commercial setting. Thanks again, Mimi
LikeLike
Hi Mimi,
You are so welcome!
I have Thomas Keller’s “Under Pressure” and Roca’s “Sous-Vide Cuisine”. Both are not very useful for the home cook and I would not recommend them.
I have the $500 Modernist Cuisine set of books, which has a great section on sous-vide even though I do not agree with all of their time & temperature suggestions. It does have very good theoretical explanations about how it works, timing, and food safety. There is now a “Modernist Cuisine at Home” version that may be just right for you for less than $100.
“Beginning Sous Vide” by Jason Lodgson has been helpful for me in the beginning, too. If you google, you can also find a very good explanation of sous-vide by Douglas Baldwin (for free) called “A Practical Guide To Sous Vide Cooking”.
Good luck,
Stefan
LikeLike
P.S. “Beginning Sous Vide” by Jason Logsdon was a great start for me with a lot of practical tips.
LikeLike
Thank you Stefan. I’ll get the book. And no, I’ve never made my own pita breads, just flatbreads. And I’ve not made schwarma, either! thus my motto – so much food, so little time…..
LikeLike
Lovely stuff Stefan. Very different for you.
LikeLike
🙂
LikeLike
I wouldn’t expect anyone who makes his own crackers NOT to make his own pita. I’m impressed you got it to make the hole in the middle. To me, that is a real baking miracle 🙂
LikeLike
It was kind of a miracle, because I didn’t do anything in partical to make the hole appear.
You are right that the surprise is not in me making my own pita bread. The surprise is more in me eating shawarma at all!
LikeLike
ciao vicino di blog, ti invito a “cogliere” questo invito:
http://ilmaritoperfetto.com/2013/03/21/meraviglia-di-primavera-2/
LikeLike
That’s a very cool preparation….
btw i think beer will be the best accompanied for the shawarma….
LikeLike
Thanks! I don’t like beer, but if you like beer that is probably a good choice.
LikeLike
I had shawarma in Cairo 15 years ago and that ended my eating shawarma here in late night diners. There’s just no comparison. I give you credit for tackling this recipe, Stefan, and I hope to try it for myself. I’d like to try your pita recipe, too. Both recipes sound tasty. We have our own flatbread but it has no pocket. And sometimes you need a pocket. 🙂
LikeLike
I was a bit surprised myself that they came out with pockets, as I haven’t been aware of doing anything in particular to obtain them. It is basically small pizzas that are baked without tomatoes and cheese on top, and at a lower temperature than pizza.
LikeLike
oh, my, look at those pitas! I’ve only had shawarmas in a restaurant, but I am not entirely convinced they made fresh pita bread for it.
LikeLike
It is easy and definitely worth it!
LikeLike
Oh wow! I am super impressed. I can’t wait try this recipe. I wish I had seen this post before I went to the grocery.
LikeLike
Great! Thanks for the nice compliment.
LikeLike
Elaborate, colorful, informative, complete and very delicious post. Is your pan some new form of wok?
LikeLike
Thanks Fae for such a nice compliment. It is indeed a wok, and you could say it is “some new form” as it is made from multi-layer material that is suitable for my induction hub, won’t rust and doesn’t need seasoning.
LikeLike
Hi, Stefan. This looks wonderful. I would say I can’t believe you did both Shawarma AND Pita bread, but, only because it’s you, I can. 🙂 That is a whole lot of work. Your summer boating excursion should be a hit if you are cooking. How do I get an invite? 😉
I have never made pita bread myself but we have two places nearby that make it fresh daily. Both of those places are on my favorite list. One of them, Afrah, not only makes fresh pita bread daily (as well as numerous Mediterranean pastries) but also shawarma. In addition, they make the best falafels in town. The other is a Middle Eastern market. We like to shop there because they have fresh made pita bread and lavash, wonderful spices, good cheese (especially the feta and goat cheese), a wonderful food bar and they butcher ALL of their meat (all of which is Halal), including young lamb and goat they have hanging in coolers for your selection. Many of the Middle Eastern restaurants purchase their pita bread from this market. It’s still warm when you pick it up and walk out with it. When we can get it this fresh daily, it’s hard to justify making it yourself, especially when there are so many other foods I want to make. 🙂
LikeLike
It wasn’t so bad, actually, since I didn’t do the vertical roast with layers of meat and layers of fat 😉
You are invited if you like, but I don’t think you would enjoy spending 10 days with a bunch of mostly 20-somethings in hostel-type accomodation. Would be nice to have you help in the kitchen though! 🙂 There will be a full report of all the meals on the blog of course, including dishes like paella, suckling pig roasted on an open fire (I asked you about that), etc.
I can see why you don’t do your own pita bread if you can get it fresh from nearby places, which should be about the same quality as making your own. And it won’t heat up your kitchen (which is not a concern for me, certainly not right now). We were comparing to supermarket stuff, and then the difference is amazing.
LikeLike
Stefan, I re-cooked a flank steak in the sous vide, but when I took it out, it greenish brown spots all over it. Is that from not properly vacuum sealing the bag? (My sealer works half the time.) And, should I actually eat the flank steak or throw it away?
LikeLike
Hi Mimi, if the meat was not pre-seared it sometimes looks a bit weird when cooked sous-vide before post-searing.
If it smells just fine, you are certain that it was cooked for hours at 135 degrees and has not been left out of the fridge for too long, it should be alright. However, when in doubt, throw it out. I’d just like to make sure that you are not worried about how a piece of meat straight out of sous-vide always looks. Not sealing properly can be an issue, but you should notice water in the bag or meat juices in the water bath when that has happened. You could seal twice, and it also helps to make sure that the area of the bag that is sealed is clean.
LikeLike
I think your English is better than mine! I should have said that the bag was indeed sealed, but perhaps not all the air was removed in the vaccum sealing process, so the air might have discolored the meat?
Everyone makes such a big deal about sous vide and how I have to be so careful, so I decided I shouldn’t eat the flank steak without asking you first. It definitely smelled like boiled beef but with no bad smell, and I have a good nose.
I browned it, but the spots are still evident, but it’s not like I’m having guests. I’m just excited to try it, but didn’t want to get sick.
Thank you again for coming to my rescue!
by the way, I bought the book you suggested! thanks
LikeLike
The air may indeed have discolored the meat. A near-perfect vacuum (for that you’d need an expensive and bulky chamber vacuum sealer) is not required for most sous-vide cooking. A Food Saver or similar ‘clamp’ vacuum sealer or even ziploc bags are sufficient in most cases. The most important reason for a near vacuum is that the the bag won’t float and that the heat conduction from the hot water to the contents of the bag is not hindered by a layer of air. The second reason is to prevent discoloring/oxidation. This mostly affects the color and perhaps the taste in a slight way, but is not a problem in terms of food safety.
The big deal about being careful is not very rational. Sous-vide cooking is not more risky than other types of cooking as long as you know what you are doing (just like with regular cooking).
I think I suggested two books, so which one did you get?
LikeLike
I got the one by John Logsdon
LikeLike
Hope you’ll like it.
LikeLike
Hi Stefan, this is an amazing recipe. Have cooked it for family meals a few times now – served to friends a couple of weeks ago and it was a big hit. Thanks for the emphasis on making the pita from scratch, it definitely makes an enormous difference compared to buying from a store. A couple of additions that have been popular – I now include pine nuts in the meat stir-fry, and also serve chopped Middle Eastern pickles as a garnish along with other vegetables. I am having some small difficulties with the pita dough – it’s sticky and I have trouble kneading and rolling it. Curious if that’s typical, or maybe I am doing something wrong or didn’t get the proportions correct. Apart from that one small issue, everything else works out perfectly and your instructions are very clear!
LikeLike
Hi, great to hear the recipe works for you and thanks so much for taking the time to let me know!
Do you use a stand mixer to make the dough? If you are mixing by hand, yeasted dough is always a bit sticky in the beginning. If it stays sticky, you probably used too much water. Please note that any proportions in cups are only approximate. For best baking results, always use scales and exact amounts in grams.
LikeLike
I tried this tonight. My husband was curious about shawarma after watching an Avengers movie where they mentioned it, and I was eager to see if I could reproduce the taste I remembered from eating it once in the Nederlands 10 years ago. It worked brilliantly! I swapped 1 cup of flour for wholemeal in the pittas, omitted the sugar (I left it to rise all afternoon instead) and they still had the hole in the middle. The taste brought back memories, despite me skipping on the chillies and Cayenne pepper for the kids’ sake . Thanks for the recipe!
LikeLiked by 1 person