

Note added on 3 March 2024: the post below explains how I built my recipe from the recipe in Modernist Bread. If you just want to know how to make the bread, I recommend you go to this new post.
Nathan Myhrvold, known for the 2,500+ pages Modernist Cuisine, has done it again and has published Modernist Bread, another 2,500+ pages reference book. It consists of 5 volumes, 1 with history and fundamentals, 1 about ingredients, 1 about technique, and 2 with recipes. I have read the first three volumes cover to cover and now have a much better understanding of all aspects of bread. Although a bit repetitive at times, the book is well written and provides great insight based on Nathan and others baking many, many breads using recipes from many sources. From Modernist Bread I have already learned a lot and I am sure there is still more to learn. For now there are four improvements that I’ve made to how I bake bread.
The first improvement regards the texture of the bread. I was pretty happy with the bread I used to bake most of the time, but I wanted to see if I could bake bread with a better texture. More chewy (in a good way) with a nice crust and bigger holes. I used to think that sourdough was required for that, but now I know that it is only a matter of hydration. Hydration simply means the ratio of water to flour. My usual bread was 60% hydration: 300 grams of water and 500 grams of flour. The bread in the photo above is 77% hydration, which for the same 500 grams of flour would imply 385 grams of water.
The second improvement is for flavor. Sourdough is important for flavor, but I am not very fond of sourdough that is actually sour. An easier way to get more flavor (although not sour and not as complex as sourdough) is to use a preferment. A preferment is a piece of dough that has been made the day before and allowed to ferment, which is added to a fresh dough. A liquid preferment is often called poolish, whereas a more stiff preferment (as used in Italy) is called biga. It is great how much flavor you can get using only flour, water, salt, and yeast.

The third improvement is the flour. At first when I tried recipes from Modernist Bread, they did not turn out the way they were supposed to. Then when I switched to better quality flour, the difference was amazing. If you want to bake bread with a high hydration (which requires stronger gluten), it is important to use bread flour (also known as strong flour) with a protein content of at least 11.5%.
The fourth set of improvements is technique. Thanks to Modernist Bread I learned a lot about mixing, gluten development, bulk fermenting, shaping, proofing, calling proof, scoring, and baking in a home oven. All of those techniques have been incorporated into the recipe below. Although it is possible to make this bread by hand, high hydration doughs are difficult to work with, so a stand mixer is strongly recommended (and that is what I provide instructions for).
I’ve based what is now my ‘default’ bread recipe on Modernist Bread’s version of Pugliese, but I made some changes to it based on techniques described in other parts of the book. The recipe can be doubled or halved. (It could be more than doubled, but your stand mixer may not be able to handle such a large amount of dough.) This bread takes about 6 hours from start to finish, not counting the poolish that has to be mixed the night before.
Ingredients

For a dough of 1 kilo (2.2 lbs)
515 grams bread flour (strong flour, at least 11.5% protein)
385 grams water
11 grams salt
3 grams (1 tsp) instant yeast
For the poolish
50 grams bread flour (strong flour, at least 11.5% protein)
50 grams water
1/16 tsp instant yeast (0.2 grams)
Instructions
The Modernist Bread recipe uses a biga with 65 grams flour and 35 grams water, which is more difficult to mix. I use poolish with 50 grams flour and 50 water, which can be mixed with a spoon in seconds.

The night before, put 50 grams of water in a plastic container and add 1/16 tsp (0.2 grams) of yeast. Stir to dissolve it.

Add 50 grams of flour.

Stir with a spoon…

…until you see no more dry flour. Cover and keep at room temperature for about 12 hours.

The poolish is ready to use when it is very bubbly. You can adjust the amount of yeast to the amount of time that is available or more convenient. The more yeast you use, the faster the poolish will be ready. If you allow it to ferment for too long, it will collapse.

Put 385 grams of water in the bowl of the stand mixer. Add 3 grams (1 tsp) of instant yeast.
(Modernist Bread prescribes 1.5 grams, but for me the proofing time was impractically long with that amount of yeast and the bread ended up too dense because I simply did not have enough time to wait longer. Slower proofing will create more flavor, so by all means use 1.5 grams as well if you have the time.)

Whisk to dissolve the yeast.

Add 515 grams of flour and the poolish. (If you add the poolish first, you will see that it will float. If it does not float, you should use a longer time or more yeast in the poolish the next time.)

Mix on low speed with the paddle attachment. Low speed prevents messing up your kitchen with flour. The paddle attachment is better than the dough hook at this stage to pick up all of the dough. Depending on the amount of dough and the size of your mixing bowl, you may also be able to use the dough hook instead.

Mix until there is no more dry flour. This is referred to as shaggy mass, and will only take a minute or so. Remove the paddle attachment, cleaning it with a spatula.

Now sprinkle 11 grams of salt on top of the dough, without mixing it.
(Modernist Bread specifies in the Pugliese recipe to mix the salt with 20 grams of the water and add it later. I prefer sprinkling it on top before the autolyse, which is a technique that is also recommended by Modernist Bread, because 11 grams of salt do not dissolve in 20 grams of water. The salt also speeds up the gluten development.)

Cover the bowl with plastic wrap and allow to rest for 20 to 30 minutes. This step is called autolyse, and you could skip it if you are in a hurry. Autolyse reduces the chance of overmixing, and thus can improve the flavor, crumb texture, and crumb color. But the advantages are not so pronounced that it is absolutely necessary to autolyse.

During the autolyse, lightly oil a plastic container with a cover to use for the bulk ferment.

During the autolyse, the salt will have dissolved. This will ensure even distribution of the salt.

Use the dough hook…

…and mix on high speed to what is known as medium gluten development. This means that the dough will be wrapped completely around the hook and looks very smooth. If you perform the ‘window pane’ test (see below) however, the dough will still easily tear. On high speed for me it takes just 3 minutes to reach medium gluten development.
If the water or the ambient temperature is warm, you may wish to use medium speed instead. The mixing time will be longer, but there is less chance of overheating the dough.

Transfer the dough to the oiled plastic container.

This is just to show you what the dough looks like in a plastic container 🙂

Close the container and allow to bulk ferment for 1 hour.
This step is also known as “first proofing”. It is called “bulk” fermentation because the dough has not yet been separated into individual loaves.

After an hour of fermenting, it is time to perform a four-edge fold.

Using a dough scraper, fold one edge…

…all the way to the other sides.

Repeat with the other three edges.
Cover again, allow to ferment for an hour, and performance another four-edge fold. Then allow to ferment for half an hour, so the total bulk fermentation time is 2.5 hours.

Now perform a “window pane” test to check for full gluten development. You should be able to stretch the dough until it is so thin that it becomes transparent without tearing. If you can’t do that, perform another four-edge fold and check again after an half an hour. Keep doing that until full gluten development has been achieved.

Gently turn the dough onto a floured work surface (a wooden surface is most practical).

The dough is very sticky, so use plenty of flour on your hands and the work surface. Flatten the dough somewhat into a rectangle using your hands. Fold a third away from you…

…and the other third towards you.

Now “roll” the dough with both of your hands to shape it. There are many videos on YouTube that show you how to shape bread.
(Modernist Bread tells you to pre shape, rest, and then give the final shape.)

Sprinkle a proofing basket with flour.

Transfer the shaped dough into the proofing basket, with the “nice” side down (which will end up being the visible side).

Put the proofing basket in a large clear plastic bag and close it. This is to make sure the dough does not dry out during proofing.

Start preheating the oven when you start the final proof. The oven needs to be as hot as possible when you bake for the best results. Use a pizza stone or pizza steel if you have one. Otherwise just use a baking sheet. Put a metal container on the bottom of the oven so that it will be preheated as well.
Preheat the oven to 245C/475F, not fan forced.

Now allow the dough to proof. The time needed will depend on how much yeast you used and the temperature. Perform the “fingertip test” to call proof. Gently press the surface of the dough for 2 seconds. If the dough is ready to bake the dough will slowly spring back, but the indentation will remain clearly visible.

Sprinkle the peel with flour…

…before turning over the proofing basket on top of it.

If you used enough flour in the proofing basket, you should be able to lift it easily. The dough will spread out a little, but should keep its form more or less. (If not, you probably had not reached full gluten development.)

You can now score the bread with a sharp knife, using decisive movements. Modernist Bread advises to use a razor blade-like knife called a “lame”.
Scoring is not required for this type of bread, but it does reduce the chance of blowouts.

Now allow the bread to slide from the peel onto the preheated pizza steel (or pizza stone or baking sheet).

This step can be a bit tricky, especially if (as in my case) your peel is a bit small for the bread. The dough will spread a bit more, but do not worry as the “oven spring” should make it rise quite nicely.

Now carefully pour about 250 ml (1 cup) of boiling water into the container on the bottom of the oven, and close the door quickly. This will create steam that will help to obtain a thin crispy crust.

After 20 minutes of baking, remove the container with water, and use a wooden spoon to keep the oven door ajar. This dry step is needed for the crust to become crispy. Lower the temperature to 220C/425F.

Bake for another 10 minutes until the crust is deeply brown but not black (burnt).
All ovens are different. You may have to use higher or lower temperatures than 245C/475F and 220C/425F to get the best results.
The photo above clearly demonstrates the use of a pizza stone. As you can see, the bread is well rounded on the bottom as well. That is a sign of good crust development.
Allow to bread to cool on a wire rack for at least an hour before slicing it. Warm bread is great, but the crumb will tear if it has not cooled sufficiently.
This bread is best eaten on the same day. Store it with the cut side down.
Flashback
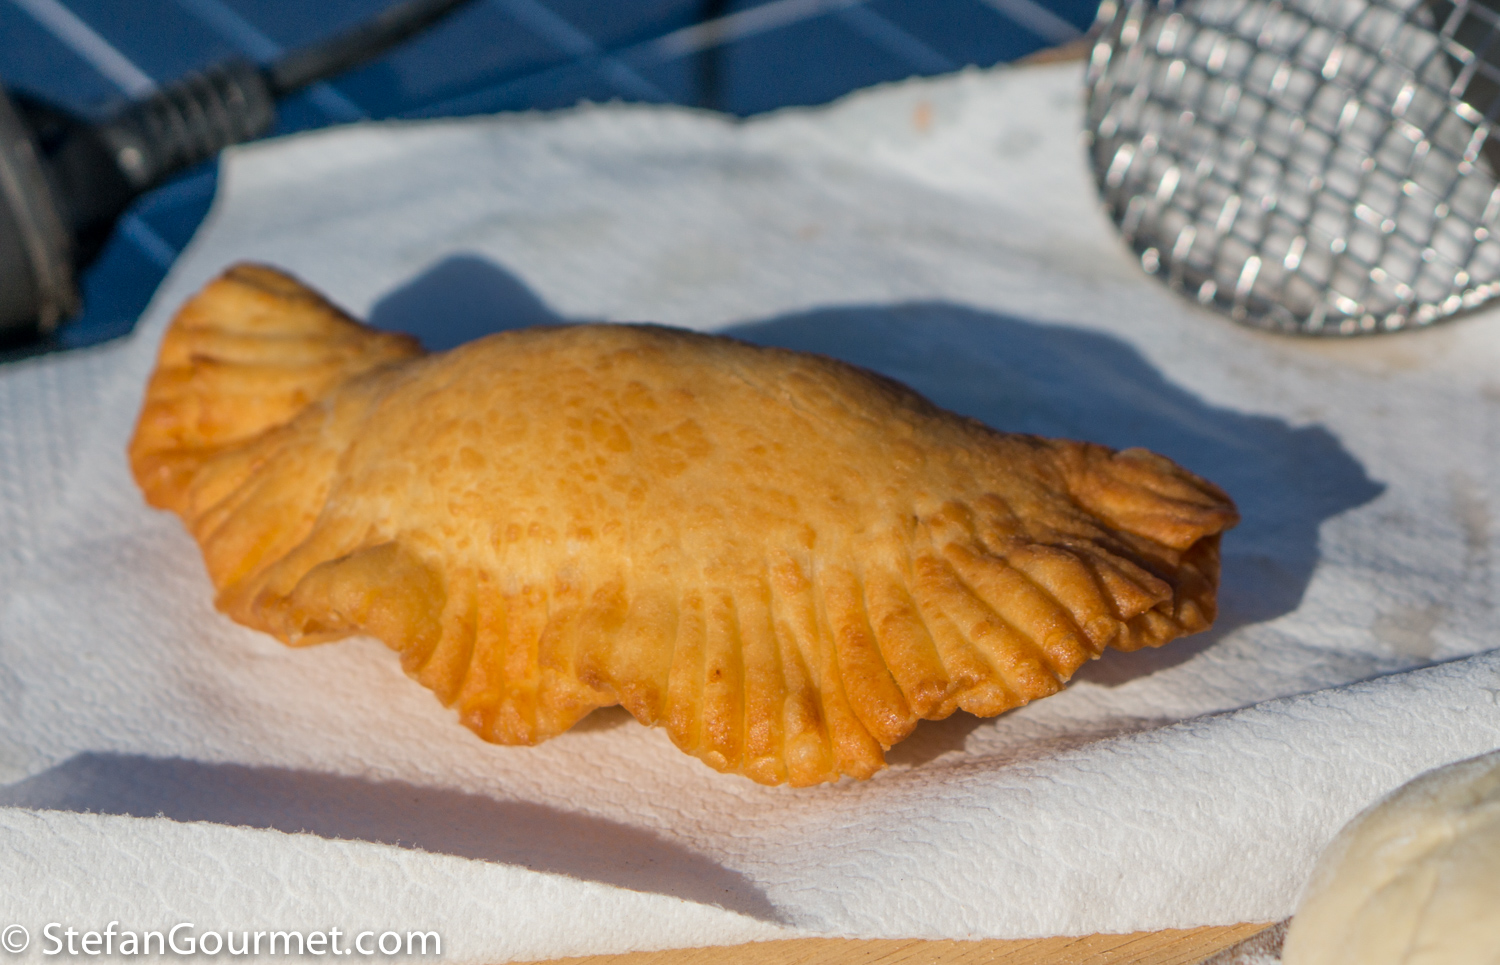
Panzerotti are deep-fried calzone, i.e. deep-fried filled pizza! They are delicious street food from Puglia in the deep south of Italy.


As a bread maker I really enjoyed your post. The Modernist Bread looks to be an impressive read. I will surely be giving your recipe a go soon.
LikeLiked by 1 person
Great, let me know how it turns out.
LikeLike
What are your feelings about fresh yeast? I have had some iffy results with dried yeast in the past so I stopped using it. I will try it but perhaps I should buy a peel first.
LikeLiked by 1 person
fresh/dried yeast: they should perform the same, in fact there are many master bakers, like Peter Rehinhart, that prefer instant dried yeast – it’s more reliable, whereas fresh yeast is rather perishable.
peel: not strictly necessary, if u don’t want to buy it. just transfer the loaf onto some parchment paper placed on an upside-down tray and then you can transfer the lot into the oven. if u decide to buy a peel, look into thin, metal ones, as opposed to wood ones: they perform better
LikeLiked by 1 person
Stefano beat me to it and provided the answers I would have given.
I would add that one advantage of fresh yeast is that it is easy to see if it’s gone bad. For instant yeast you can only be sure if the package was still closed and the expiry date is in the future.
LikeLike
stefan, thanks for all this. Impressive that u decided to buy the tomes.. 🙂 ..
I love both pre-fermented and sourdough breads.
I agree with u, some times sourdough breads are too sour, at least here in London, and they also look the same, Tartine-derived breads: high hydration breads, which I do not like. I don’t like the wet interior, what Chad Robertson defines as “custardy crumb”: I find it too gummy and inedible for at least 36 hour.
However it is possible to make sourdough breads that do not taste sour: just use a very young starter, one that quadruplicates in four hour (warmish temperature): this is what they basically use when they make panettone for instance, where a strong but not at all sour starter is required. Or u could use a starter and a pinch of yeast (Thomas Keller does it, Peter Reinhart too…)
on open texture: high-hydration is not the only way actually. Check this guy
http://www.breadwerx.com/how-to-get-open-crumb-from-stiff-dough-video/
he says it is mainly technique actually: I tried and it does work, with the advantage that one is handling a far easier dough (a stiffer dough). This is also my experience with good quality Italian breads: nice open texture, but fairly dry crumb: i.e. an open texture is achievable also using far less water.
On pane pugliese: this is odd (coming from such a reputable source): in Italy, in Puglia actually, pane pugliese is always made with at least a percentage of durum wheat flour (semola rimacinata di grano duro): like in the famous altamura bread, which is 100% semola. If no semola is used, the bread is, generally, not called a “pugliese bread” . I wonder why they call it this way (they must have a reason)
I will give this bread a go, because it looks excellent (and the recipe looks easy to, even if I know that the really difficult part of bread making is the shaping, where one can “destroy” all the good work done untill that point)
look forward to other ideas from Modernist bread. thanks again for this long, detailed post
LikeLiked by 1 person
Ciao Stefano, I would think it’s even more impressive to actually read the books 🙂
This high hydration bread definitely does not have a wet interior or a custardy crumb. That doesn’t sound desirable to me either.
I have made sourdough breads that do not taste sour, using Italian-style lievito madre. I got tired of maintaining the starter, even though I already used a pinch of yeast to avoid having to feed it every day.
You mention the exact reason why I did not entitle my post “pane pugliese”. Modernist Cuisine sometimes makes strange choices, and this is one of them. I would like to try actual pugliese, with durum flour as well as olive oil.
I hope you try this bread!
LikeLike
That looks and sounds amazing!
LikeLiked by 1 person
That bread looks absolutely beautiful 🙂
Great recipe.
Thanks!
LikeLiked by 1 person
Great example Stefan! I would support others and urge you to try the sourdough (or rather natural yeast) breads- mostly they are not sour, but the longer fermentation time (from lack of yeast) makes an amazing difference to taste! I know you are a keen practitioner, give it a go and see how you do!! best wishes
LikeLiked by 1 person
Hi, I have tried sourdough bread and the flavor is great but creating and maintaining the starter is a nuisance. https://stefangourmet.com/2015/01/25/sourdough-bread/
I would like to try high hydration sourdough though!
LikeLike
Your finished loaf looks absolutely fantastic. I’ve used the Jeff Hertzberg method – ie loads of water, simply mixed with flour salt and yeast, no kneading and left for a very long prove in the fridge – eg 2 days plus. It’s mighty tricky to manage as it’s a case of scooping it out and shaping with minimal damage to the structure but has a fabulous crust, good open bubbles and a sourdough style texture.
LikeLiked by 1 person
I have used that method for pizza dough and it worked very well, but not yet for such a high hydration.
LikeLike
Voglio farlo proprio come dici tu passo passo
LikeLiked by 1 person
Thank you for this post. I can’t wait to try this recipe as I so love a soft chewy bread with a crispy crust.
LikeLiked by 1 person
That loaf really does look incredibly delicious Stefan! Thanks for all the new tips… will be implementing some of them for sure. Cheers!
LikeLiked by 1 person
. . . . good luck and lots of patience to all . . . .someone has to be there purely as a taster . . . .
LikeLiked by 1 person
That someone is called Kees 🙂
LikeLike
🙂 ! Touche !!!
LikeLiked by 1 person
Great information, Stefan, thank you! I have been making a focaccia from Biba’s Italian Kitchen since my early 30’s and it too had a biga but she actually called it a starter (American TV). The focaccia produced a wonderful chewy texture with a nice crust. Lately, I’ve been wanting to try the Japanese method with tangzhong but I’ve not gotten around to it, we don’t eat a lot of bread. Although, I will share a recipe for sweet potato buns that I’ve made several times; it uses the sweet potato purée in a biga for a soft, pillowy texture.
Your loaf looks absolutely amazing, the crust is gorgeous! I have two proofing baskets, one that is round for a boule and the other is similar to your but smaller (I bought it at E.Dehillerin in Paris a few years ago). I have trouble with high hydration doughs sticking to the basket, do you have any tips for that?
LikeLiked by 1 person
That’s interesting, I have that book (and most others by Biba) but have never tried that recipe. The proofing basket needs to be ‘seasoned’ by spraying with water (using a plant spray) and very generously sprinkling it with flour, then allowing it to dry. Before each use, tap it upside down so any clumps will fall out, and very generously sprinkle with flour before each use. I’ve just bought new ones in a smaller size, and I’ve had some minor sticking issues with them as they have not been seasoned yet. Hope this helps!
LikeLike
I have seasoned them but obviously not well enough! I will continue to season on my next bread making experiment. Thank you Stefan.
LikeLiked by 1 person
Congratulations! This is a beautiful loaf of bread. Amazing! I’ve made the same experience like you: I’ve always been pretty satisfied with my homemade bread. However, I’d like to have a more open texture with a lot of “mouse holes”. So, high hydration is the way to go. One thing still puzzles me: How do the pros work with this kind of dough? It is very unlikely that they use oiled plastic containers. While this is probably a perfect method for the home baker, it would be very inefficient as a professional workflow. By the way, have you ever tried the dutch oven method?
LikeLiked by 1 person
Hi Mike, I have not tried the Dutch oven method yet since I do not own a suitable vessel, but I would like to try it. I get the impression from the book that large plastic tubs are also used in artisanal commercial bakeries. When you get to the really big factories, they will have specialized equipment or not make a similar bread at all.
LikeLike
As a bread maker of about 40 years, I have to say this has become one of my very favourite recipes. Thanks!!
LikeLiked by 1 person
I have made this bread and everything looked exactly as it should until it came to the actual baking. My bread turned out great at the top, but was much more dense at the bottom. I believe the reason was that the setup with a water bath below the stone. Using an instant read thermometer before I put the water in, it read 260c. When I checked it again while taking out the water bath, it was only 200c. The reason is the steam being only 100c had cooled the stone and the bread did not brown properly at the bottom and was dense at the bottom. I therefore do not recommend the setup illustrated. I am going to try the water bath next to the stone next time
LikeLike
Hi Roy, it sounds like your oven is not powerful enough, or perhaps wasn’t turned on properly during the baking? Did you add boiling water or cold water? Was the baking stone preheated for at least an hour? Although it is true that the oven will have to work harder to evaporate the water and that the temperature of the WATER is limited to 100C, the temperature of steam is not limited to 100C and the oven should be able to keep the temperature at 235C during the baking. The heat for the bottom should primarily come from the preheated baking stone. I don’t think the position of the water bath will matter that much if your oven is not powerful enough, because the steam/water vapor will move freely through your oven anyway. But if putting the water next to the stone helps, I would love to hear about it. It is always nice to learn something new.
LikeLike
Could you list your equipment and sources?
Many thanks!
LikeLike
My equipment is a Siemens or Bosch oven with a 2.5 aluminum plate
Source: Meneba Edelweiss bread flour
LikeLike
MANY THANKS!
Also your dough scraper, plastic bin, that sort of stuff…i am just setting up for bread and like your approach BEST !!
LikeLike