
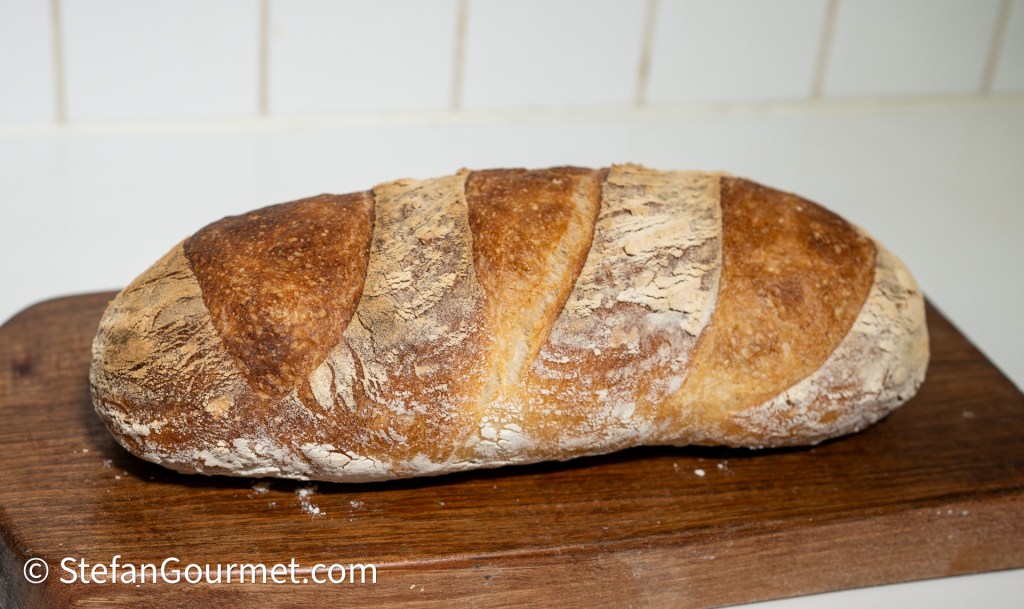
Six years ago, I studied the Modernist Bread books, and greatly improved the bread I was baking. I’ve been baking bread this way ever since and everyone loves it. I’ve been directing people who wanted to bake the same bread to the post I wrote back then. However, that post is not ideal if you just want to know how to bake the bread, because it discusses the changes I made to the recipe in Modernist Bread and the choices I made. Also, I have simplified a few steps that (as far as I can tell) do not have a significant impact on the result. To make it easier for others to reproduce ‘my’ bread, I’ve written this new post.

The most important thing to get good results is to use good flour. It should be “strong” bread flour with a high protein content, at least 10.5%. The second most important thing is the oven, especially for the crust. But I’ve still been able to produce very nice bread in bad ovens, by preheating them for a long time, and by using the broiler if necessary. It helps to have a pizza steel or pizza stone, but that is not essential. It also helps to have a steam function in the oven, but also that is not essential.
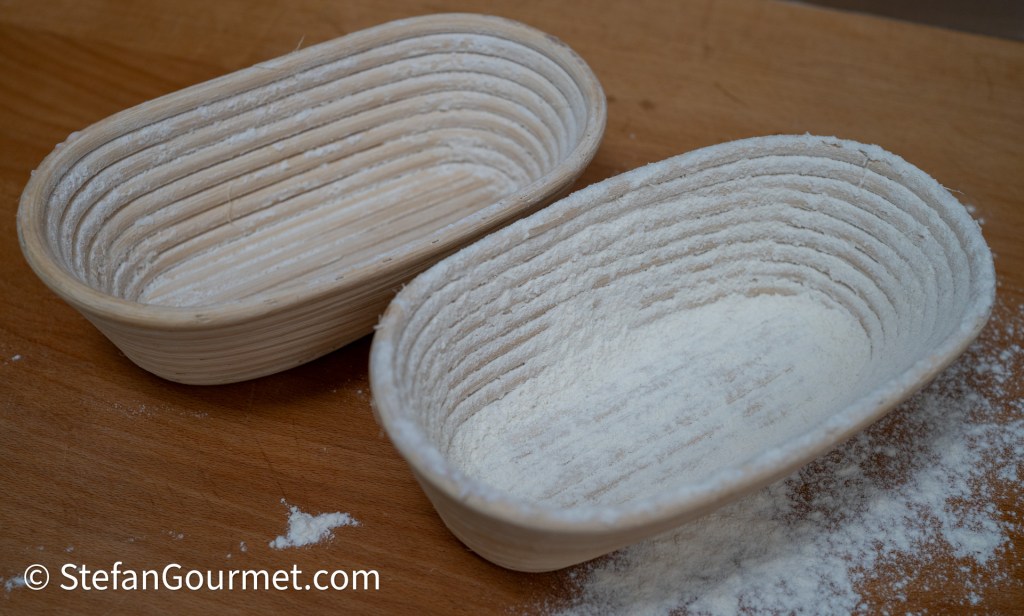
What is essential is to have proofing baskets. I prefer to use 2 proofing baskets for 500 grams of dough each, with a size of about 24 x 13 cm (10 x 5 inches), but you can also make one larger loaf.
It will take at least 6 hours to bake this bread, not counting the pre-ferment that has to be prepared the night before. The active time is perhaps about half an hour altogether, but there are many steps.
This bread has great flavor and texture, so it’s worth the effort.
Ingredients
Makes 2 loaves of 500 grams of each
- 565 grams strong bread flour (divided into 200 grams + 365 grams)
- 435 ml water (divided into 200 ml + 235 ml)
- 11 grams salt
- 1 tsp (3 grams) dry instant yeast, plus 1/8 – 1/4 tsp for the pre-ferment
- olive oil for greasing the container for the bulk ferment
Instructions
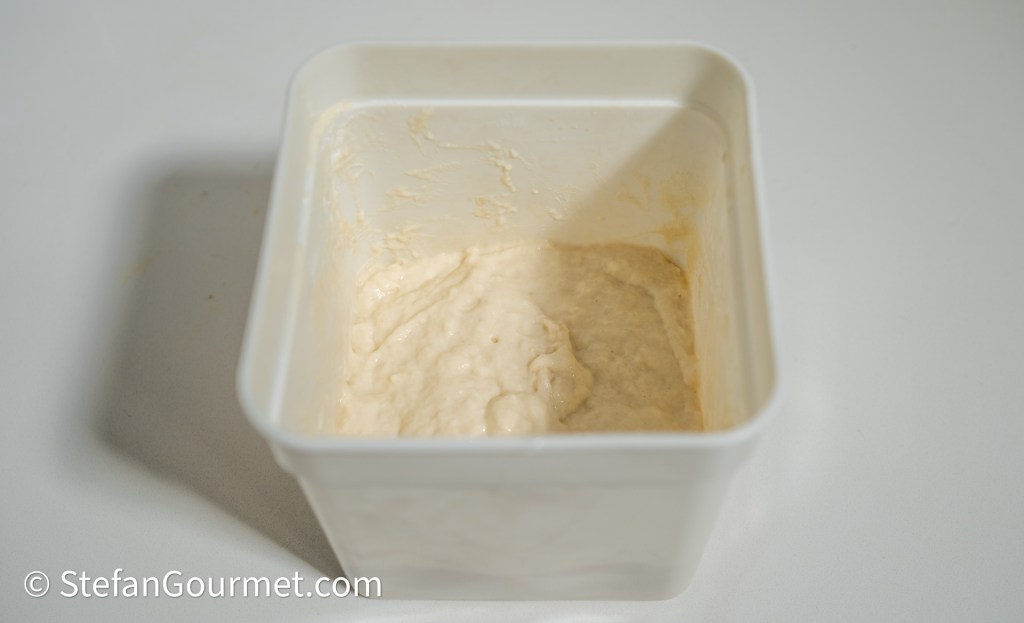
The night before, stir 200 ml of water with 1/4 teaspoon of dry instant yeast in a plastic container with a cover. Then add 200 grams of flour and stir until just mixed. Scrape down the sides of the container.
In summer, cold tap water and 1/8 of dry yeast will be sufficient. In winter, room temperature water and 1/4 of dry yeast are needed.
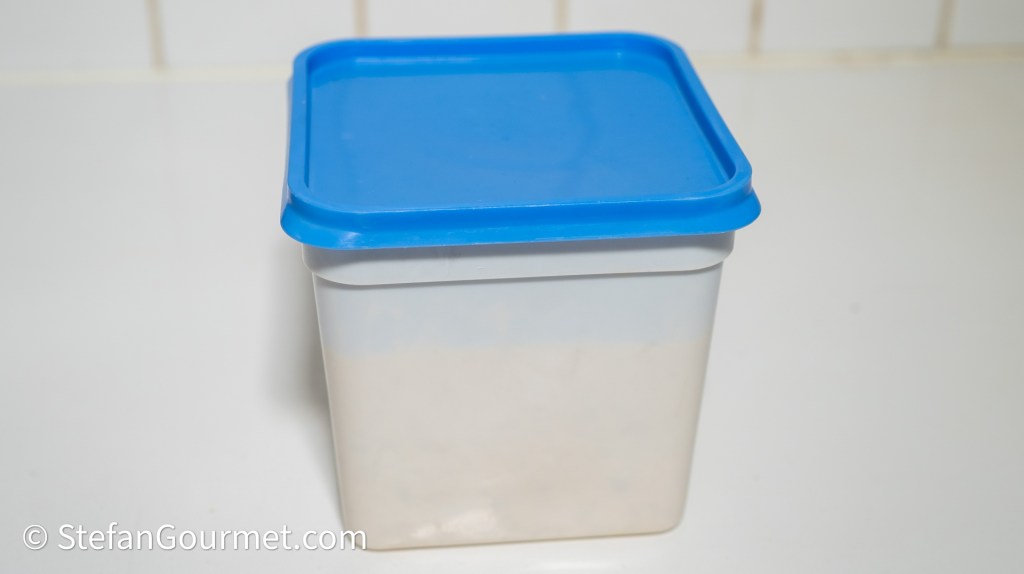
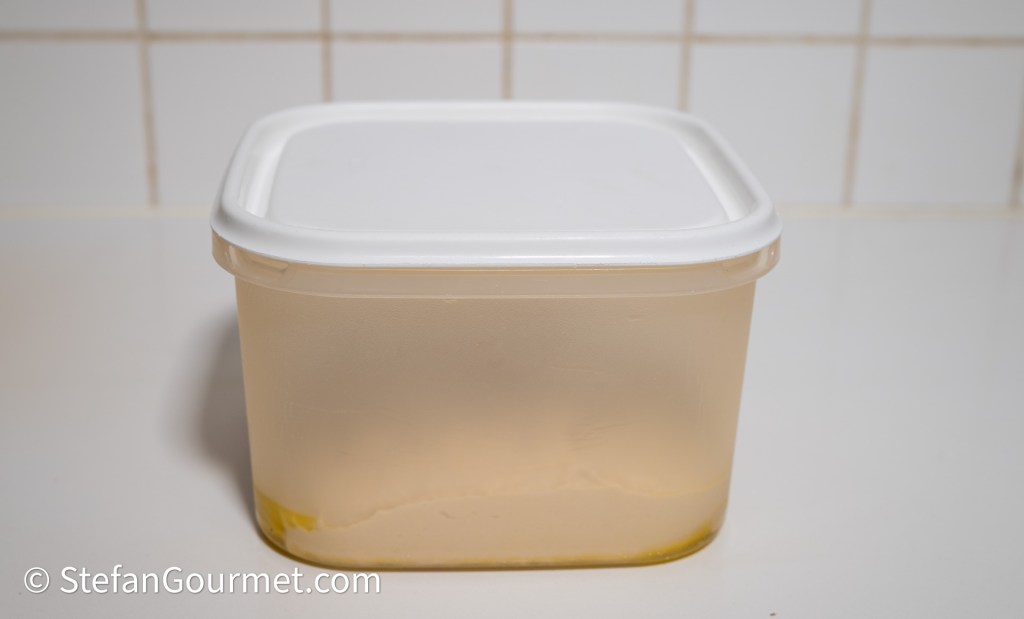
Cover the container, and allow to ferment overnight.
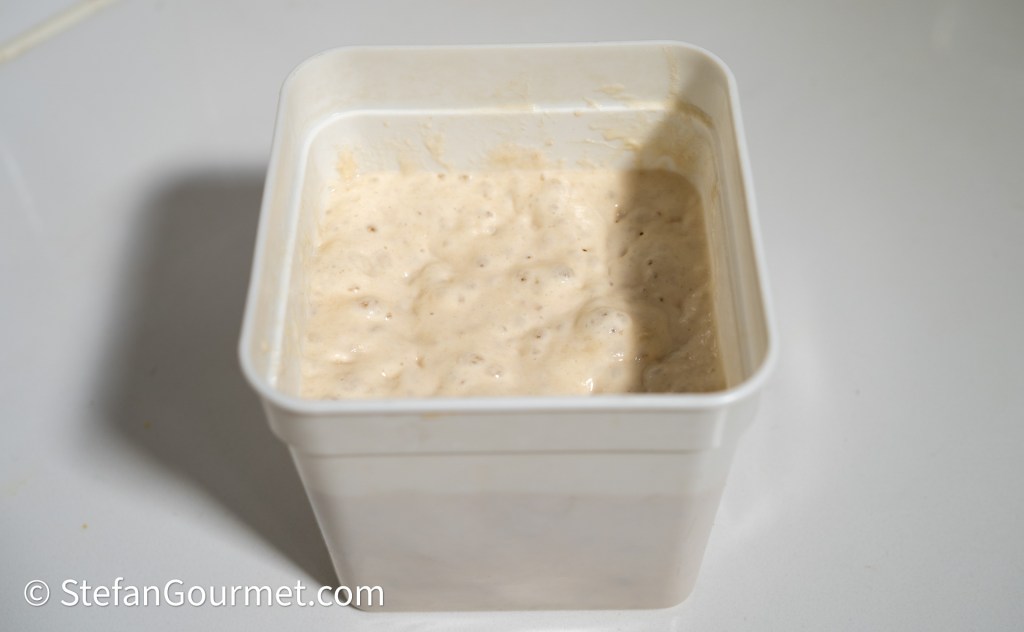
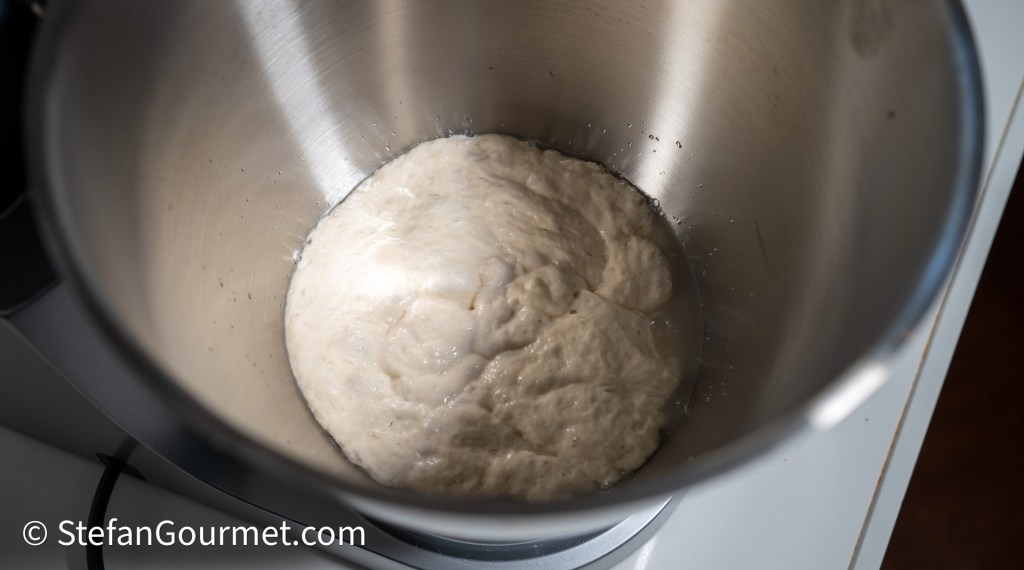
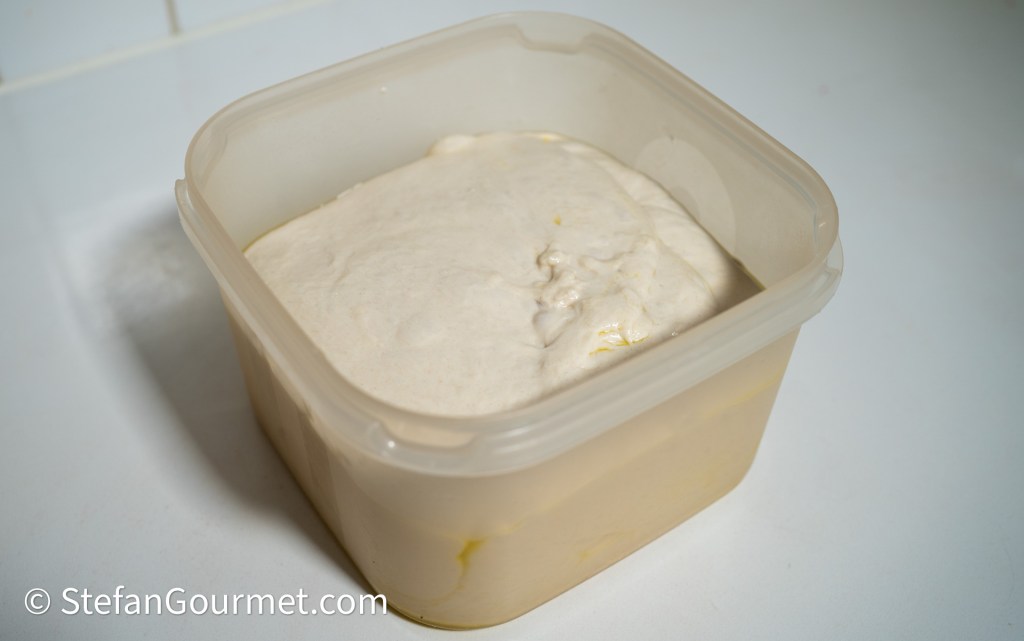
The next day, it should have more than doubled in volume and it should be quite foamy/bubbly.
Trouble shooting:
- If the water or ambient temperature was too warm or you used too much yeast, it may have collapsed already. Next time, use less yeast or cooler water or ambient temperature.
- If the water or ambient temperature was too cold or you did not use enough yeast (or the yeast was dead), it may not have doubled in the volume. If the yeast is working but slowly, you can wait longer and put it in a warmer place to wait until the has doubled in volume. Next time, use more yeast or room temperature water or a higher ambient temperature.
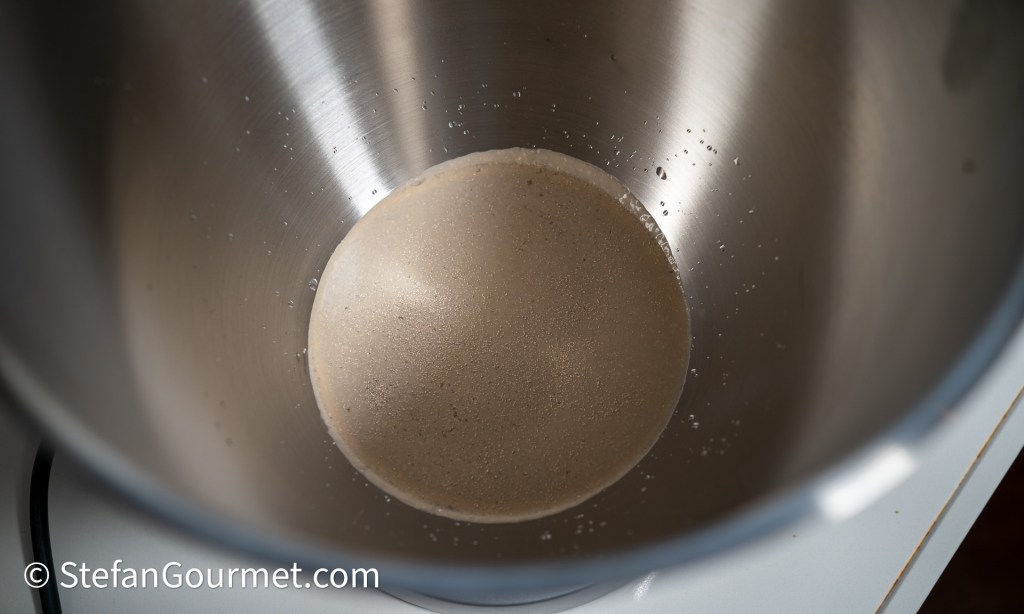
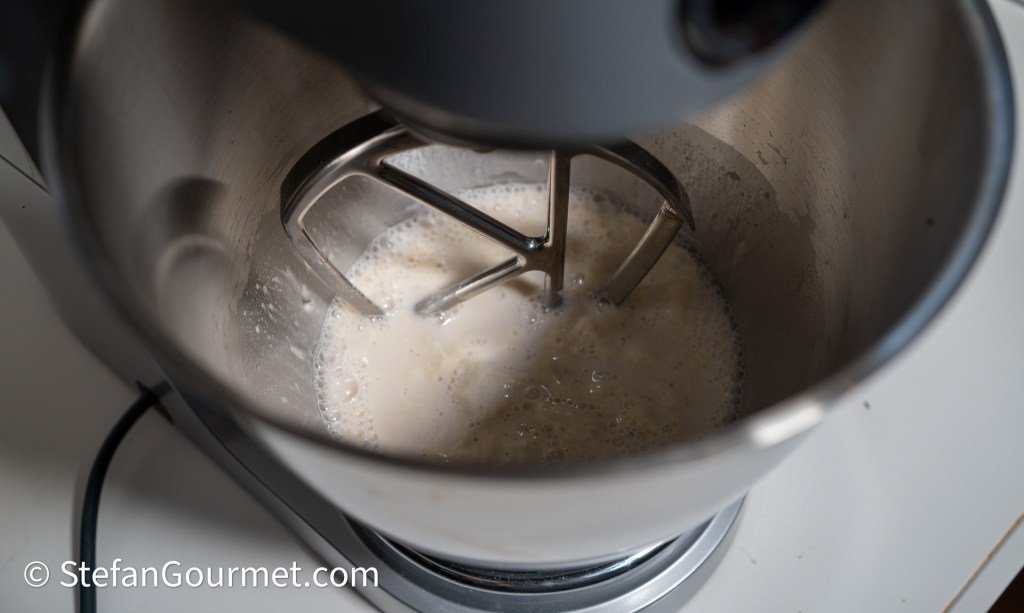
Place 235 ml of water in the bowl of a stand mixer. In winter, this should be room temperature water. Add 3 grams (1 teaspoon) of active dry yeast.
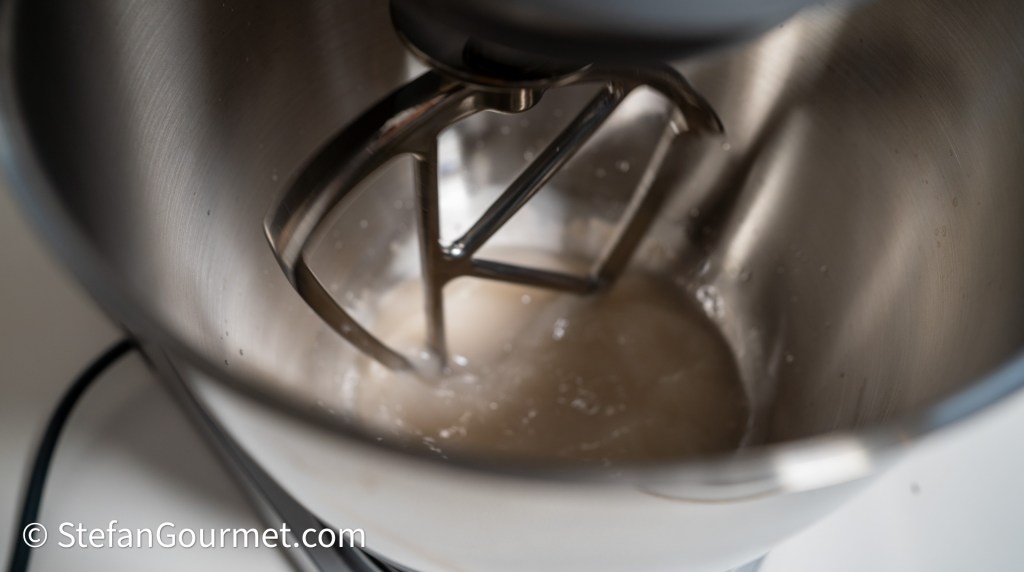
Process briefly with the paddle attachment until the yeast has dissolved.
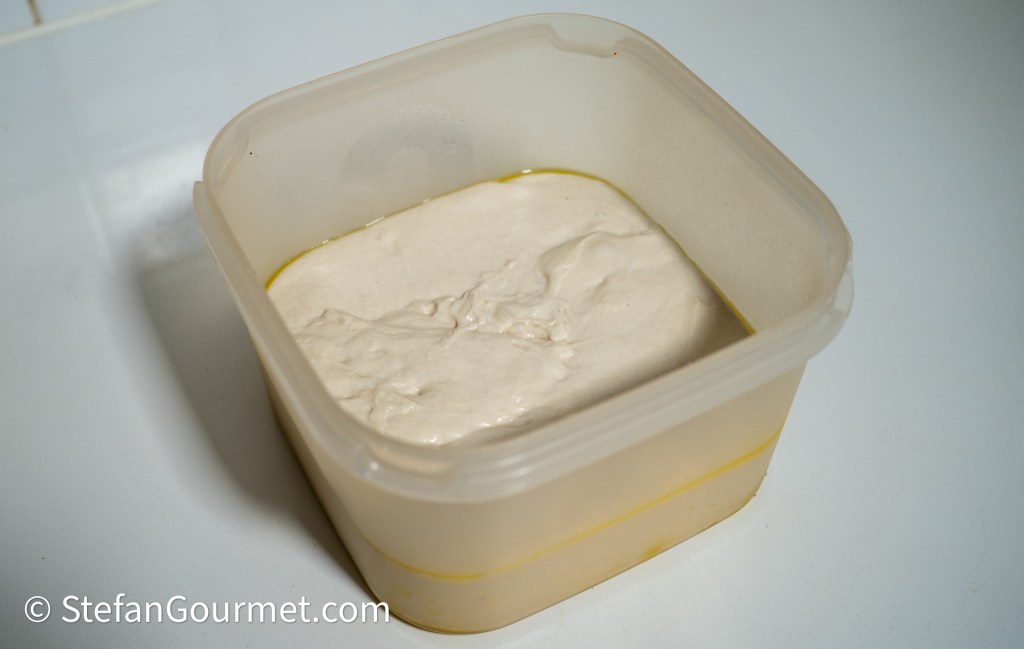
Add the pre-ferment.
The pre-ferment should float on top of the water. If it doesn’t, refer to the trouble shooting above.
Process briefly to mix the pre-ferment with the water. (This step is not very important and can be skipped.)
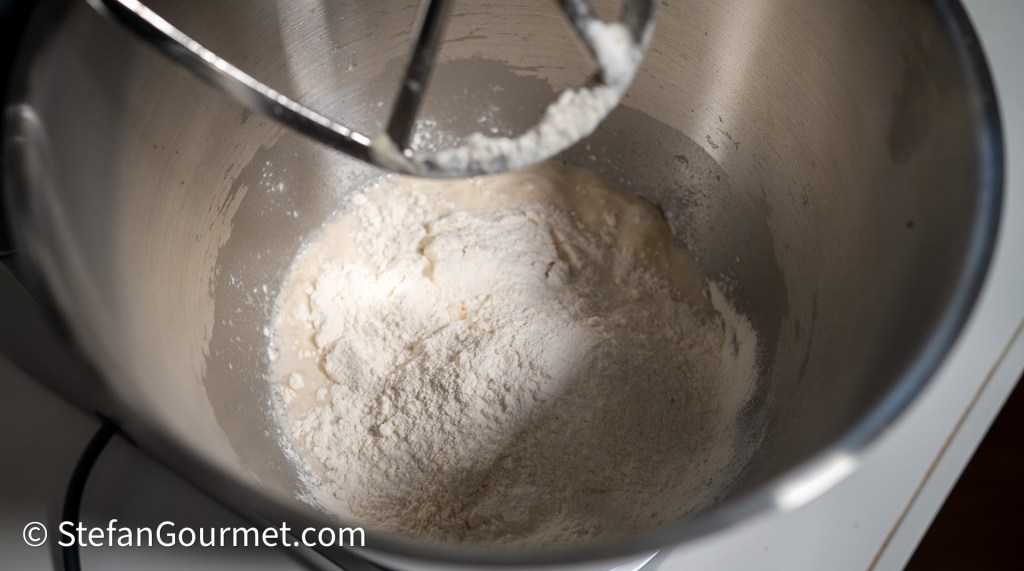
Add 365 grams of flour.
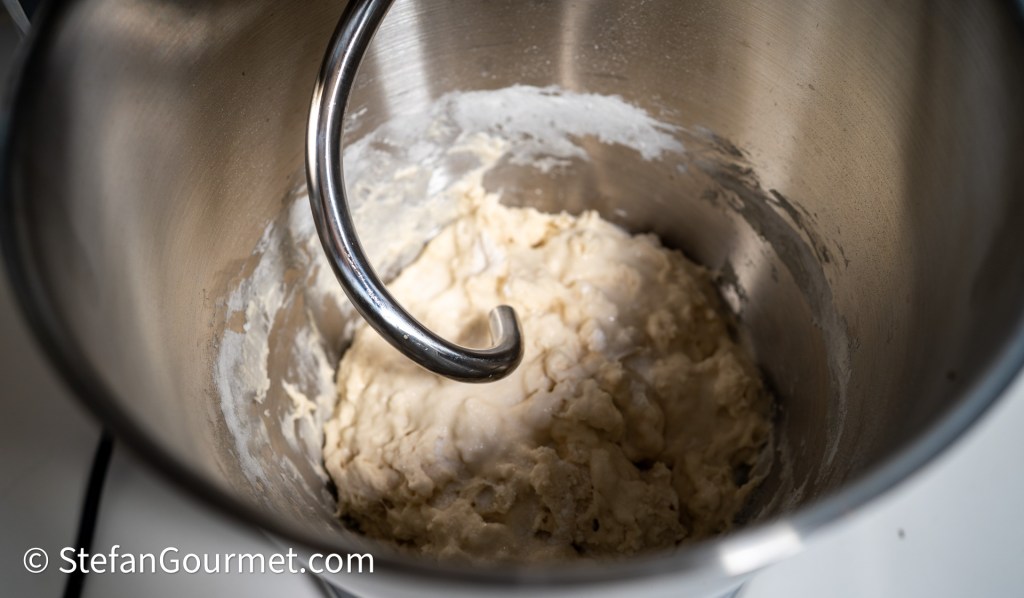
Mix with the paddle attachment on slow speed until it looks like a “shaggy mass” and most of the flour has been incorporated into the dough.
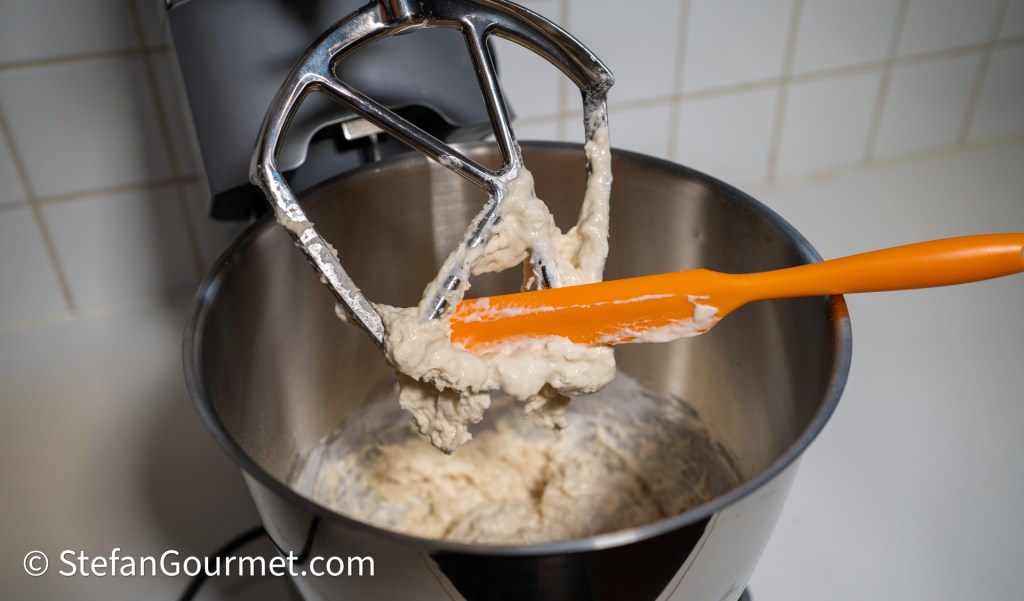
Clean the paddle attachment with a silicone spatula, and remove it.
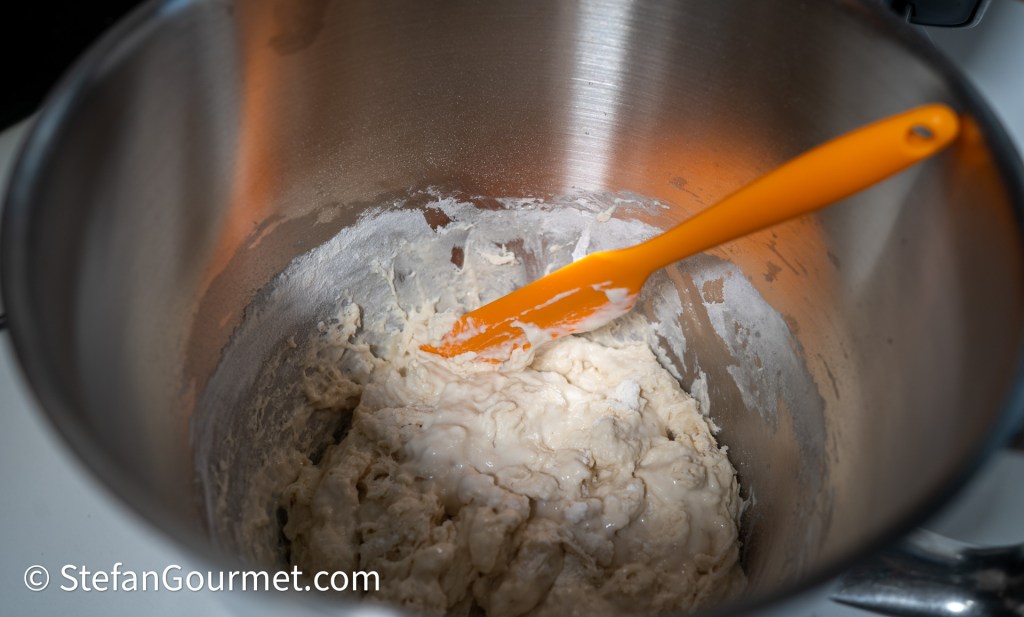
Scrape down the sides of the bowl with the silicone spatula.
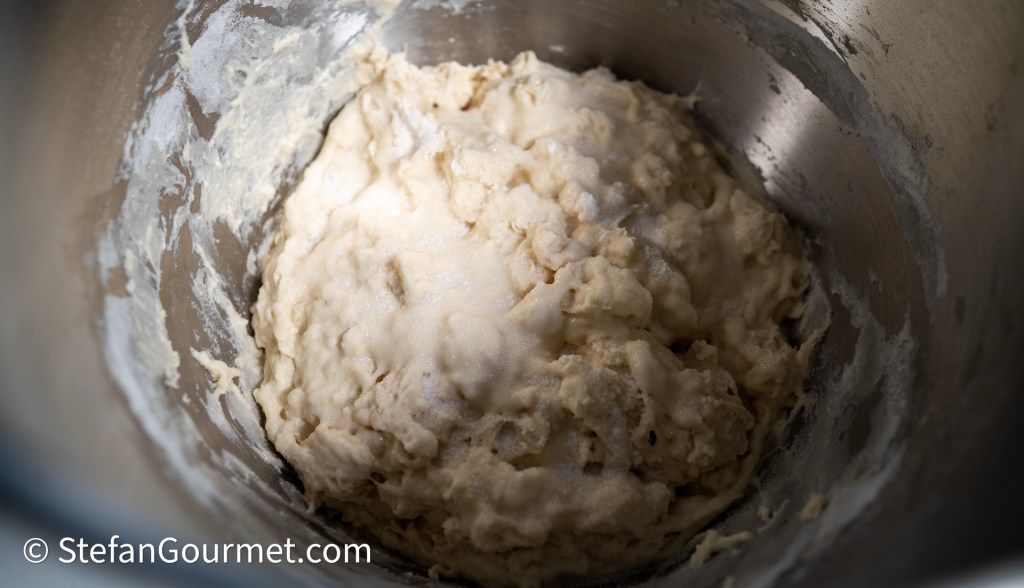
Sprinkle 11 grams of salt evenly on top of the dough.
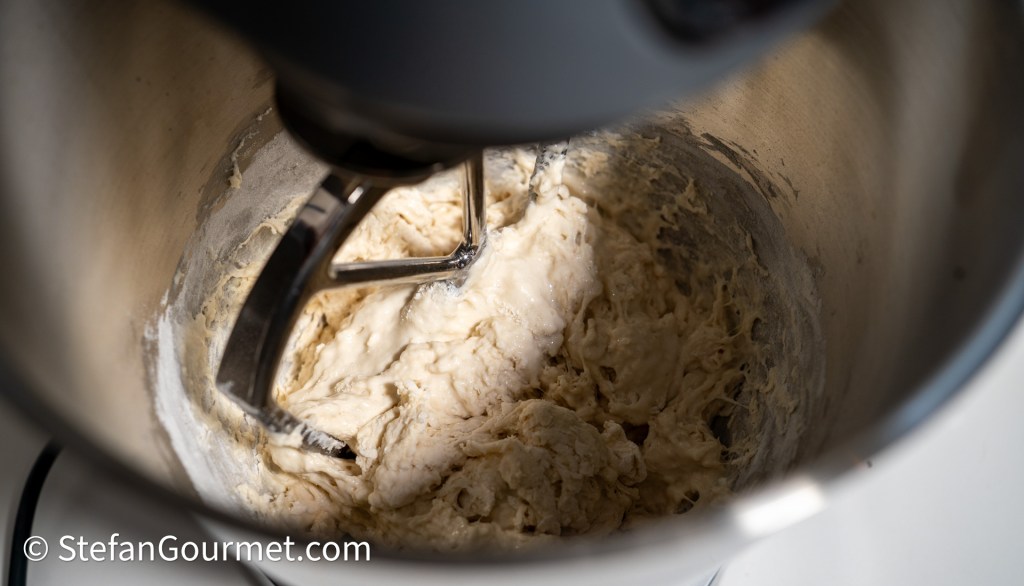
Switch to the dough hook. Knead on medium-high speed for 4 to 5 minutes.
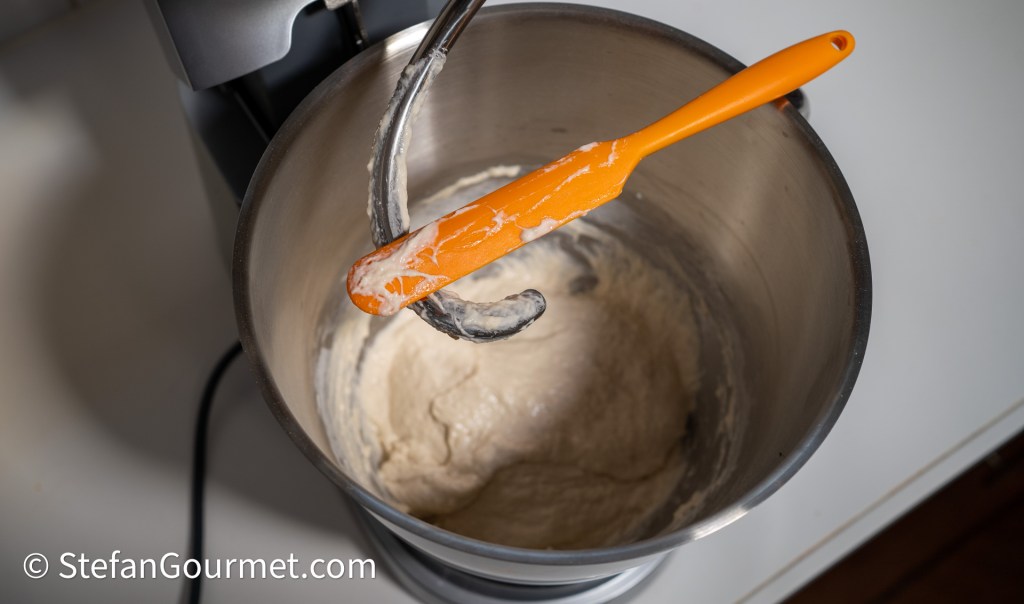
To knead the dough evenly, clean the hook with a silicone spatula, then continue to knead on medium-high speed for 4 to 5 minutes.
The higher the speed, the quicker your dough will be ready. If the speed is too high, the stand mixer will move all over your counter.
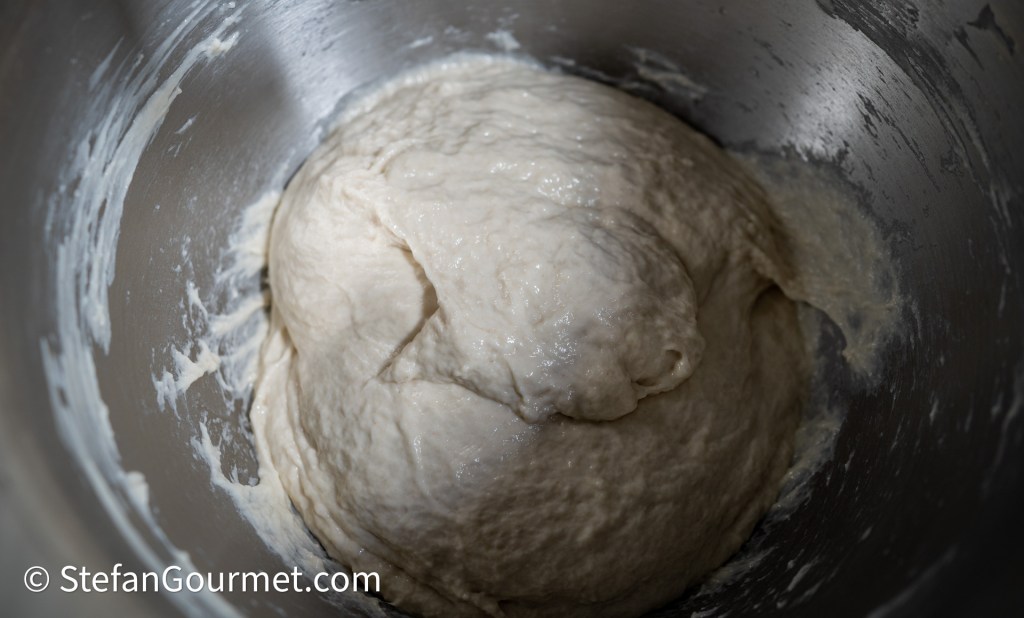
If the dough still looks lumpy like this, you need to knead it more…
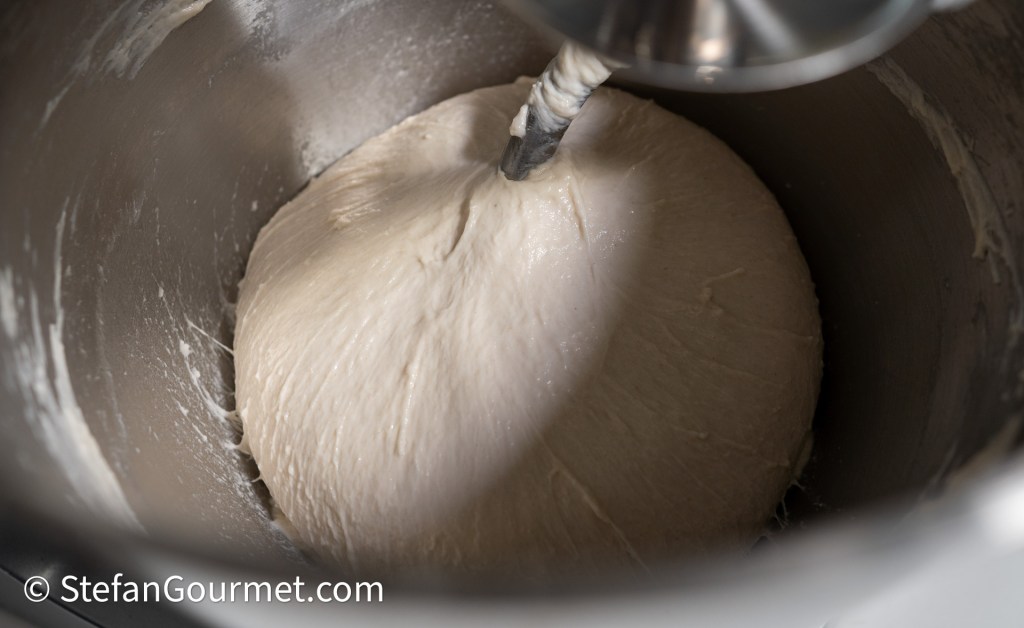
…until it looks at least as smooth as this.
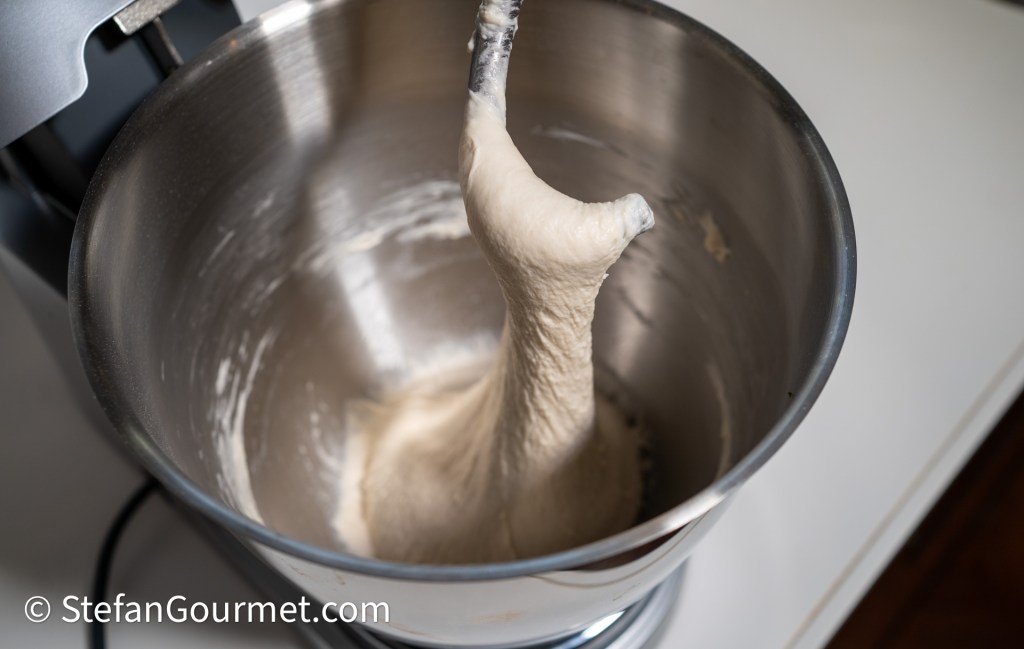
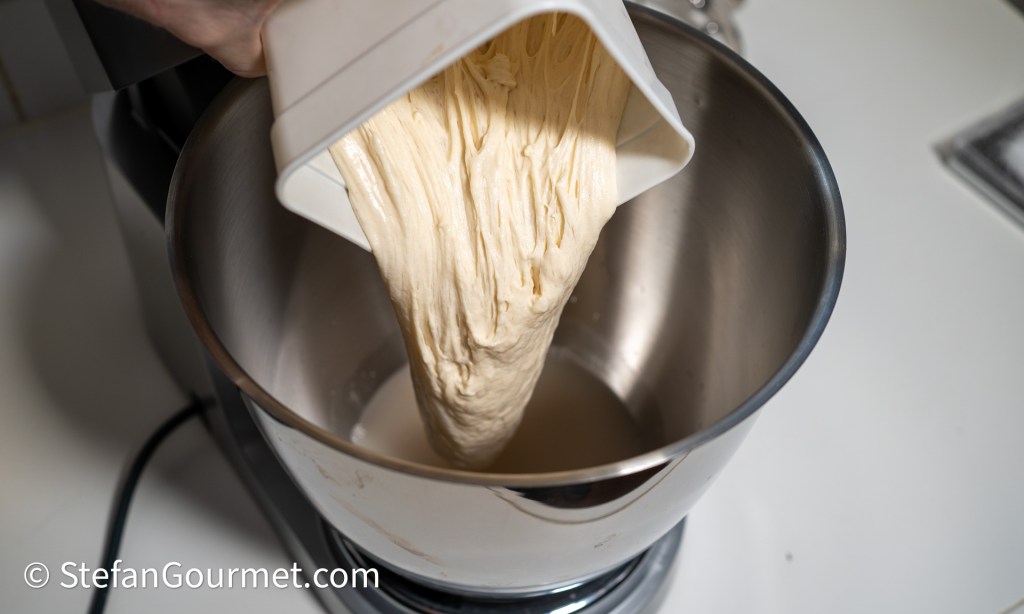
The dough should be quite firm and very stretchy. If you lift the dough hook, the dough should stick to it and take a long time to fall off. If you know what the dough is supposed to look like when you have kneaded it long enough, there is no need to perform a window pane test as described in the blog from six years ago.
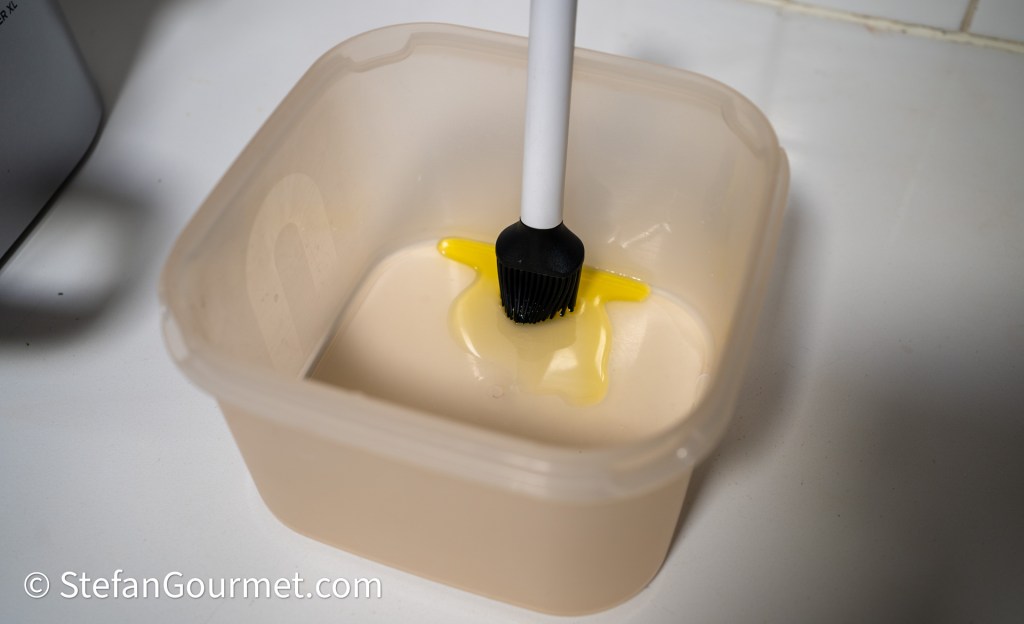
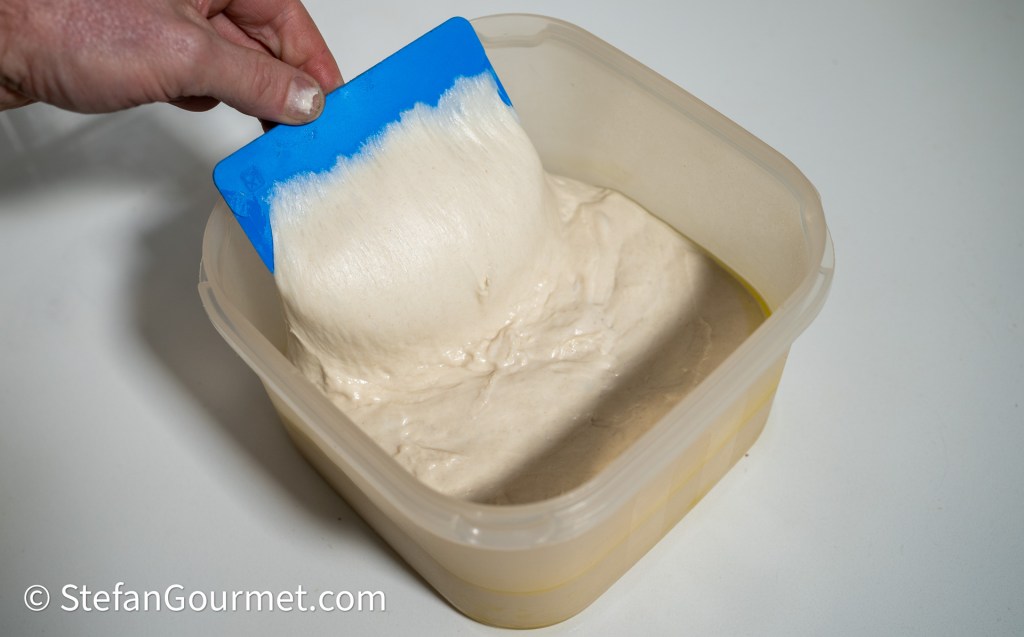
Grease a plastic container with a cover with a scant amount of olive oil.
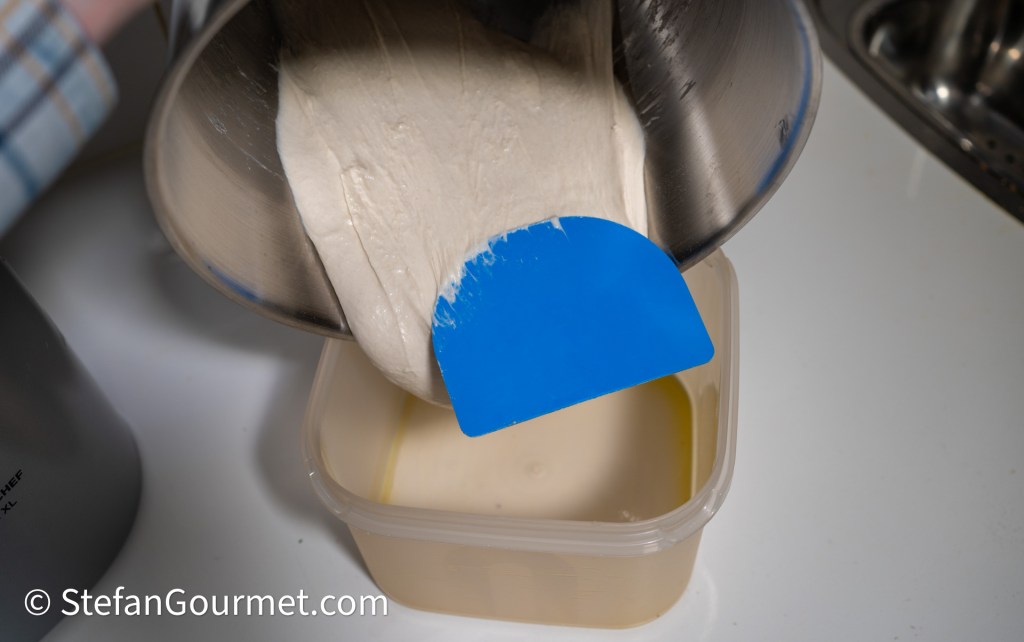
Transfer the dough to this container with the help of a dough scraper.

The container should be large enough to allow the dough to at least double in volume.
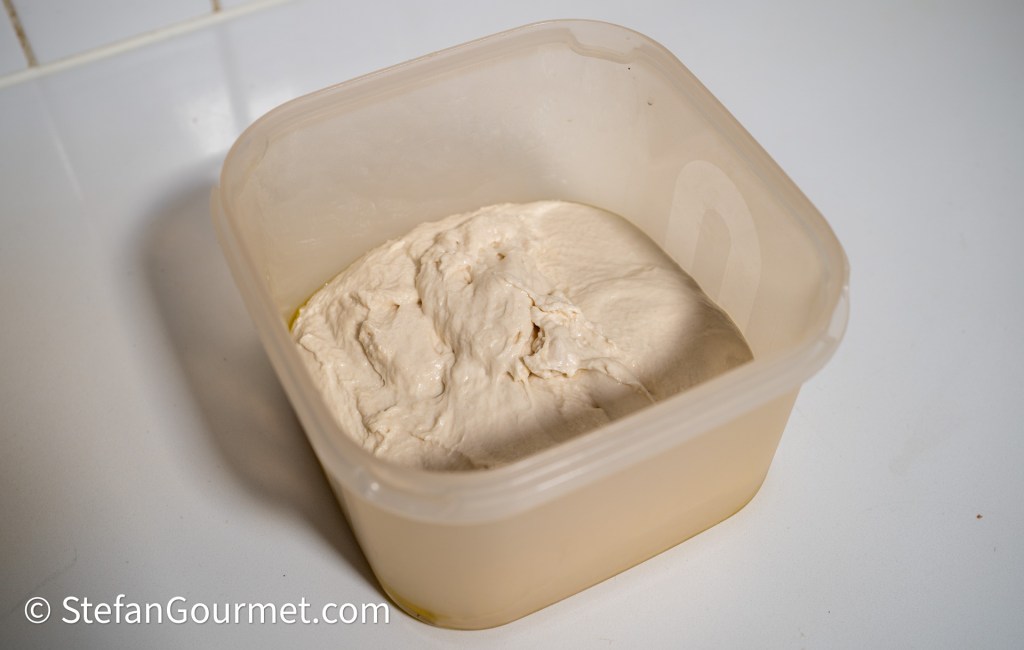
There is no need to flatten the top.
Cover and allow to bulk ferment (also known as first rise). The time this will take depends on the ambient temperature. In winter, it may be helpful to put the container in the oven with the light turned on (if your oven still has an old-fashioned light that will provide some heat; new ovens with led lights will not work) or the oven turned to 27C-30C/80F-85F.
You will need to perform a four-fold “stretch and fold” twice. In optimal conditions (of 27C/80F) this is after 45 minutes and after another 45 minutes.
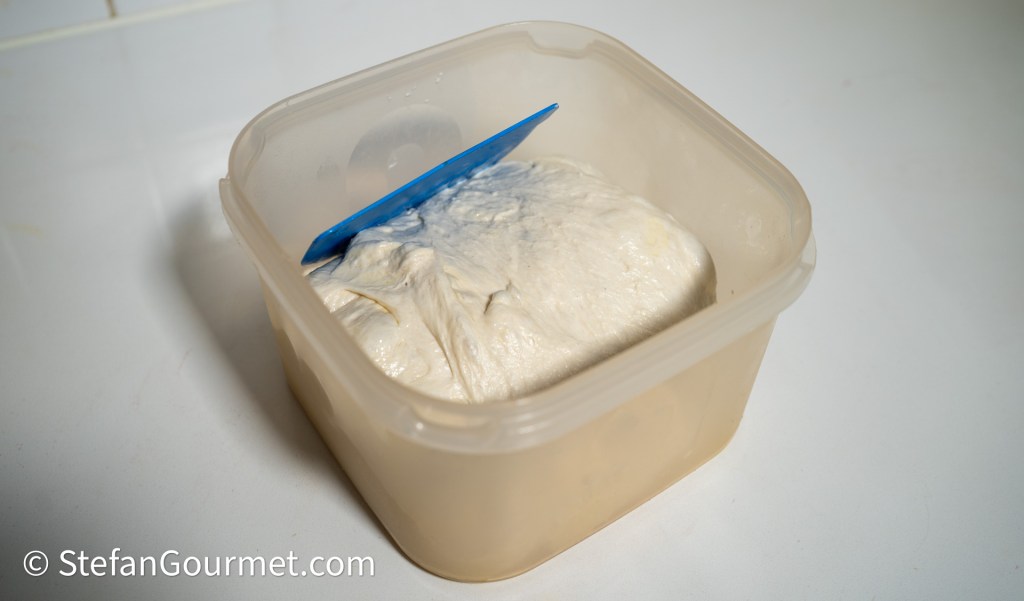
Dust your hands with flour and use a dough scraper. Pick up one side of the dough, stretch it, and fold it over.
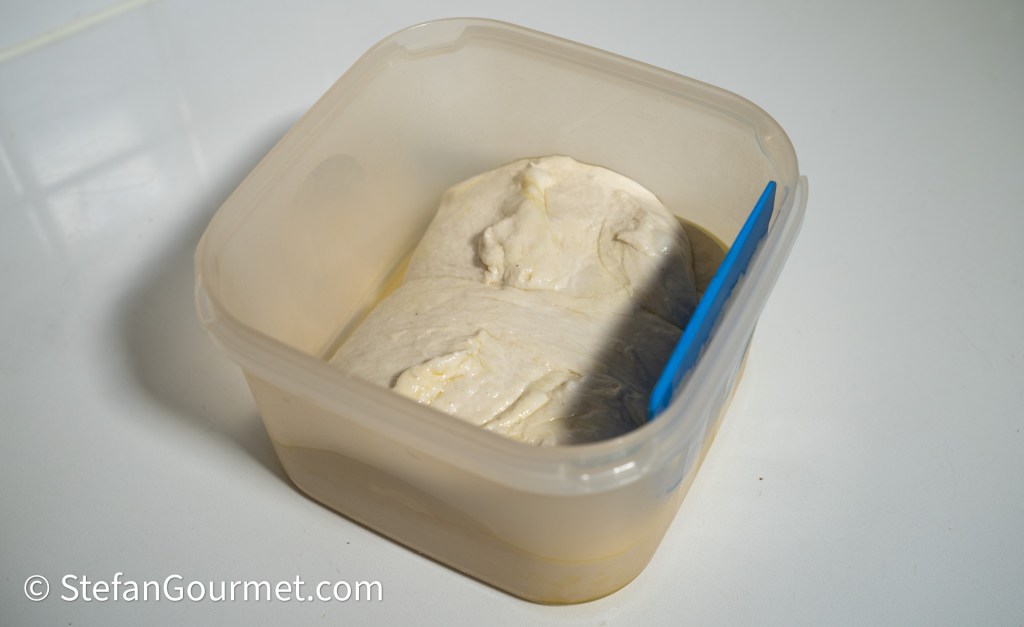
Then turn the container 90 degrees, and repeat this four times, until you have folded the dough from each of the four sides.
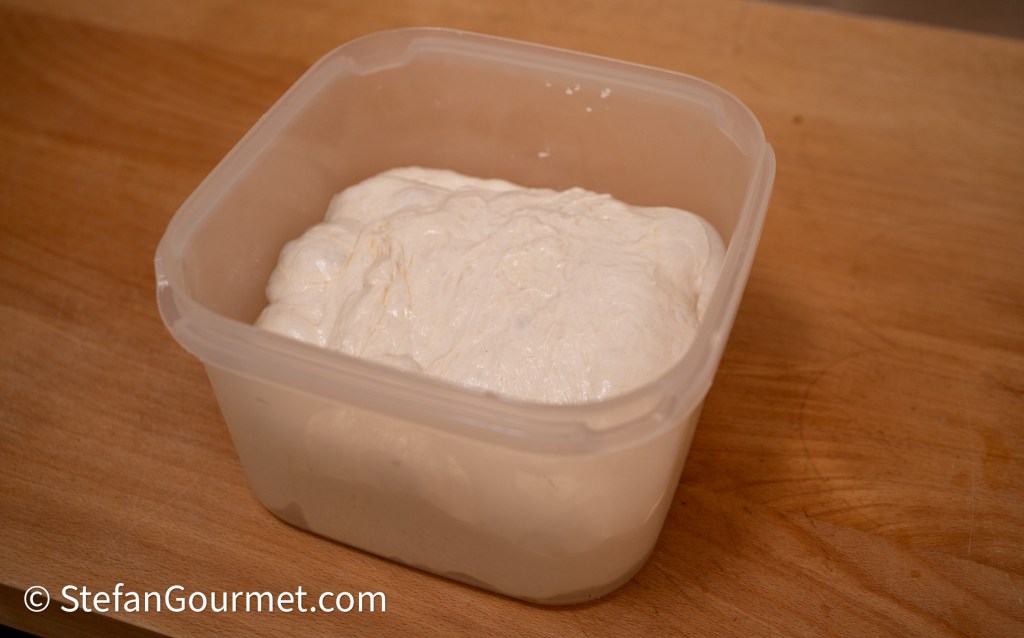
Before the second “stretch and fold”, the dough should have doubled in volume. In cooler conditions, it can take a lot longer than 90 minutes for the dough to double in volume. You can speed this up by using the oven as described above, or take advantage of the time to do go grocery shopping or working out at the gym (or whatever). The times are quite flexible, as long as you do the “stretch and fold” twice and the dough doubles in volume. Sometimes I work out in between and allow it to go for 2 hours between the first and second “stretch and fold”.
After the second “stretch and fold”, allow to bulk ferment for another 30 minutes or so. (Again, no need to use a timer.)
Now the dough is ready to be shaped into loaves.
Sprinkle the proofing baskets accurately with flour. Try to spread out the flour evenly.
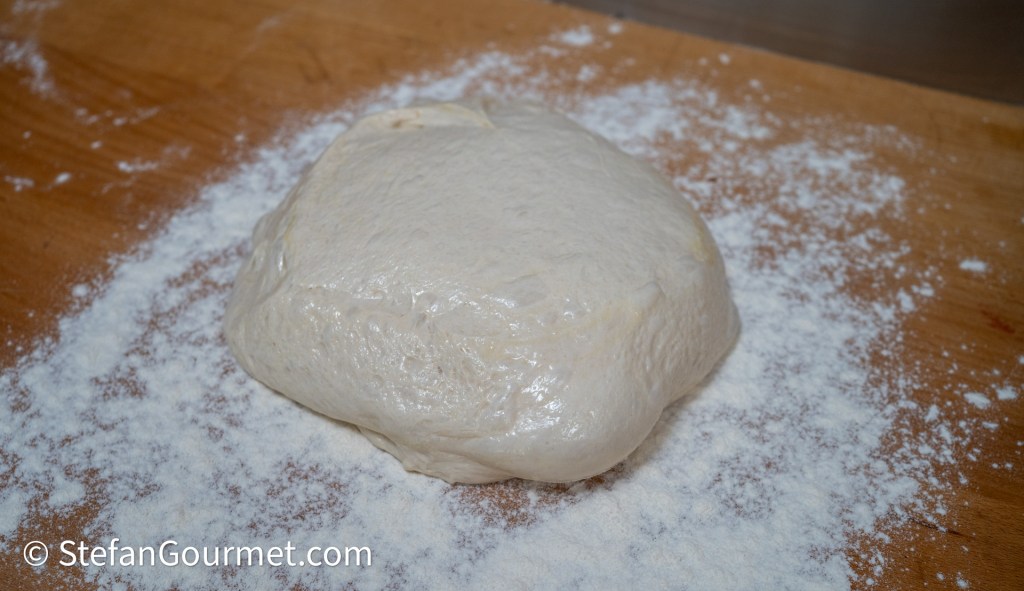
Sprinkle your work surface (wood is best) with flour and gently turn over the dough onto the floured work surface. Try to keep as much air in the dough as possible as you work with it, so do not press down on it and do not drop it on the work surface.
Trouble shooting: if the dough is very flat and does not hold its shape when you turn it onto the work surface, you did not knead it for long enough, or the flour you used doesn’t have a high enough protein content (which both means the gluten are not strong enough to allow the dough to keep its shape).
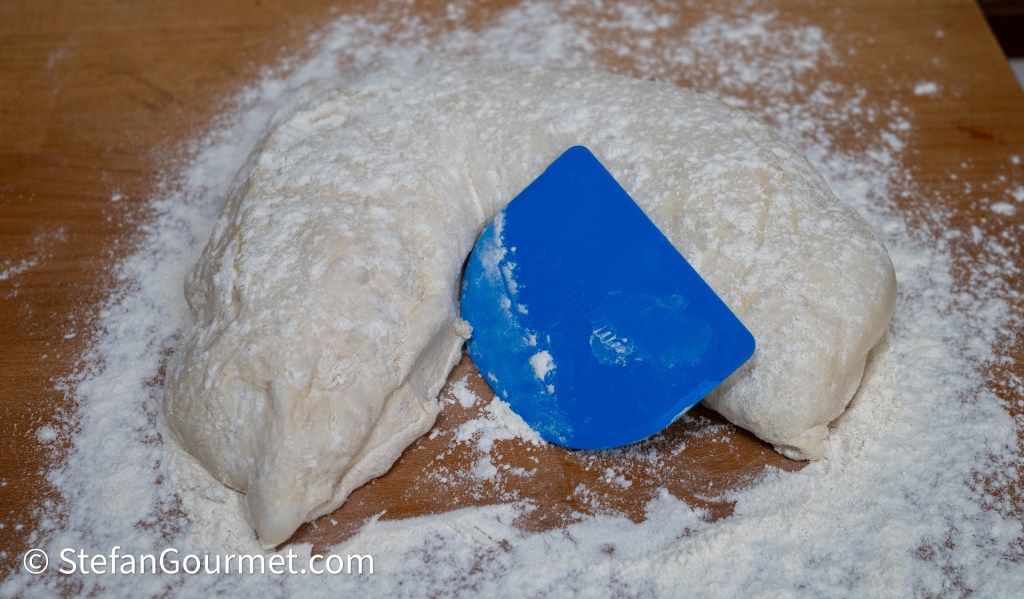
Sprinkle the top of the dough with flour, and use a dough scraper to split it into two pieces of equal size (if making two loaves). I use scales to make sure I have to pieces of about 500 grams each. If they are not roughly the same size, they won’t cook evenly and it will be more difficult to tell if they have risen properly.
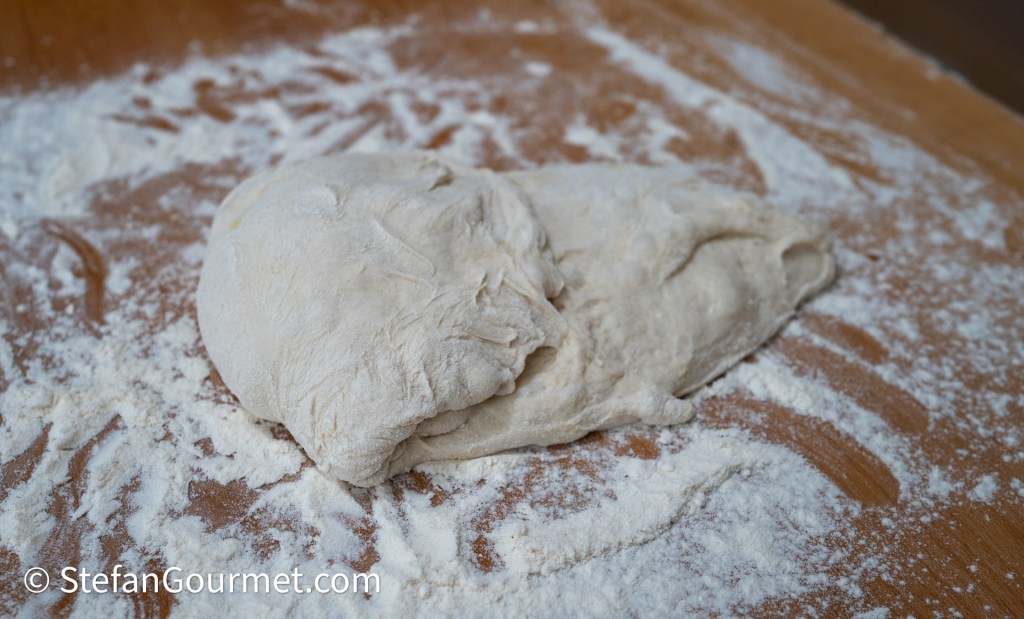
Take the first piece of dough, and fold over a third. Make sure your fingers are dusted with flour and pinch the dough a few times to secure the fold.
Fold from the other side, and pinch to secure.
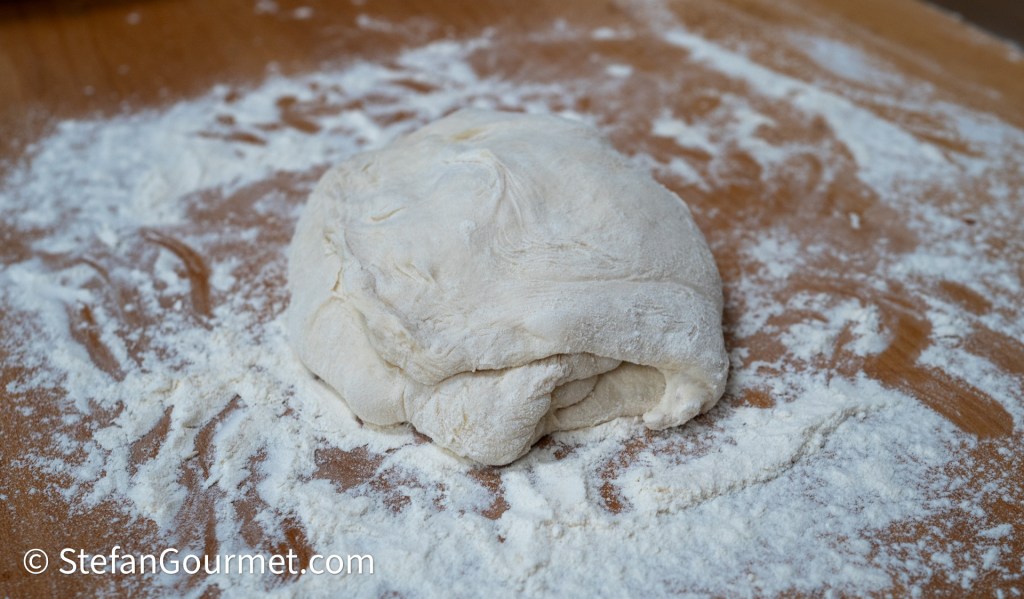
Rotate the dough 90 degrees, fold a third, pinch, and fold from the other side.
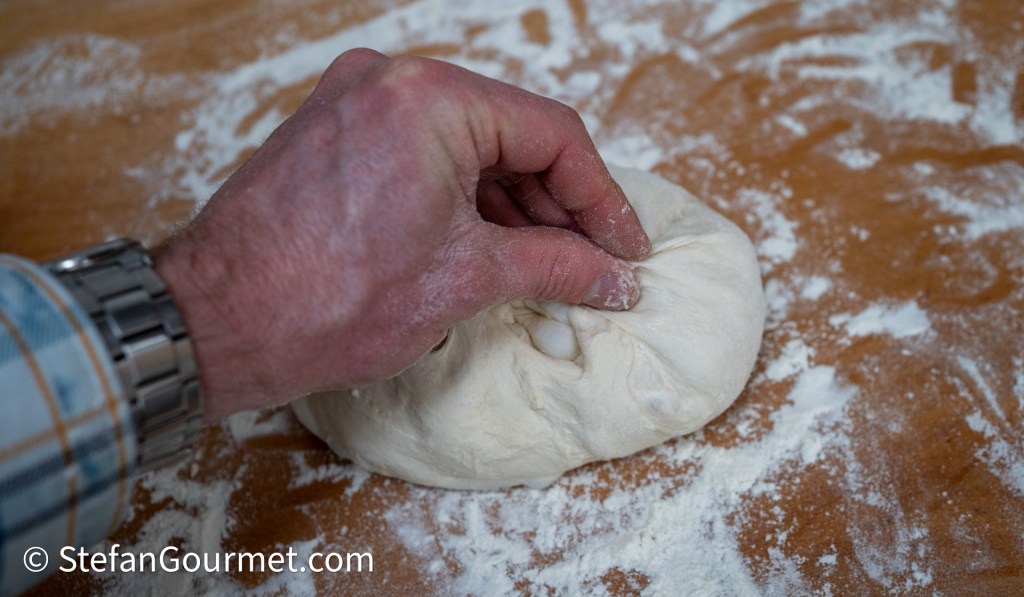
Now use the “tuck in” method to shape the loaf. Make sure the work surface and your fingers are dusted with flour, so the dough won’t stick. (Watch some YouTube videos to learn how to shape the loaf.)

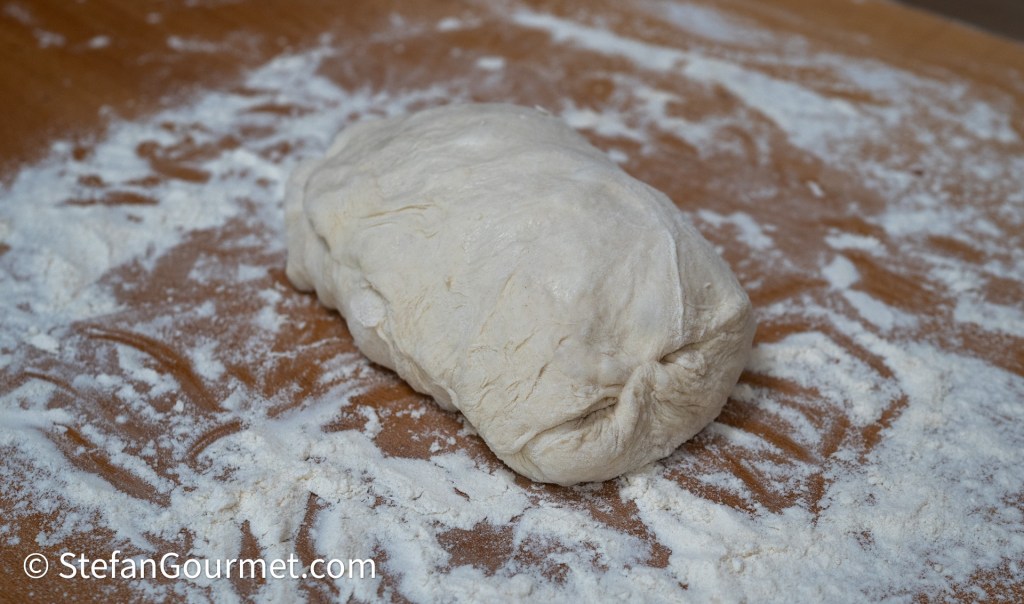
Keep tucking until the loaf has the proper shape.
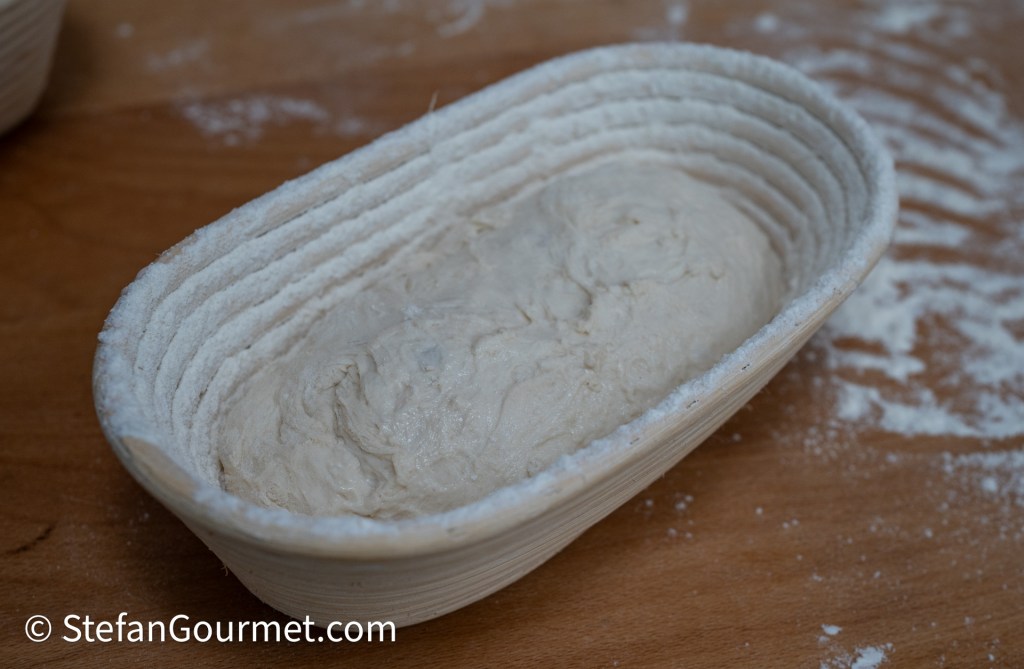
Place the loaf in the proofing basket, seem side up. Repeat with the second loaf.
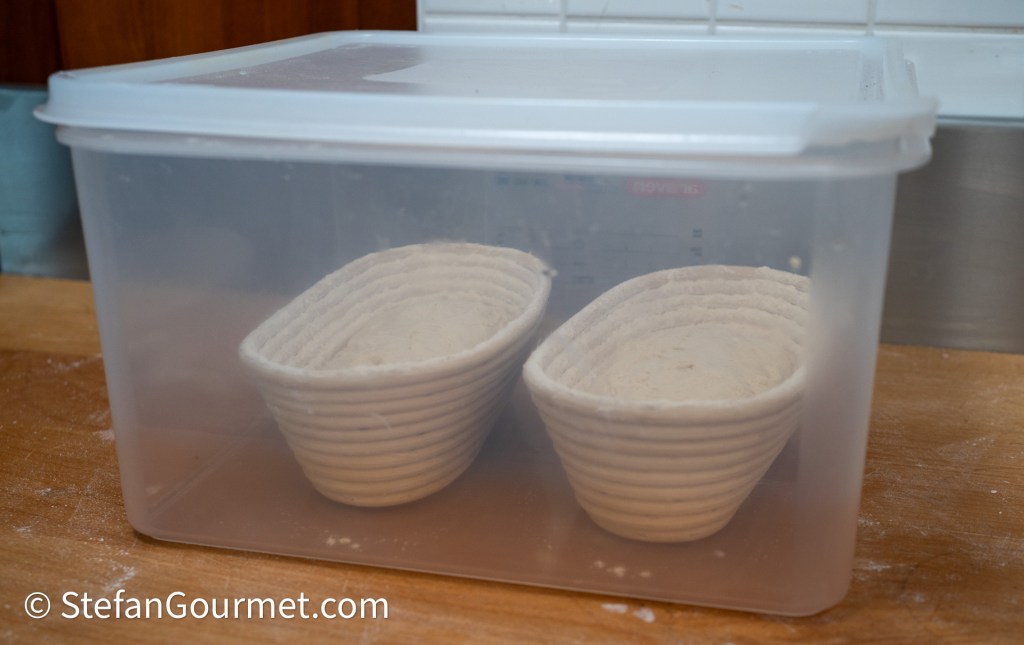
Place the two proofing baskets in a large container and close it. Instead of a container, you can also use a large plastic bag and shape it as a ‘tent’, making sure that the plastic won’t touch the dough.
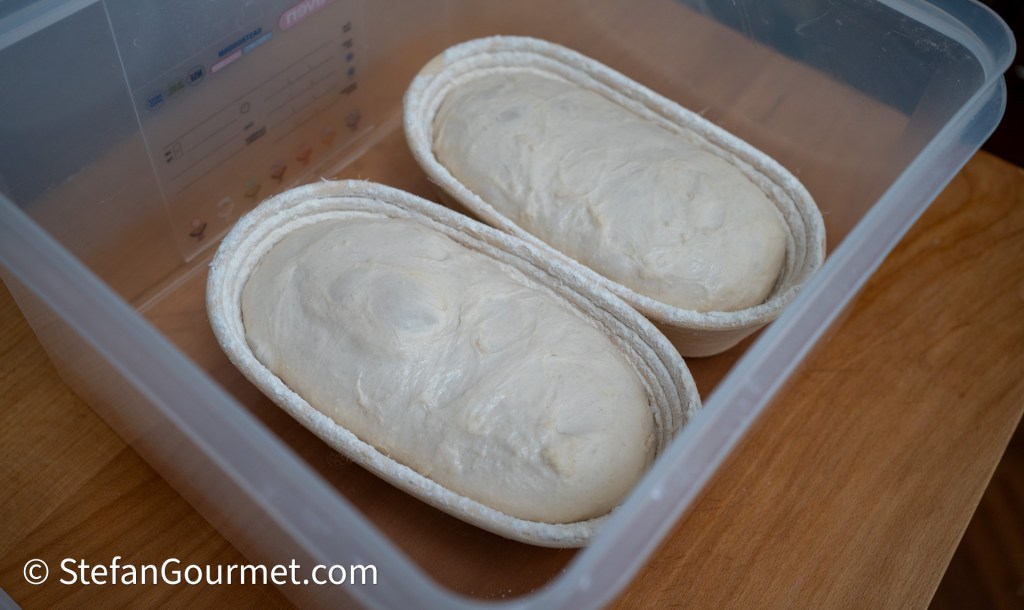
Allow the loaves to proof until they reach the top of the proofing basket. You can also use the ‘fingertip test’ as described in the blog of six years ago to find out if the proofing has finished. The time this takes depends on the temperature. Count on 2-3 hours at 20C/68F.
Preheat the oven while the bread is proofing. It is important to preheat the oven for at least 1 hour before you put the bread into the oven. Otherwise, the oven temperature will drop by too much when you open the oven and place the bread it, which will negatively effect the “oven spring”, which is the expansion/rising of the bread when you put it into the oven. If you have a pizza stone or steel (or aluminum plate like I have), it is important to preheat that as well. The temperature depends a bit on the oven. I use 235C/455F. If your oven does not go that high, use the highest temperature available. It may take some experimenting to find out the best temperature. Do not use fan forced unless there is no other setting. If your oven has a supporting steam function, use it.
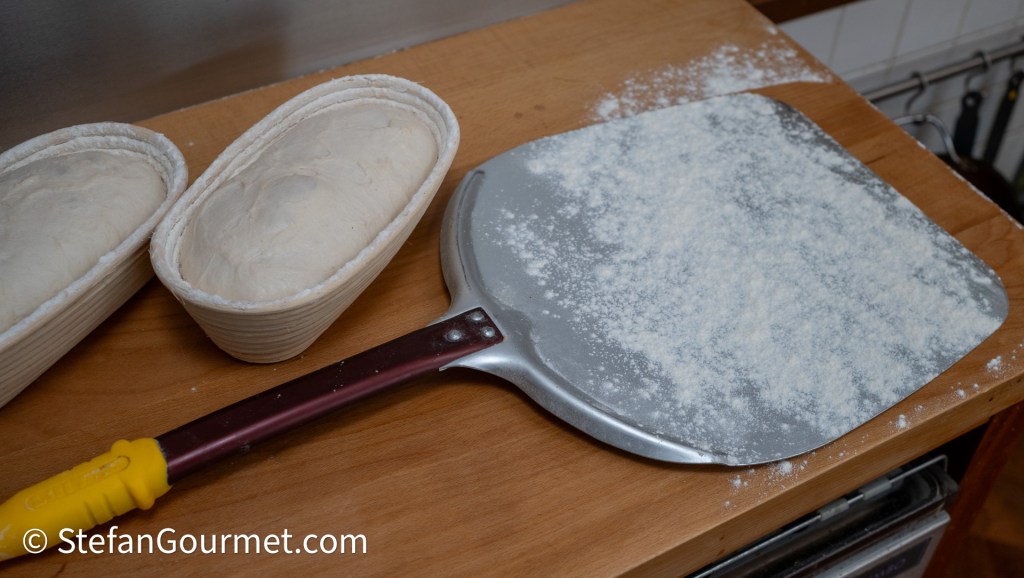
If you use a pizza stone or steel, it is best to use a pizza peel to place the loaf on the stone/steel. Sprinkle the pizza peel with flour before turning the loaf onto it. If you do not use a pizza stone or steel, you can put the loaf on a baking sheet lined with oven paper (no flour needed).
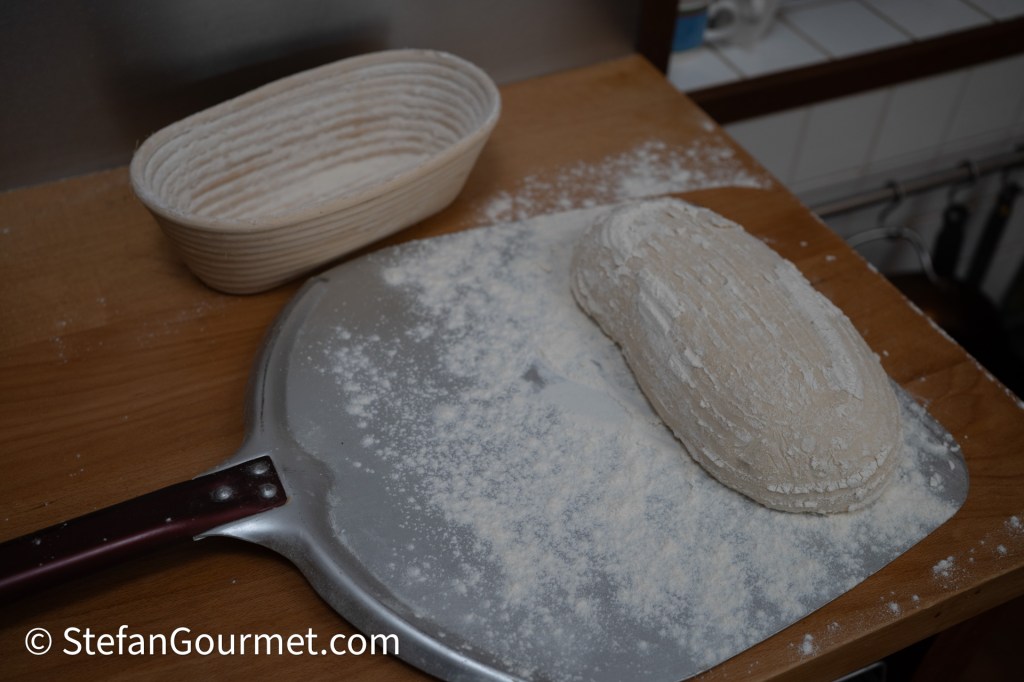
Gently turn over the rising basket and let the loaf slide onto the peel or baking sheet. Do not let the loaf fall from high above and do not push on it. You want to keep as much air in it as possible.
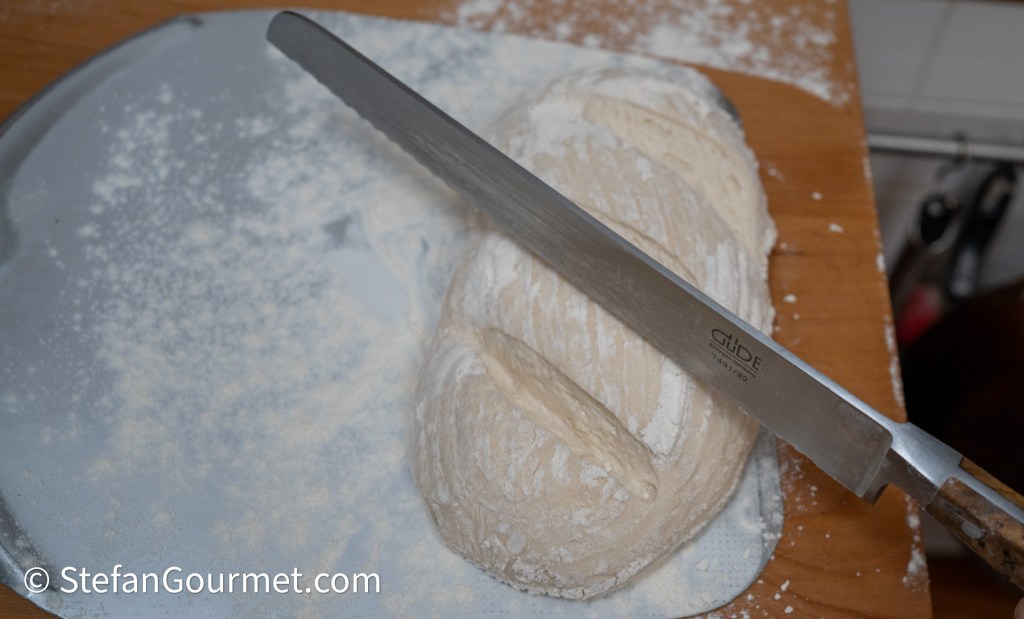
Use a sharp knife and make three incisions on top of the loaf with a decisive movement. This will take some practice.
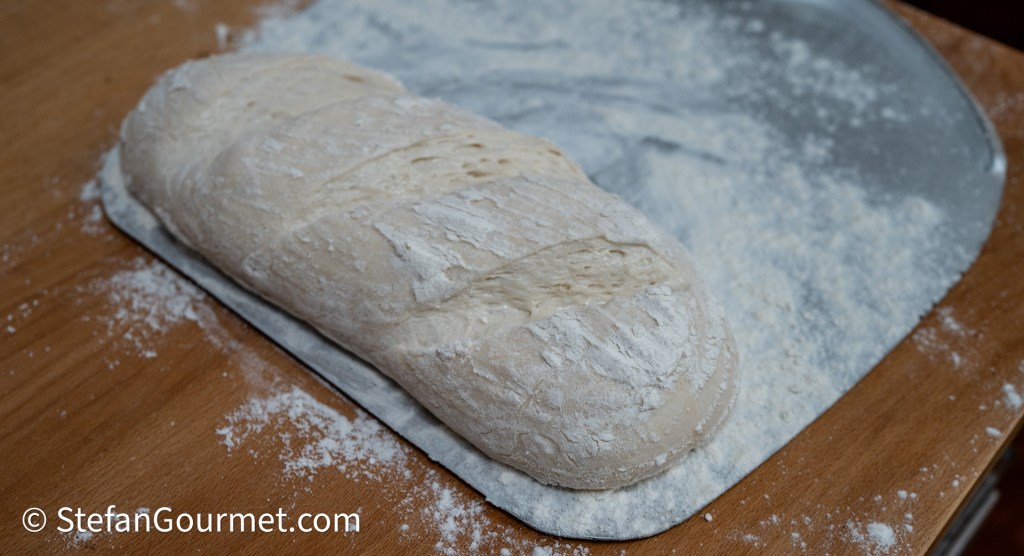
Dust your hands with flour and gently push along the sides of the loaf to correct the shape and push it towards the edge of the peel.
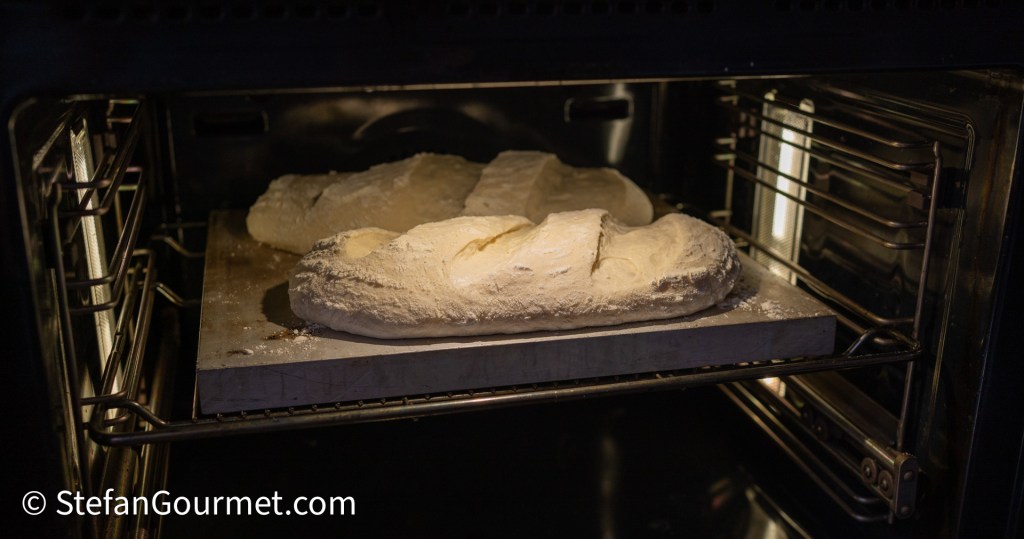
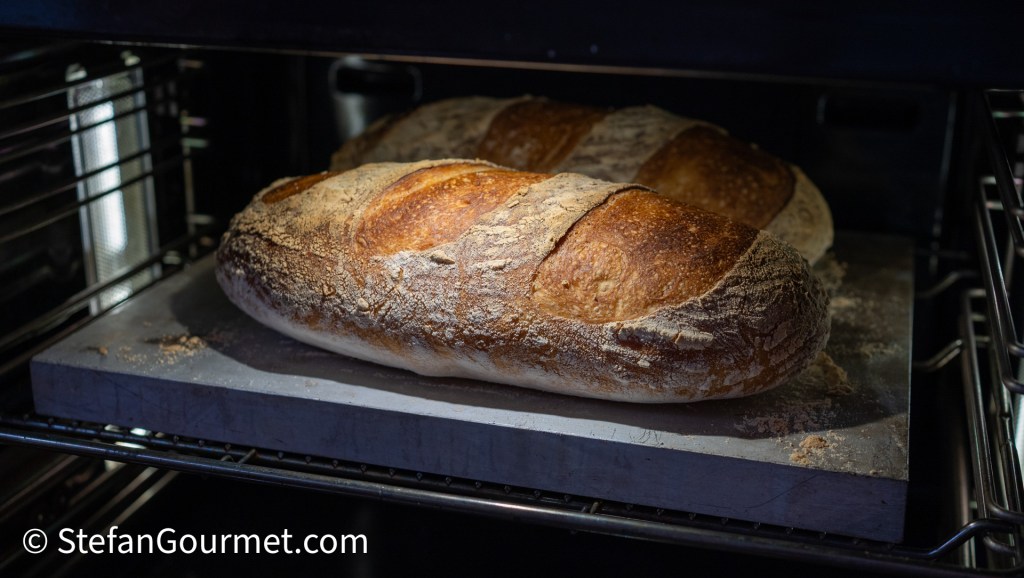
If using a pizza stone/steel, let the loaf slide onto the pizza stone/steel in the oven. Close the door right after and repeat with the second loaf. You should work quickly, so the first loaf doesn’t spend a lot of time in the oven before the second loaf is added.
If you use a baking sheet, you can simply place it in the center of the oven.
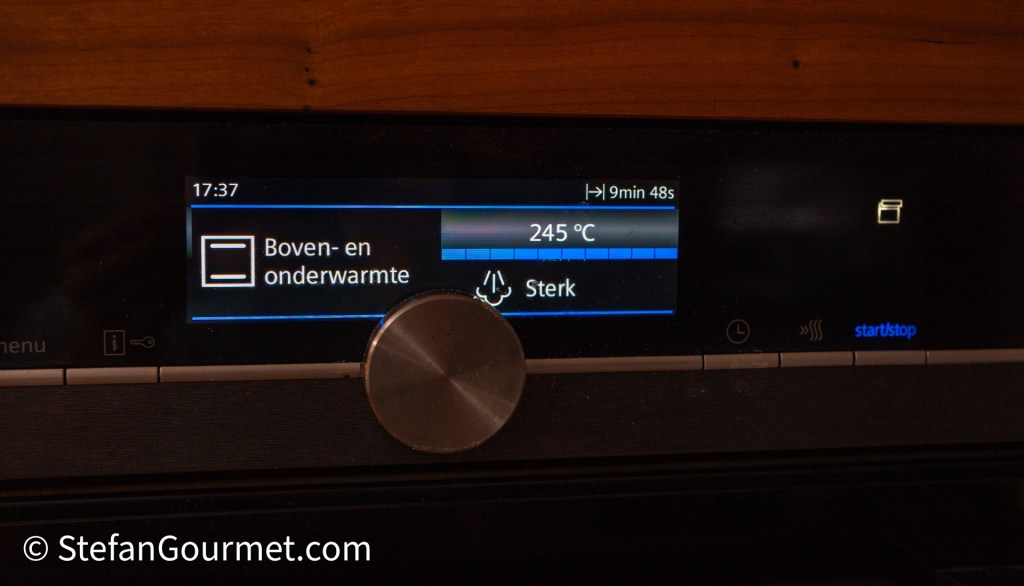
I set my oven to 245C/475F immediately after I’ve put both loaves into the oven. This will force the oven to work harder, thus helping with the oven spring. I use this setting for 10 minutes. If your oven does not have a steam function, put a heat-proof container with about 250 ml (1 cup) of boiling water in the oven as a substitute for the steam function.
During those first 10 minutes with high heat and steam, the loaves will expand and the crust will form. As soon as the crust has formed, the loaves can’t expand any further and will keep their shape.
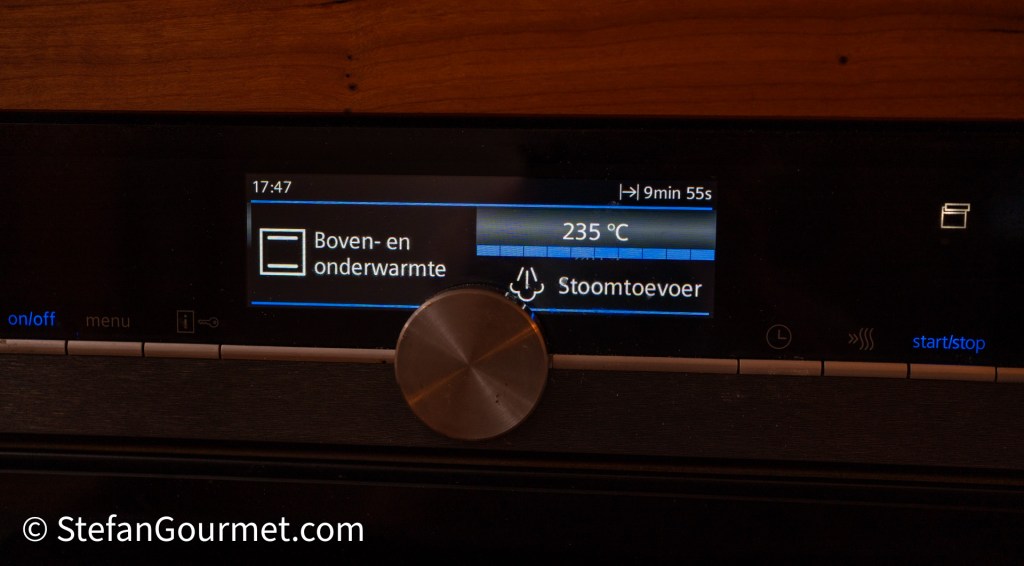
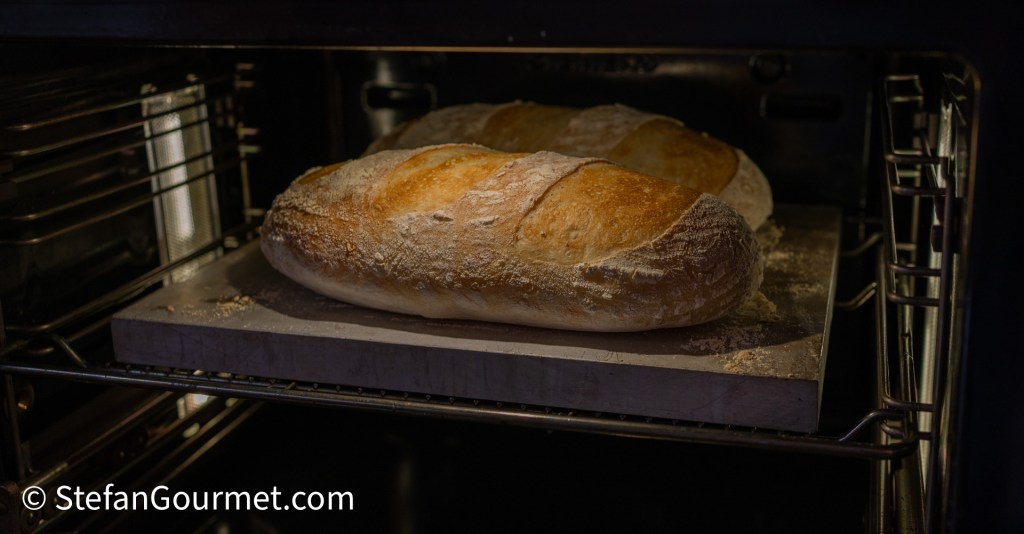
After the first 10 minutes, turn off the steam function (or remove the container with water from the oven), and bake the bread for another 10 minutes. In my oven, I have to lower the temperature back to 235C/455F, as otherwise the bread will burn. Depending on your oven, you may have to keep it at 245F/475F, or turn it down even lower than 235C/455F to get good results (sometimes the bread already looks quite dark after the initial 10 minutes, and I use a lower temperature such as 225C/440F).
After the second 10 minutes (so 20 minutes total), check the color. If the bread is almost dark enough, turn off the oven. If not, keep it in for another 5 minutes. If your oven doesn’t get very hot and the bread still looks very “blonde” after 20 minutes, you may turn on the broiler. In that case, monitor the bread carefully. Take into account that the time it takes to go from blonde to brown is much longer than from brown to burnt, as the crust will absorb more heat as the color gets darker.
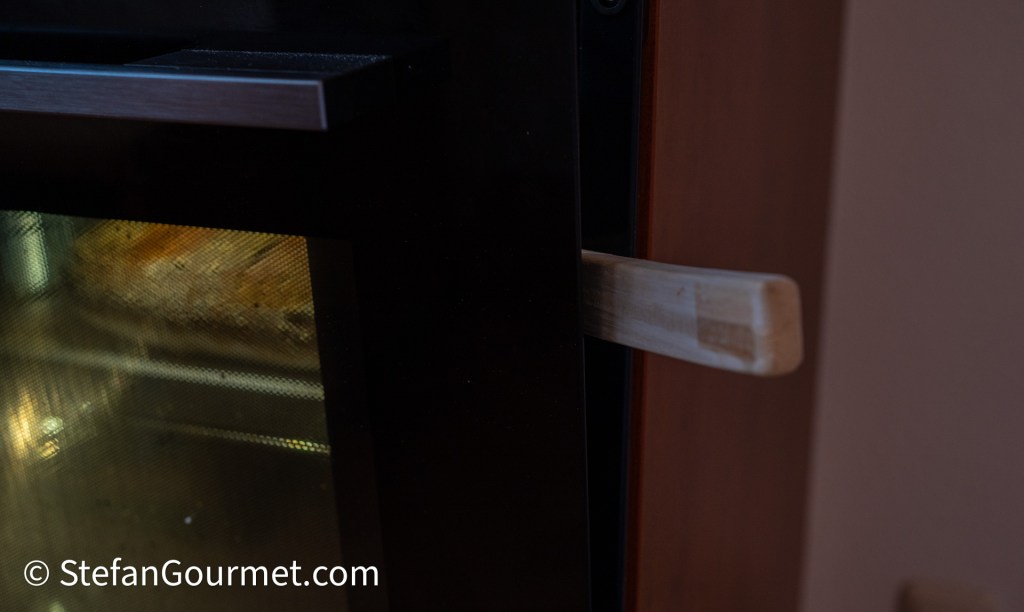
After turning off the oven when the bread is almost dark enough, keep the oven door ajar by inserting a wooden spoon or spatula, and allow the bread to rest for about 5 minutes. This step will help to dry out the crust, and thus make it more crispy.
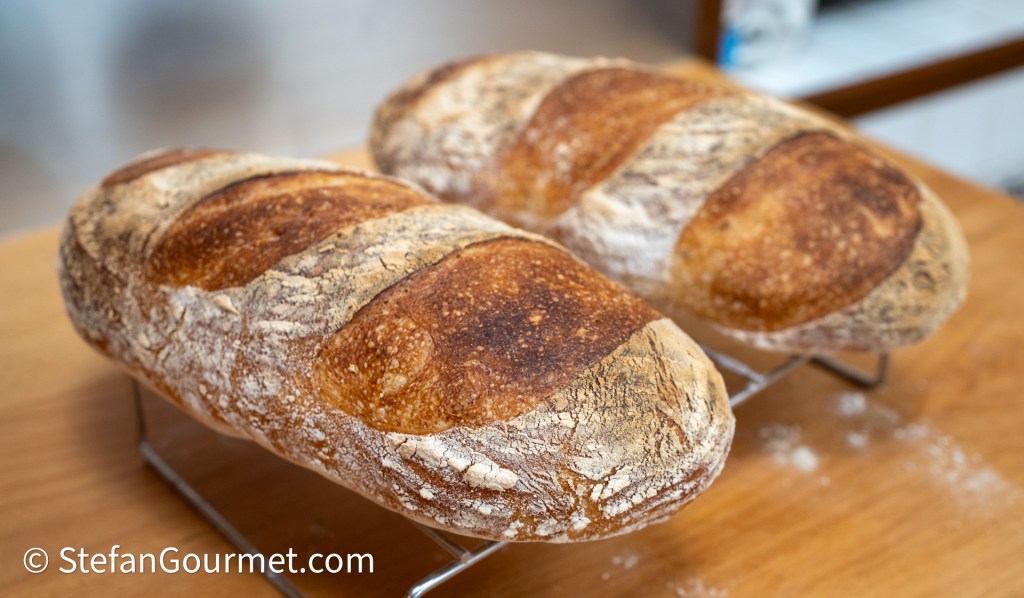
Allow the bread to cool off on a grill, so the air can circulate around it. If you put the bread on top of a closed surface, the bottom crust will not remain as crispy. If your crust has reach optimal crispness, you can hear it crackle while it is cooling off.
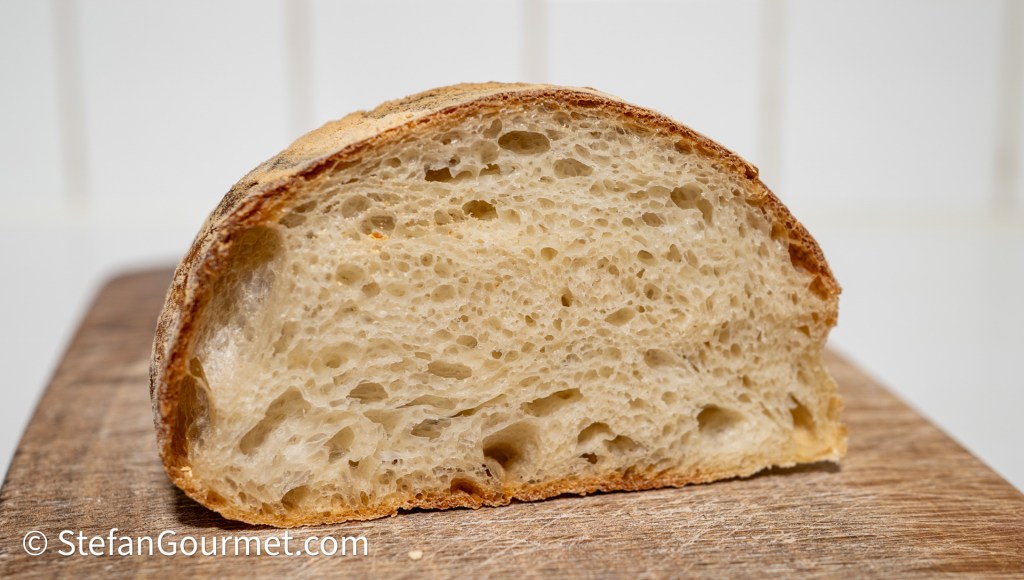
It is important to allow the bread to cool for at least half an hour before slicing it. If you slice it too quickly, the inside will still be too wet/soft.
Trouble shooting:
- If the crust turns out too dark, use a lower oven temperature.
- If the crust turns out too light, use a higher oven temperature (or use the broiler at the end as described if your oven does not allow for a higher temperature).
- If you want a thicker crust, use a lower oven temperature and a longer time.
- If you want a thinner crust, make sure the loaf has sufficiently risen when you put it in the oven and make sure to use steam and a high oven temperature when you first put it into the oven.
- If the bread is too dense, there may be something wrong with the yeast or the initial water temperature, or it had not risen properly before you put it into the oven, or the flour you used was not strong enough (protein content too low) or the flour was too old.
- If the bread doesn’t keep its shape when you slide it out of the proofing basket, the flour you used was not strong enough (protein content too low) or you did not knead it long enough or the flour was too old.
It may take some experimenting to get the bread with your oven, but if you use good quality flour, you should be able to achieve a very nice result with some practice.


This looks like it has a lovely texture Stefan. Nothing like a freshly baked loaf of bread.
LikeLiked by 1 person
Beautiful bread! Years ago I bought a book without realizing it was intensely scientific about bread recipes, and I promptly threw it away. I’ve never followed a recipe for bread in my life, and I want to keep it that way!!!
LikeLiked by 1 person
LOL
LikeLike
Soecial thanks for tge trobleshooting parts!
Kaisa
LikeLiked by 1 person
I don’t have problems cooking my bread, but I want to try your recipe, very good!
LikeLiked by 1 person
A great tutorial for those who bake – a very interesting read for all who simply eat!
LikeLiked by 2 people
Thanks a lot for this great recipe with its detailed instructions and troubleshooting tips 🙏
I’m a huge fan of homemade bread, and I’ll absolutely have to try your method. 👍
LikeLiked by 2 people
Great post and so thorough Stefan. As a fellow very avid home baker I’ve been producing excellent loaves at home for about 15 years now and I am working on a post about the Modernist Bread “compleat wheat” recipe for my blog. A couple of questions and comments if you do not mind.
My 2 or 4 cents!
LikeLike
Hi Elie,
Thanks for your thoughts. I look forward to your post. I think it is ridiculous that Modernist Bread does not have a single recipe for actual whole wheat flour — the only recipe for whole wheat uses a mixture of different components that I probably couldn’t even procure if I wanted to. I’ve been using the thick aluminum plate for 12 years now for both bread and pizza, and I’ve never had issues with the bottoms overcooking or burning. How hot it gets is controlled by the oven temperature used, which is a lot lower than would be reached in a properly preheated wood-fired stone oven that traditionally would be used for either bread or pizza in Italy. Of course the baking times are not so long — up to 25 minutes for bread (at 235/245C) and only a couple of minutes for pizza (at 300C). I have never done a boule, but my loaves need a longer cooking time than baguettes so that won’t be an issue. I don’t own a cast iron Dutch oven and I don’t think it’s practical for baking (with my clumsiness I would definitely burn myself when putting the loaf into the preheated Dutch oven). I like your idea of using a large rectangular aluminum (i.e. light) pan to cover and trap steam. All premium household ovens in the Netherlands have the possibility to inject steam, so here it is quite common. I agree that just spraying the oven will only work for a brief time, but I’ve noticed when using a container with boiling water that the humidity in the oven is higher than without it. I notice because I wear glasses, which get misty when I open the oven. My new oven that does inject steam works a lot better, though, and it is a lot easier.
LikeLiked by 1 person
One forgets how much regional and international variation there is in what is available or common. I never even thought it’s a negative that Modernist Bread does not have a whole wheat bread recipe since it is very easy to find bran, wheat gluten and wheat germ at almost any grocery store where I live in the US. Yet, I literally know no one (and some of my friends spent a ton of money on their new kitchens) with an oven that has steam injection!
LikeLiked by 1 person