
If you apply the tips in this article, your home made pizza can be as good as what you get in most pizzerias, or even better. And you don’t even need a wood-fired pizza oven.
Pizza has an interesting history, because it is Italian food that was first exported to the United States by Italian immigrants, which in turn has influenced pizza how it is made and served in Italy itself. Because of this, there is no generally accepted concept of what “authentic” pizza is.
In Italy there are two types of pizza: the thin round type of pizza you get in a pizzeria, and the thick rectangular pizza that is sold at bakeries. The latter is also known as sheet pan pizza, or pizza in teglia in Italy. This article is about the thin round type of pizza you get in a pizzeria.
Some of the tips in this article are based upon Modernist Cuisine and Modernist Bread. I have both sets of books by Nathan Myhrvold, and the information in those books has influenced my pizza making a lot.
The recipe in this article is for 4 pizzas. For the dough you will need 550 grams of flour (see below for the type of flour), 410 grams of water, 11 grams of salt, 3 1/8 teaspoon of yeast, and 1 teaspoon of extra virgin olive oil.
1. Use flour with a high protein content, use high hydration, and allow the gluten to develop fully
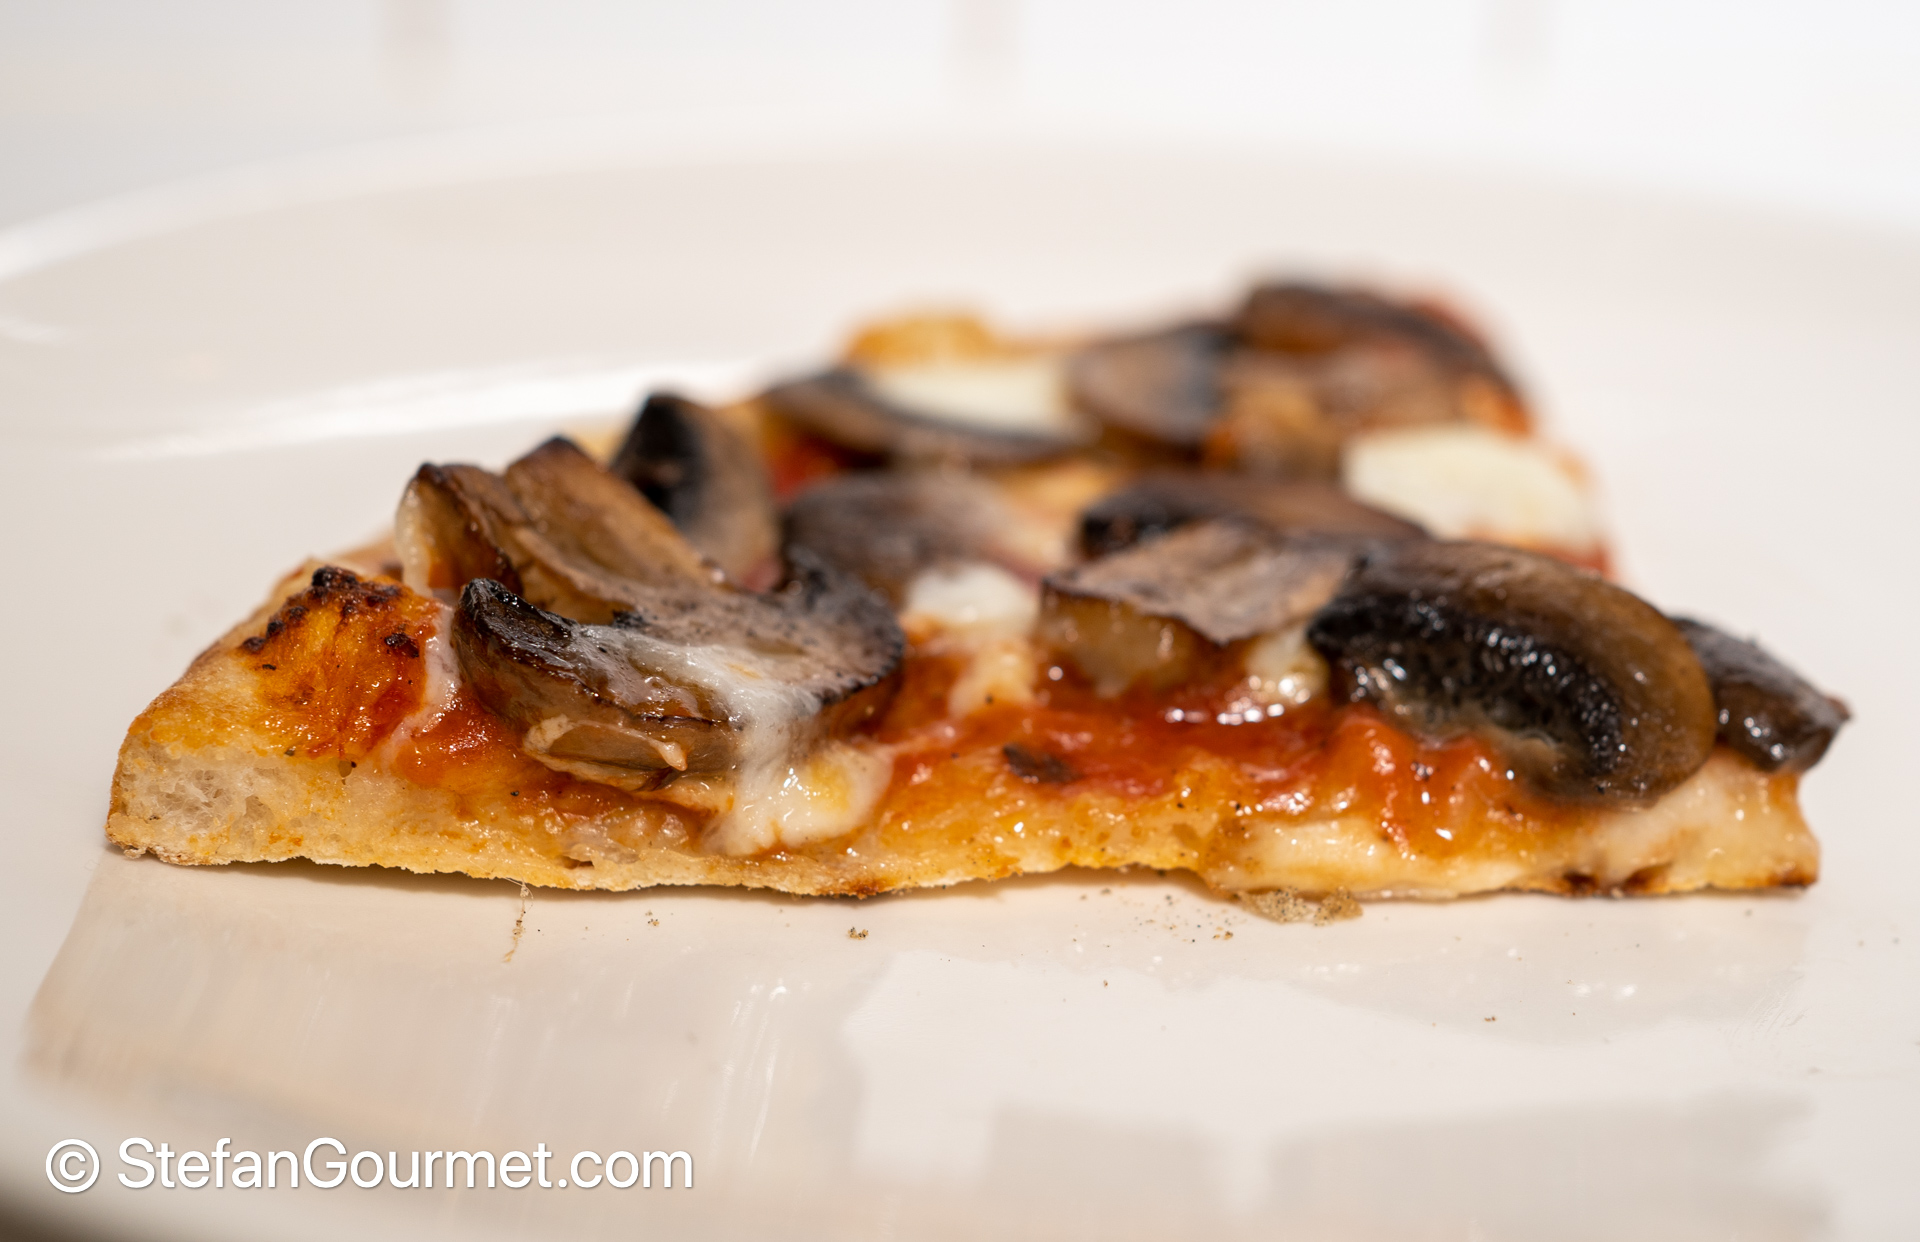
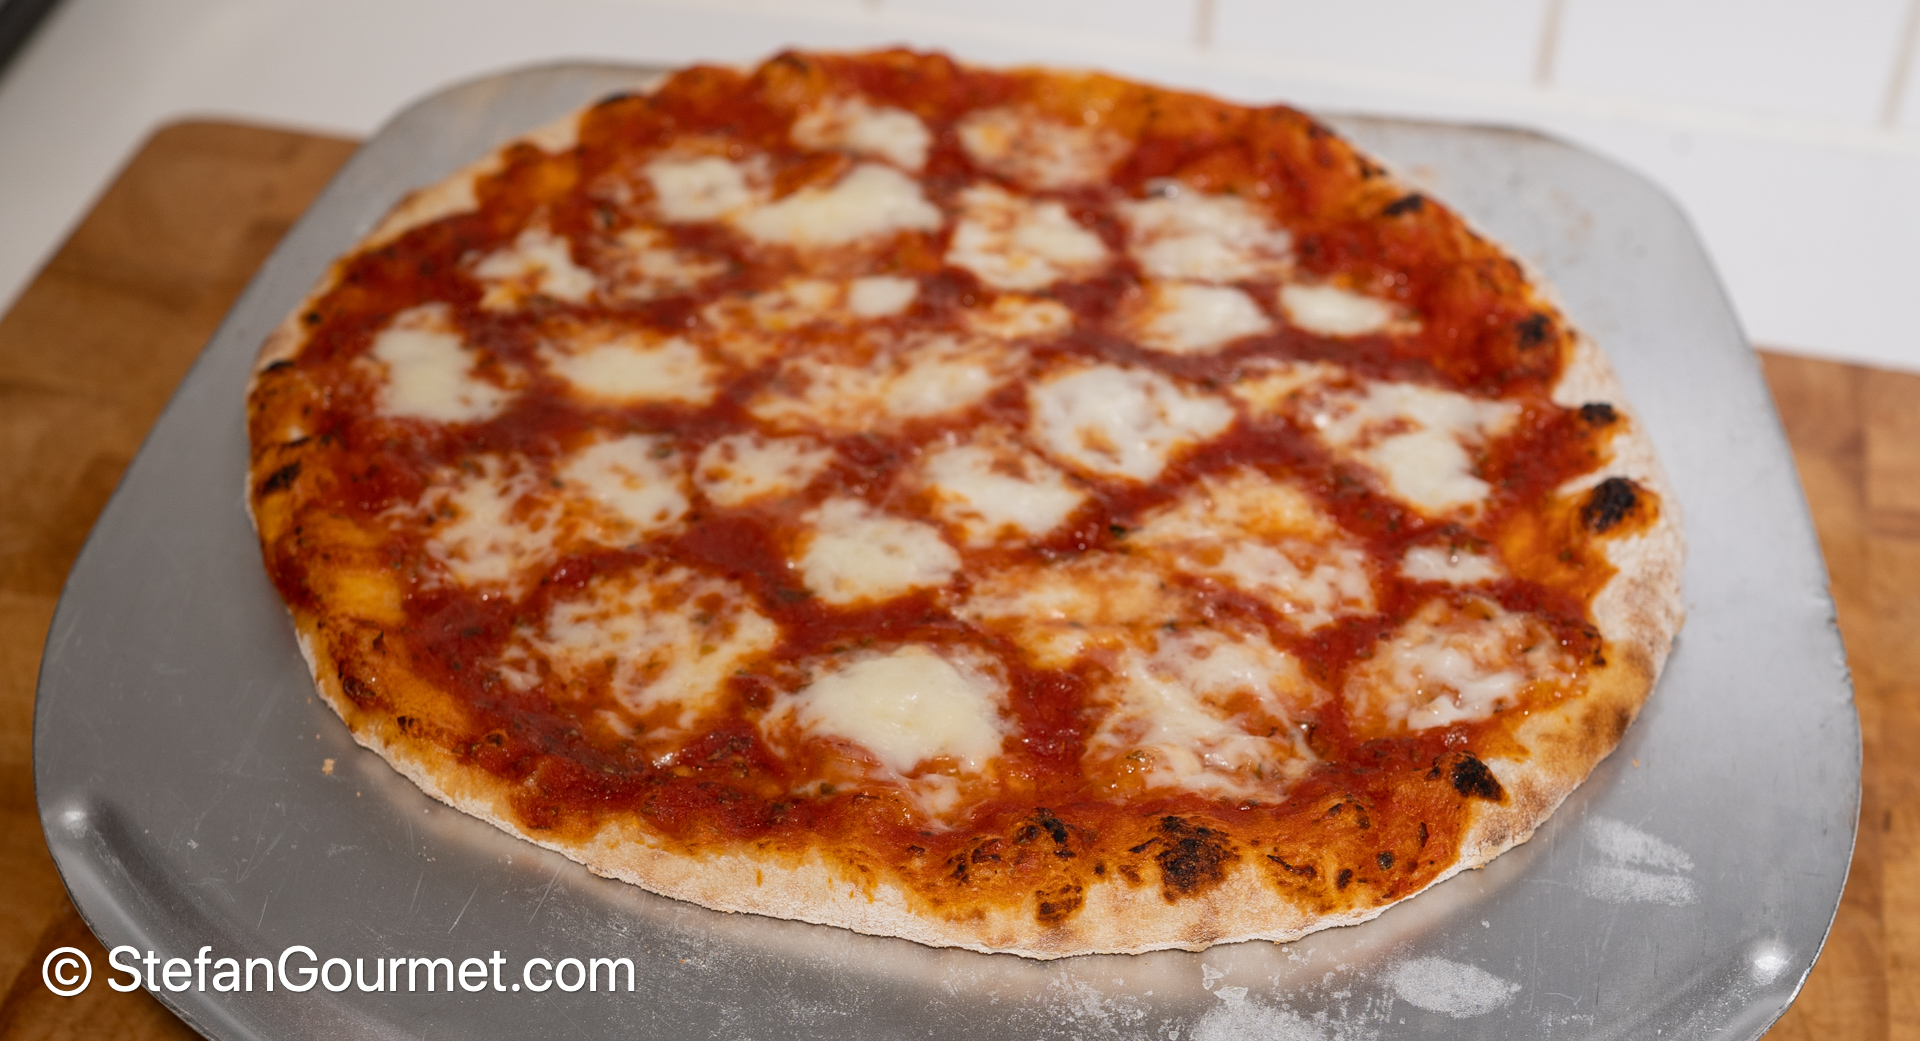
Do you see the bubbles inside the crust of this pizza? They are caused by using high hydration dough. That is a fancy way of saying that you add relatively more water to the dough. In this case I used 75% hydration, which means that for 500 grams of flour, 75% of 500 = 375 grams of water is added. During the baking the water evaporates, which leaves the bubbles. The bubbles are not just nice to look at; they are a sign that the dough has a very nice texture. To be able to get those bubbles without the dough collapsing, you need enough protein in the flour, as the amount of gluten is determined by the amount of protein. The amount of protein is also called the “strength” of the flour. Gluten do not only help with the bubbles, they also make the dough more elastic, which is very important for pizza, as you want to be able to stretch out the dough very thinly without tearing. For pizza you should use strong bread flour, or Italian 00 flour for pizza, with a protein content of at least 11.5%.
“Developing the gluten” is a fancy way of saying that you should allow the flour to absorb the water. This can either be done by waiting or by kneading. The more you knead, the faster the gluten will develop. In a stand mixer it takes about 8 minutes at high speed to fully develop the gluten. But you can also just mix water and flour (with yeast and salt), refrigerate, and wait for at least 3 days, as described in this post.
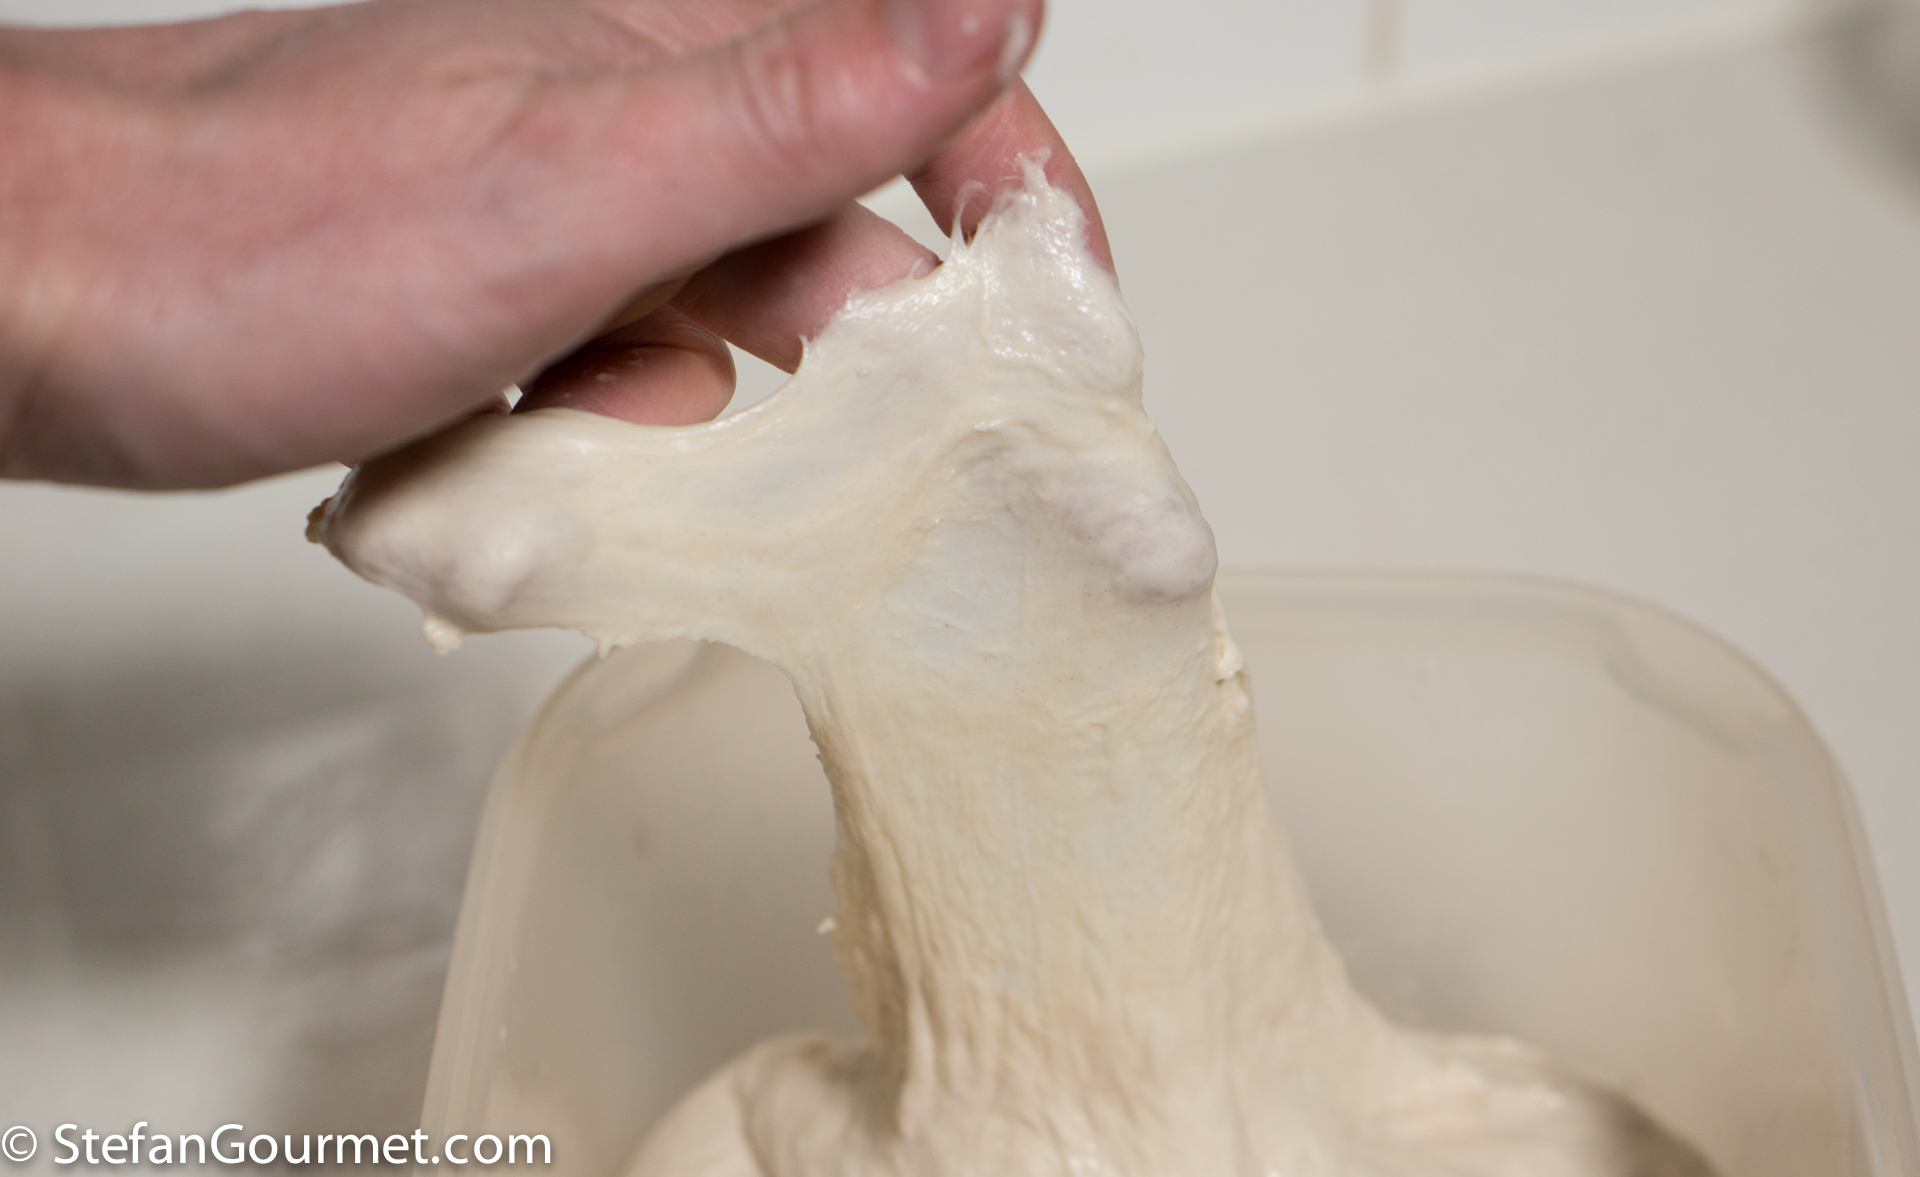
You can check for gluten development with the “window pane” test. You should be able to stretch the dough until it is so thin that it becomes transparent without tearing. If you can’t do that, you need to knead more, or perform another four-edge fold (see below) and check again after an half an hour. Keep doing that until full gluten development has been achieved. The recipe for making the dough is included in in Tip #2.
2. Age the dough or use a pre-ferment for more flavor
Tip #1 was about the texture of the dough. Tip #2 is about the flavor. Pizza is a flat bread, and just like other yeasted breads, fermentation gives it flavor. A longer fermentation provides more flavor than a fast fermentation. One method to do this, is to cold ferment the dough in the refrigerator, as described in this post. 3 to 5 days in the refrigerator serves two purposes: it allows the gluten to develop as described in Tip #1, and it provides flavor. To speed things up, you can also use a pre-ferment. To do this, perform the following steps:
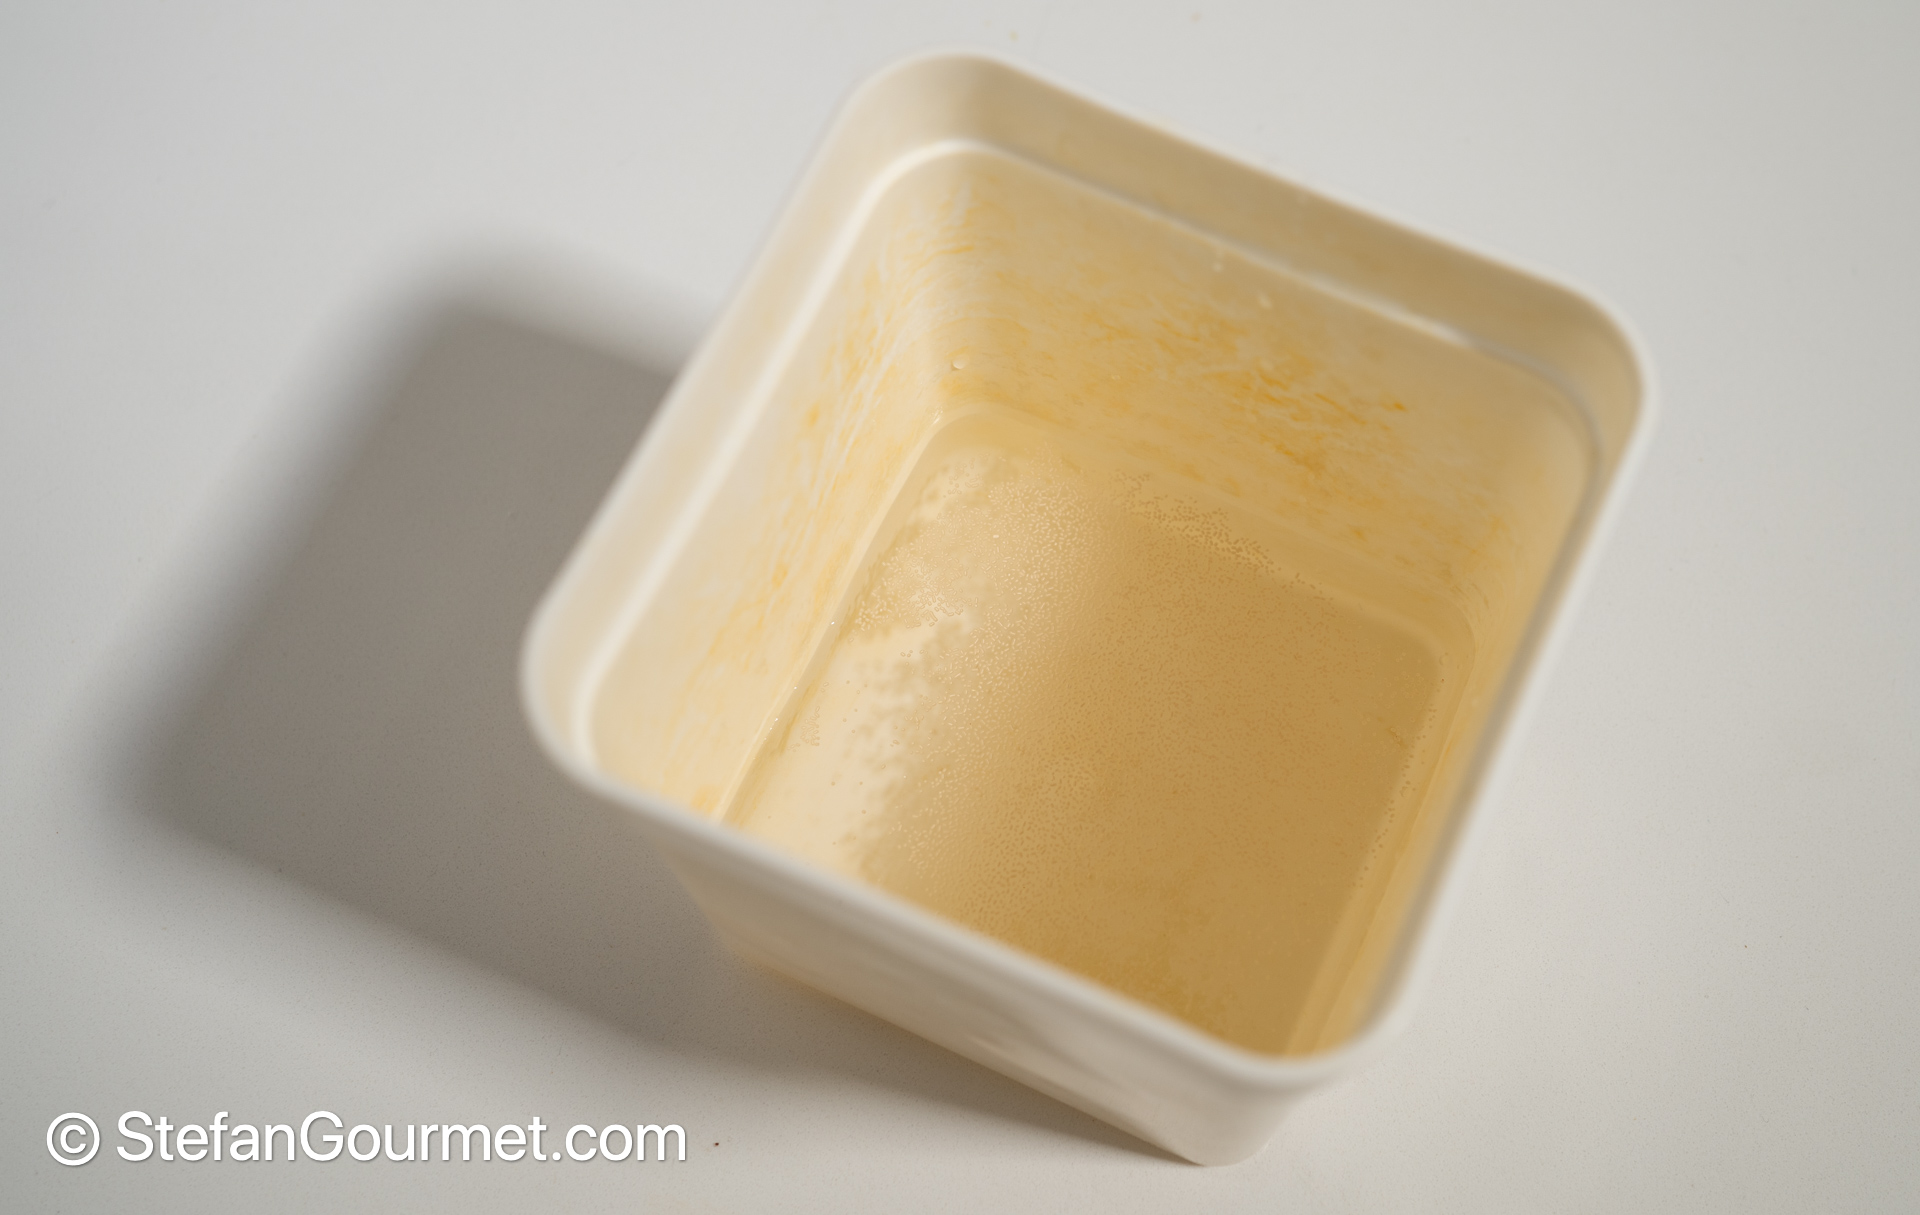
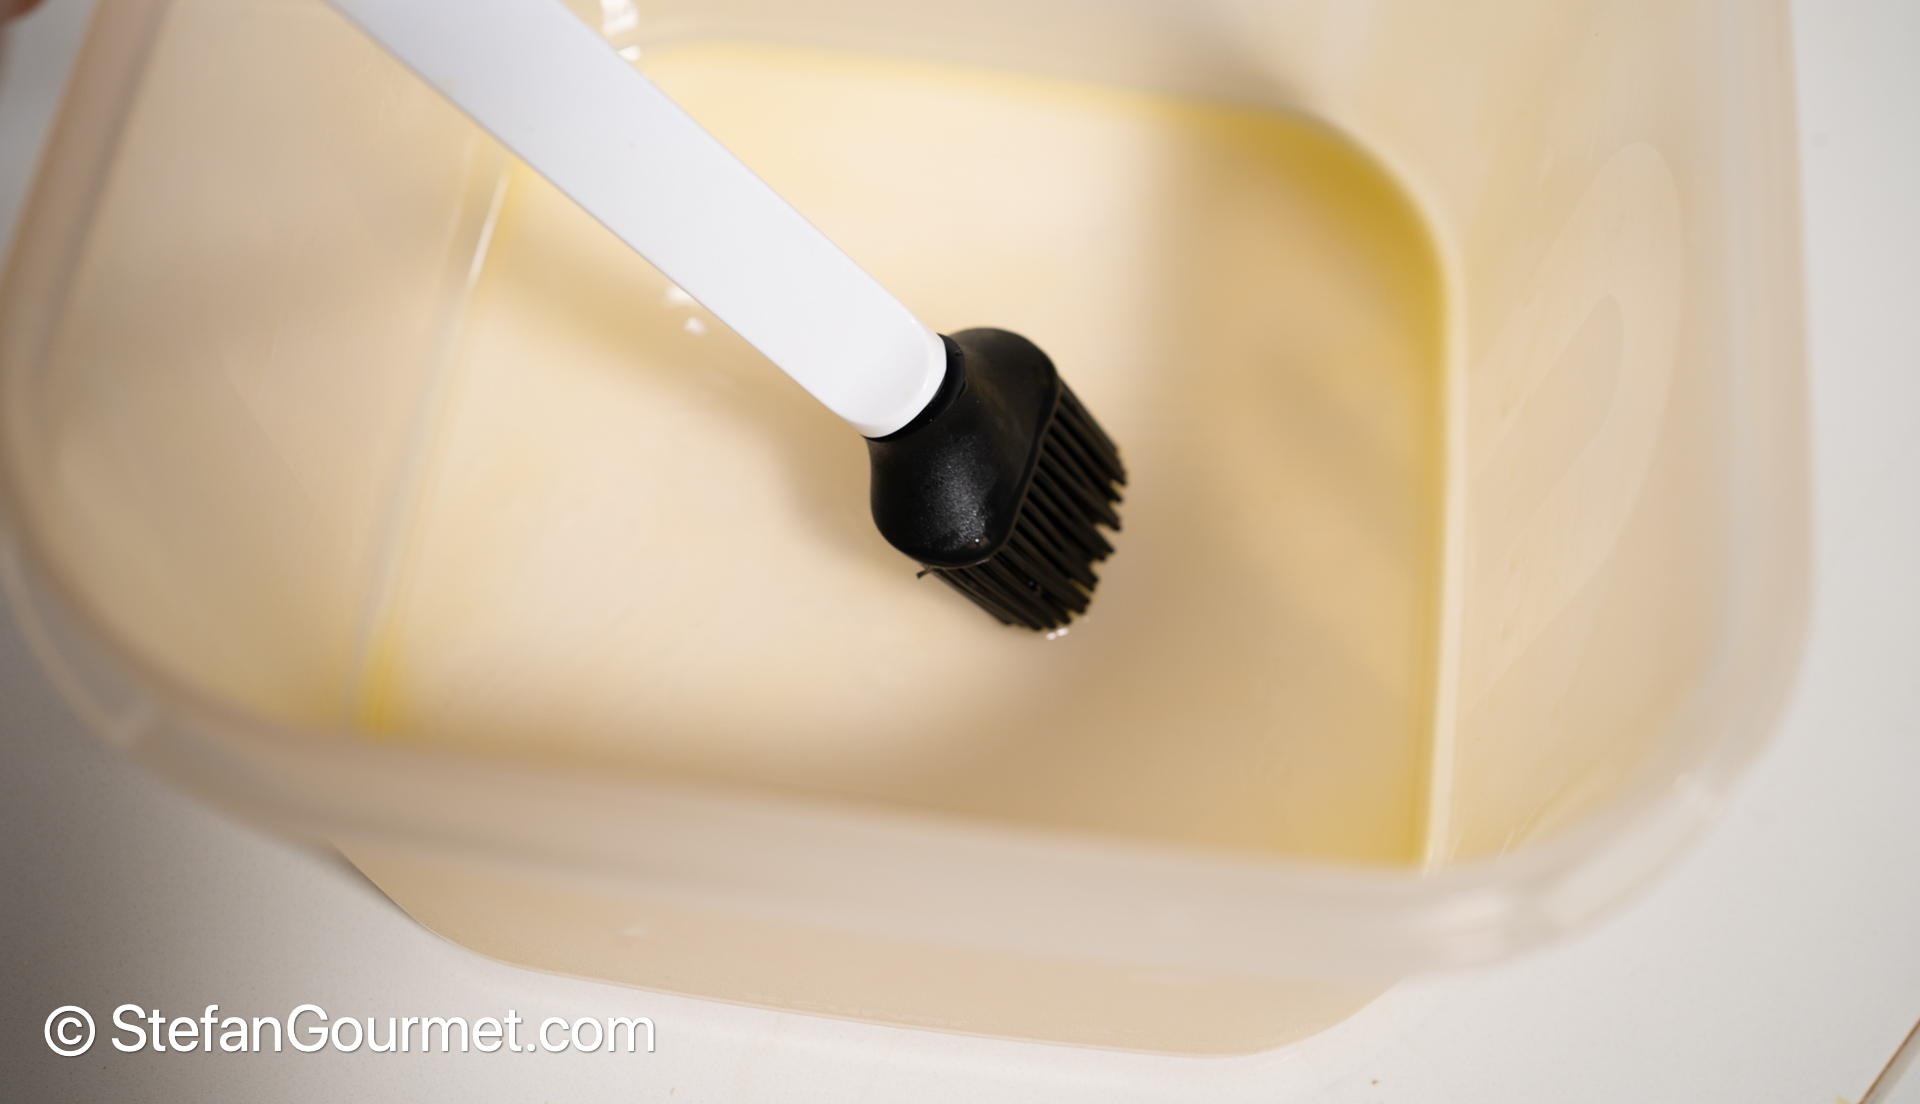
The night before, put 200 grams of cold water in a container with 1/8 tsp of instant yeast. Stir until the yeast dissolved.
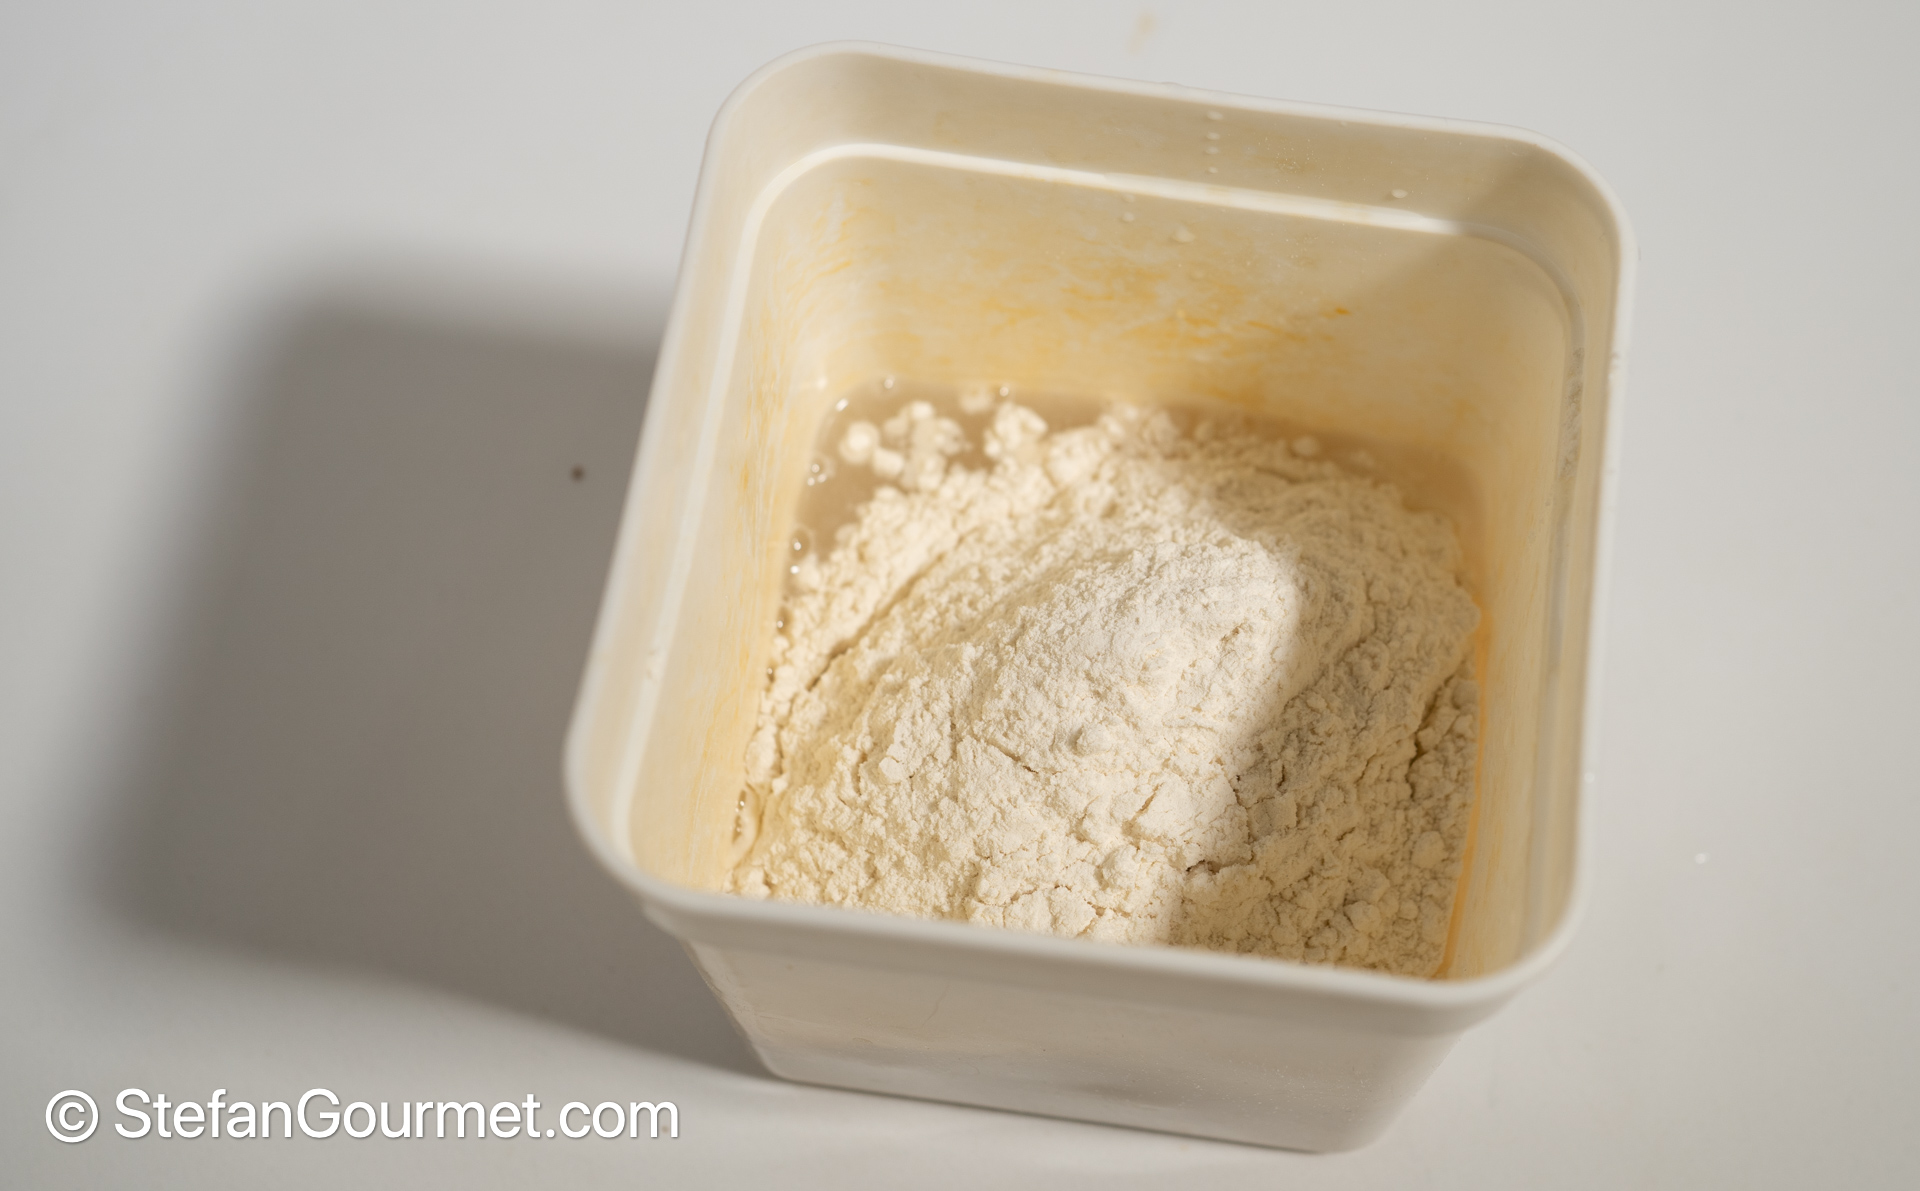
Add 200 grams of flour.

Stir…
…until flour and water have been mixed.
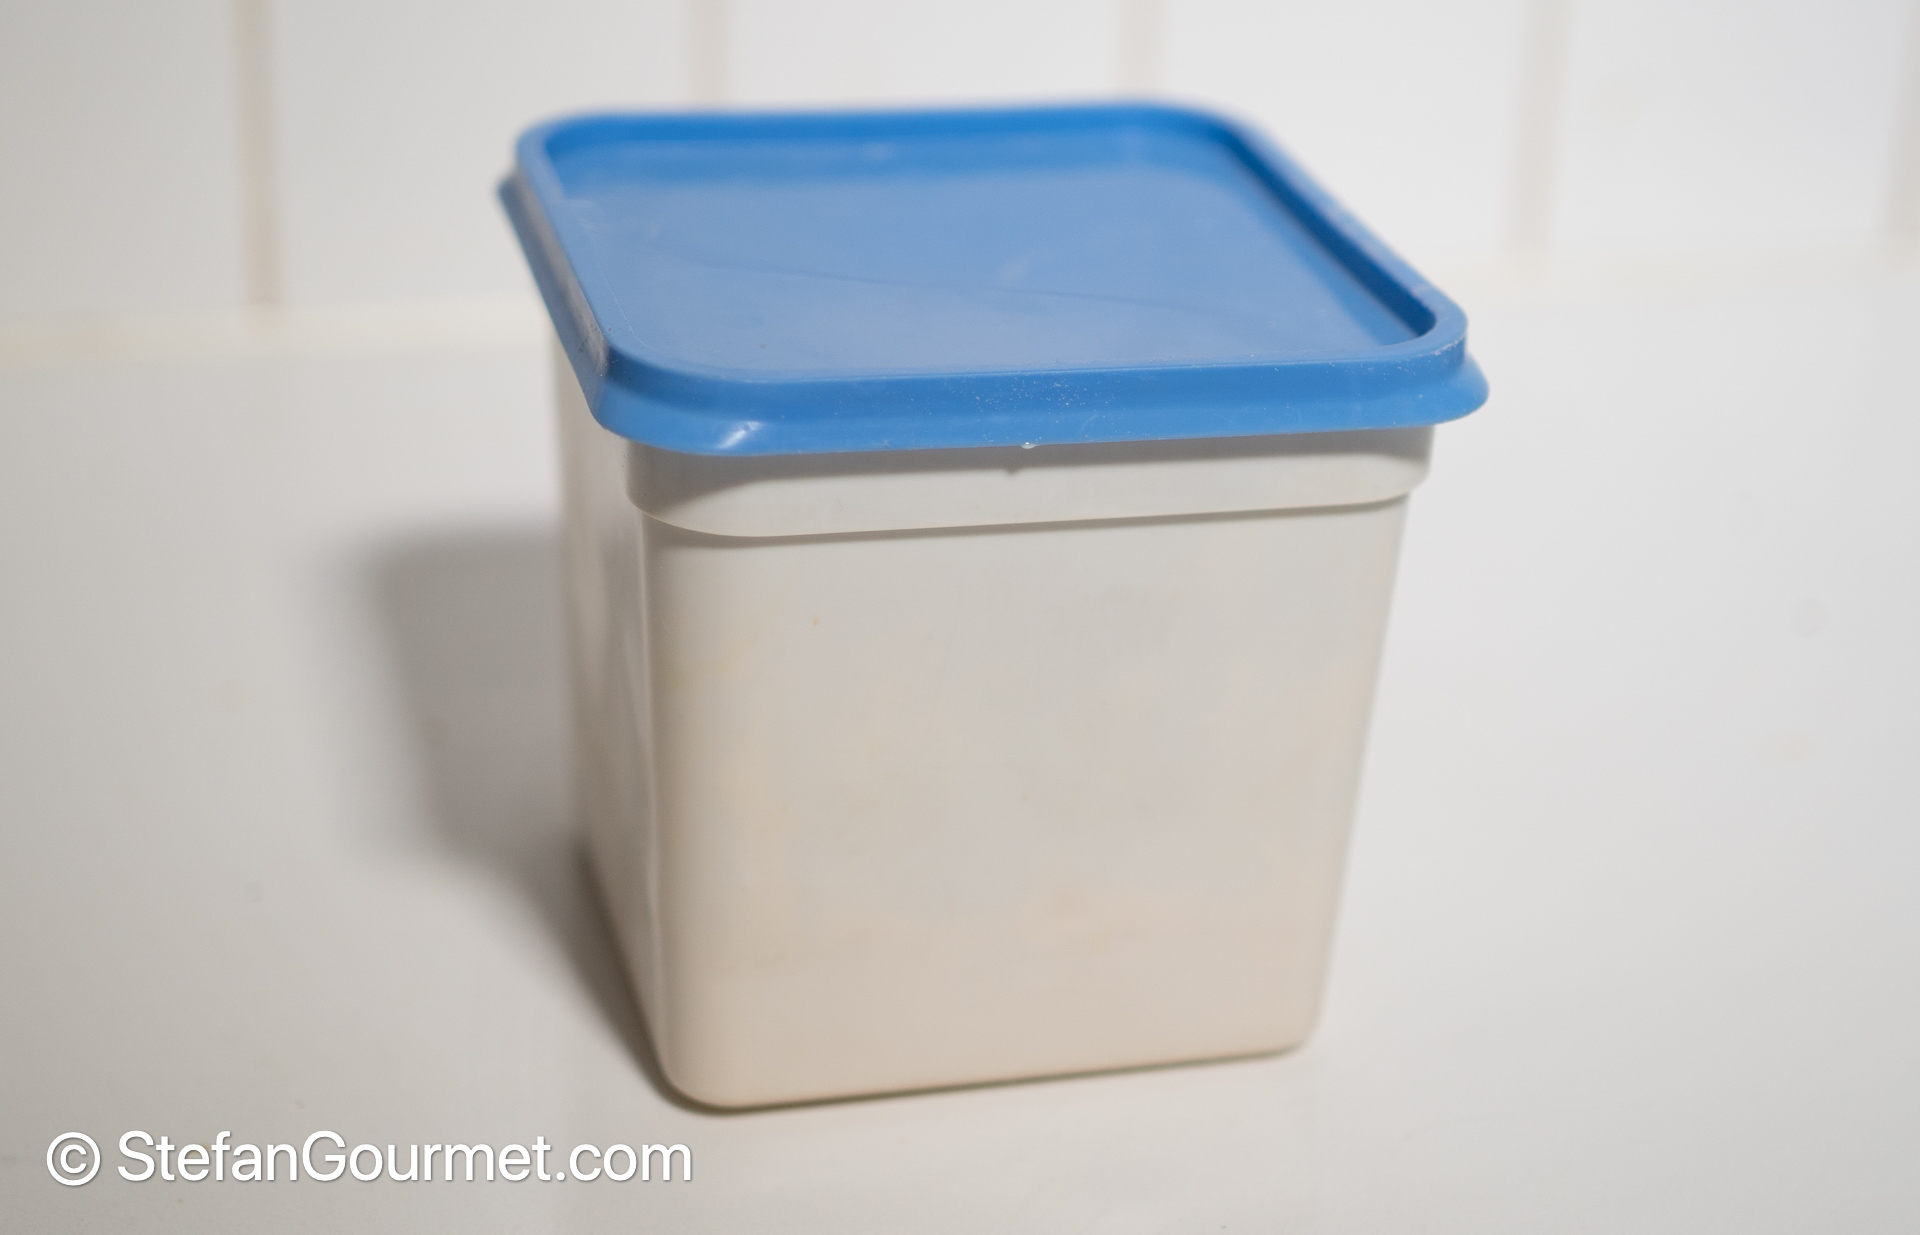
Cover and keep at room temperature until the next day.
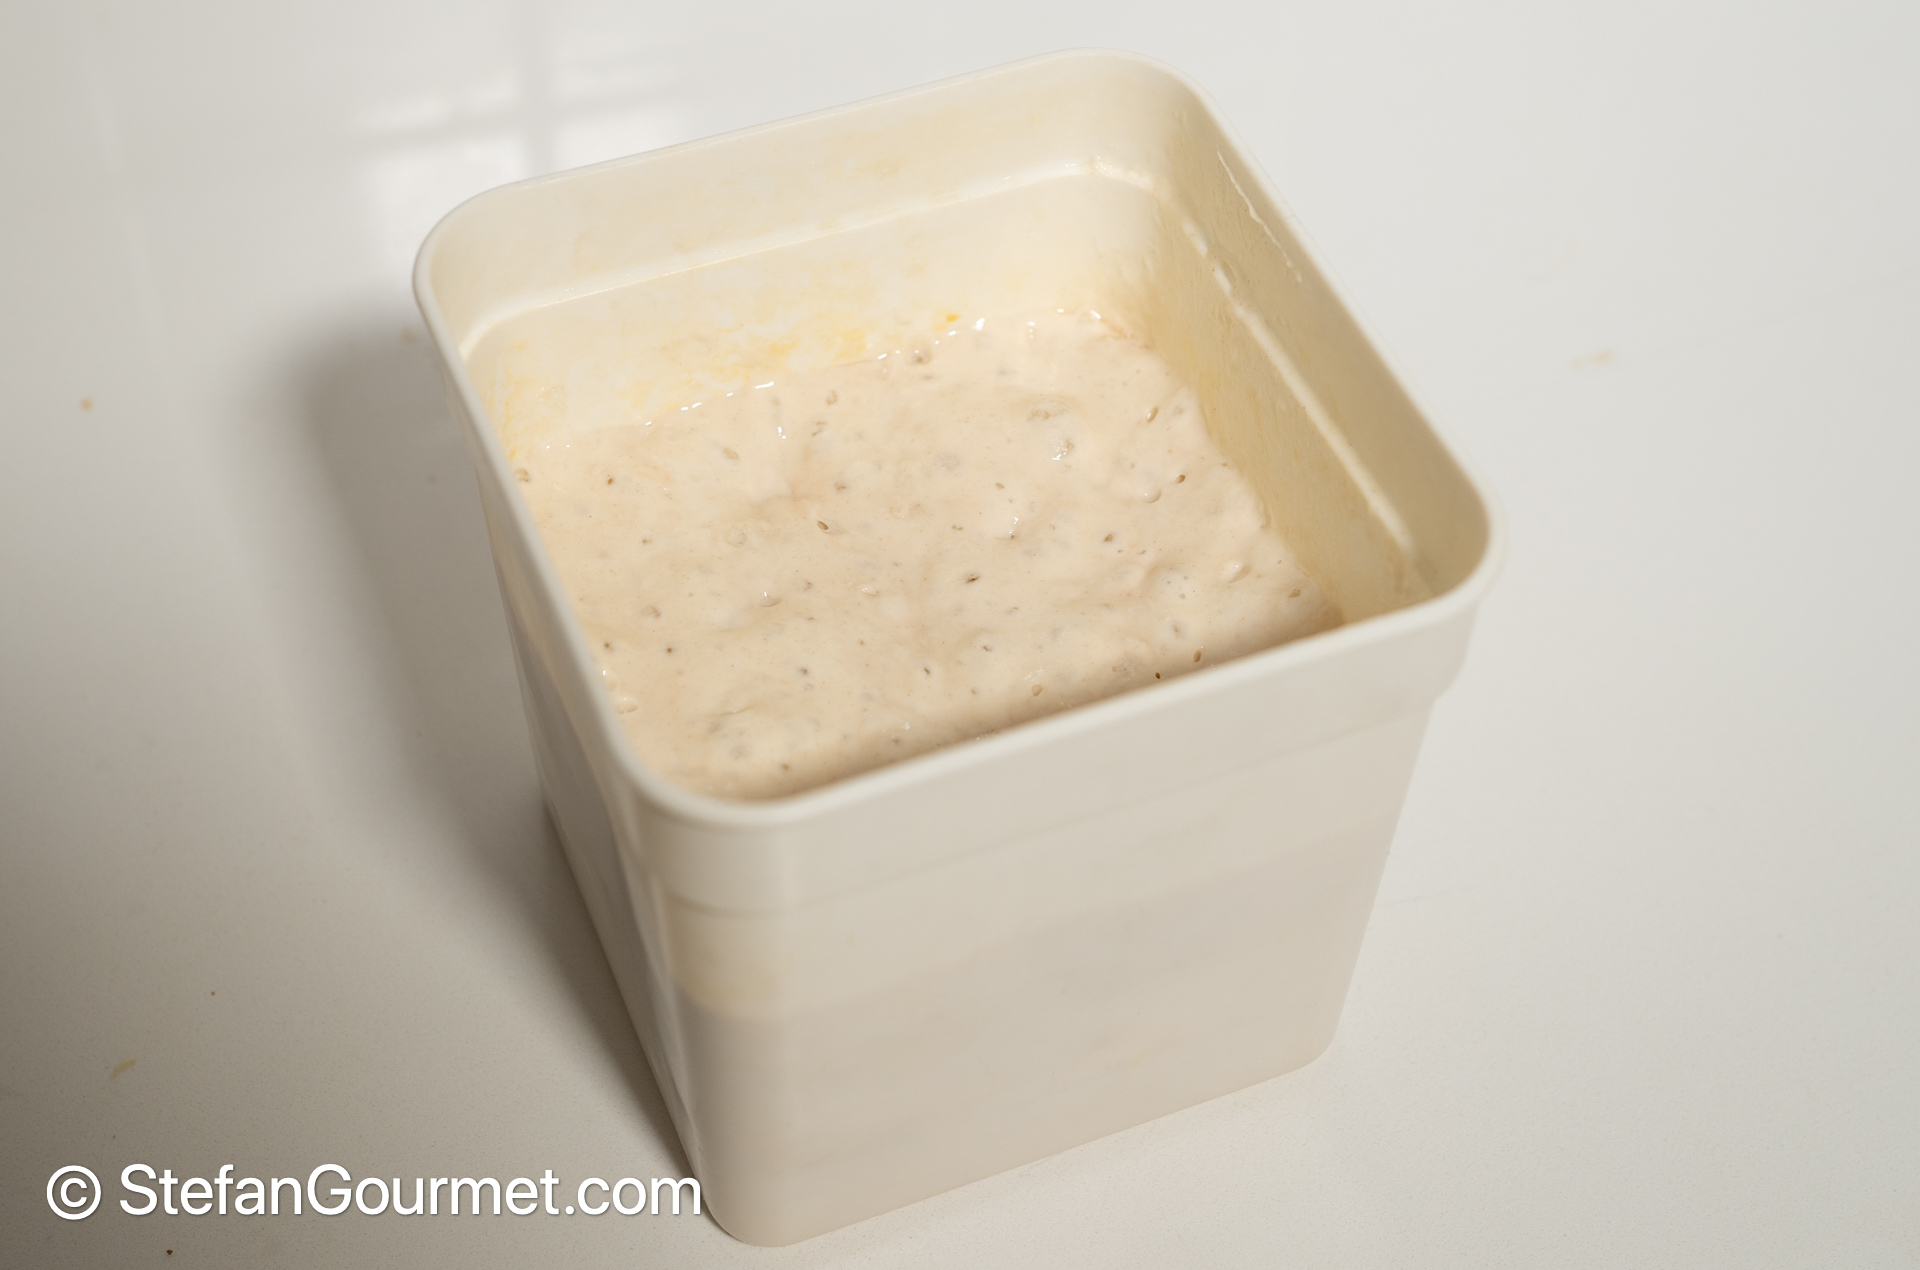
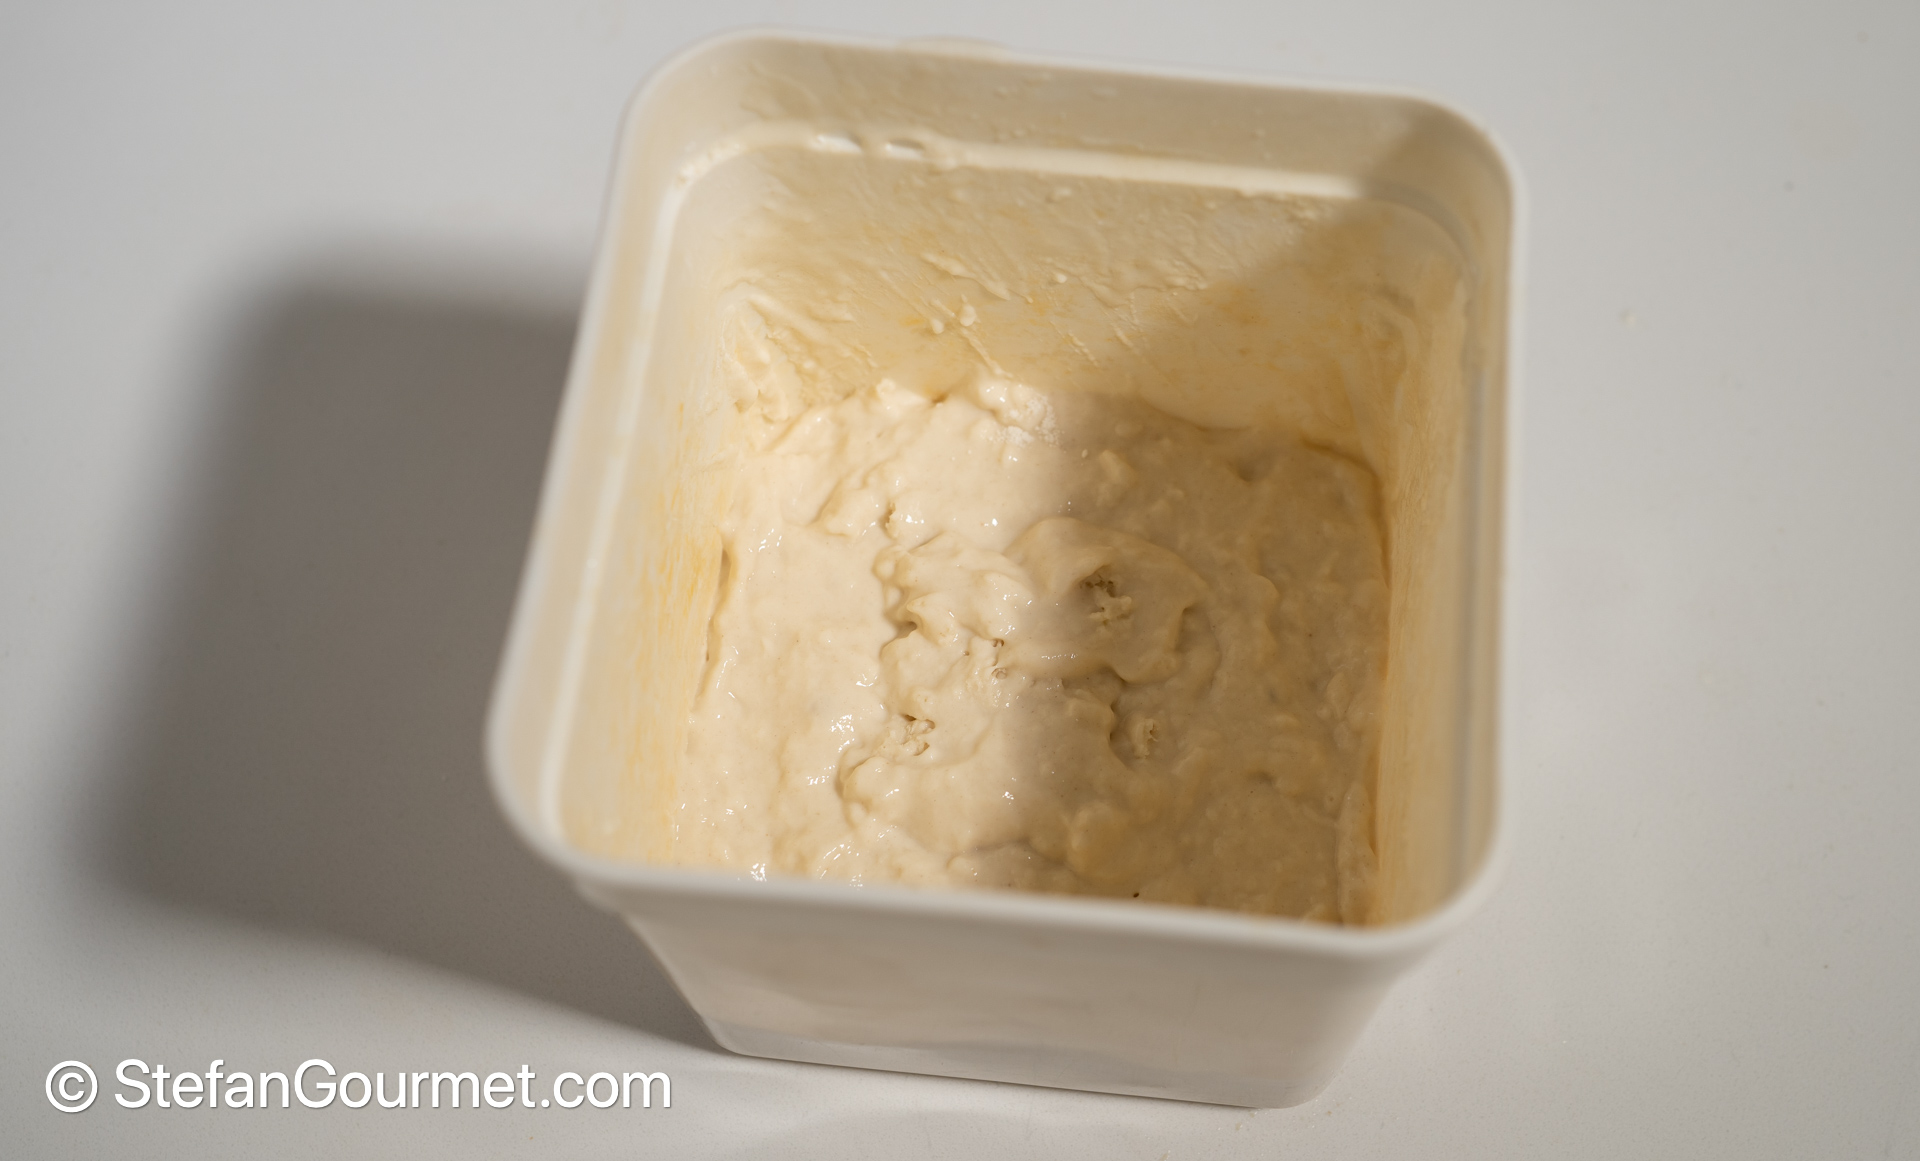
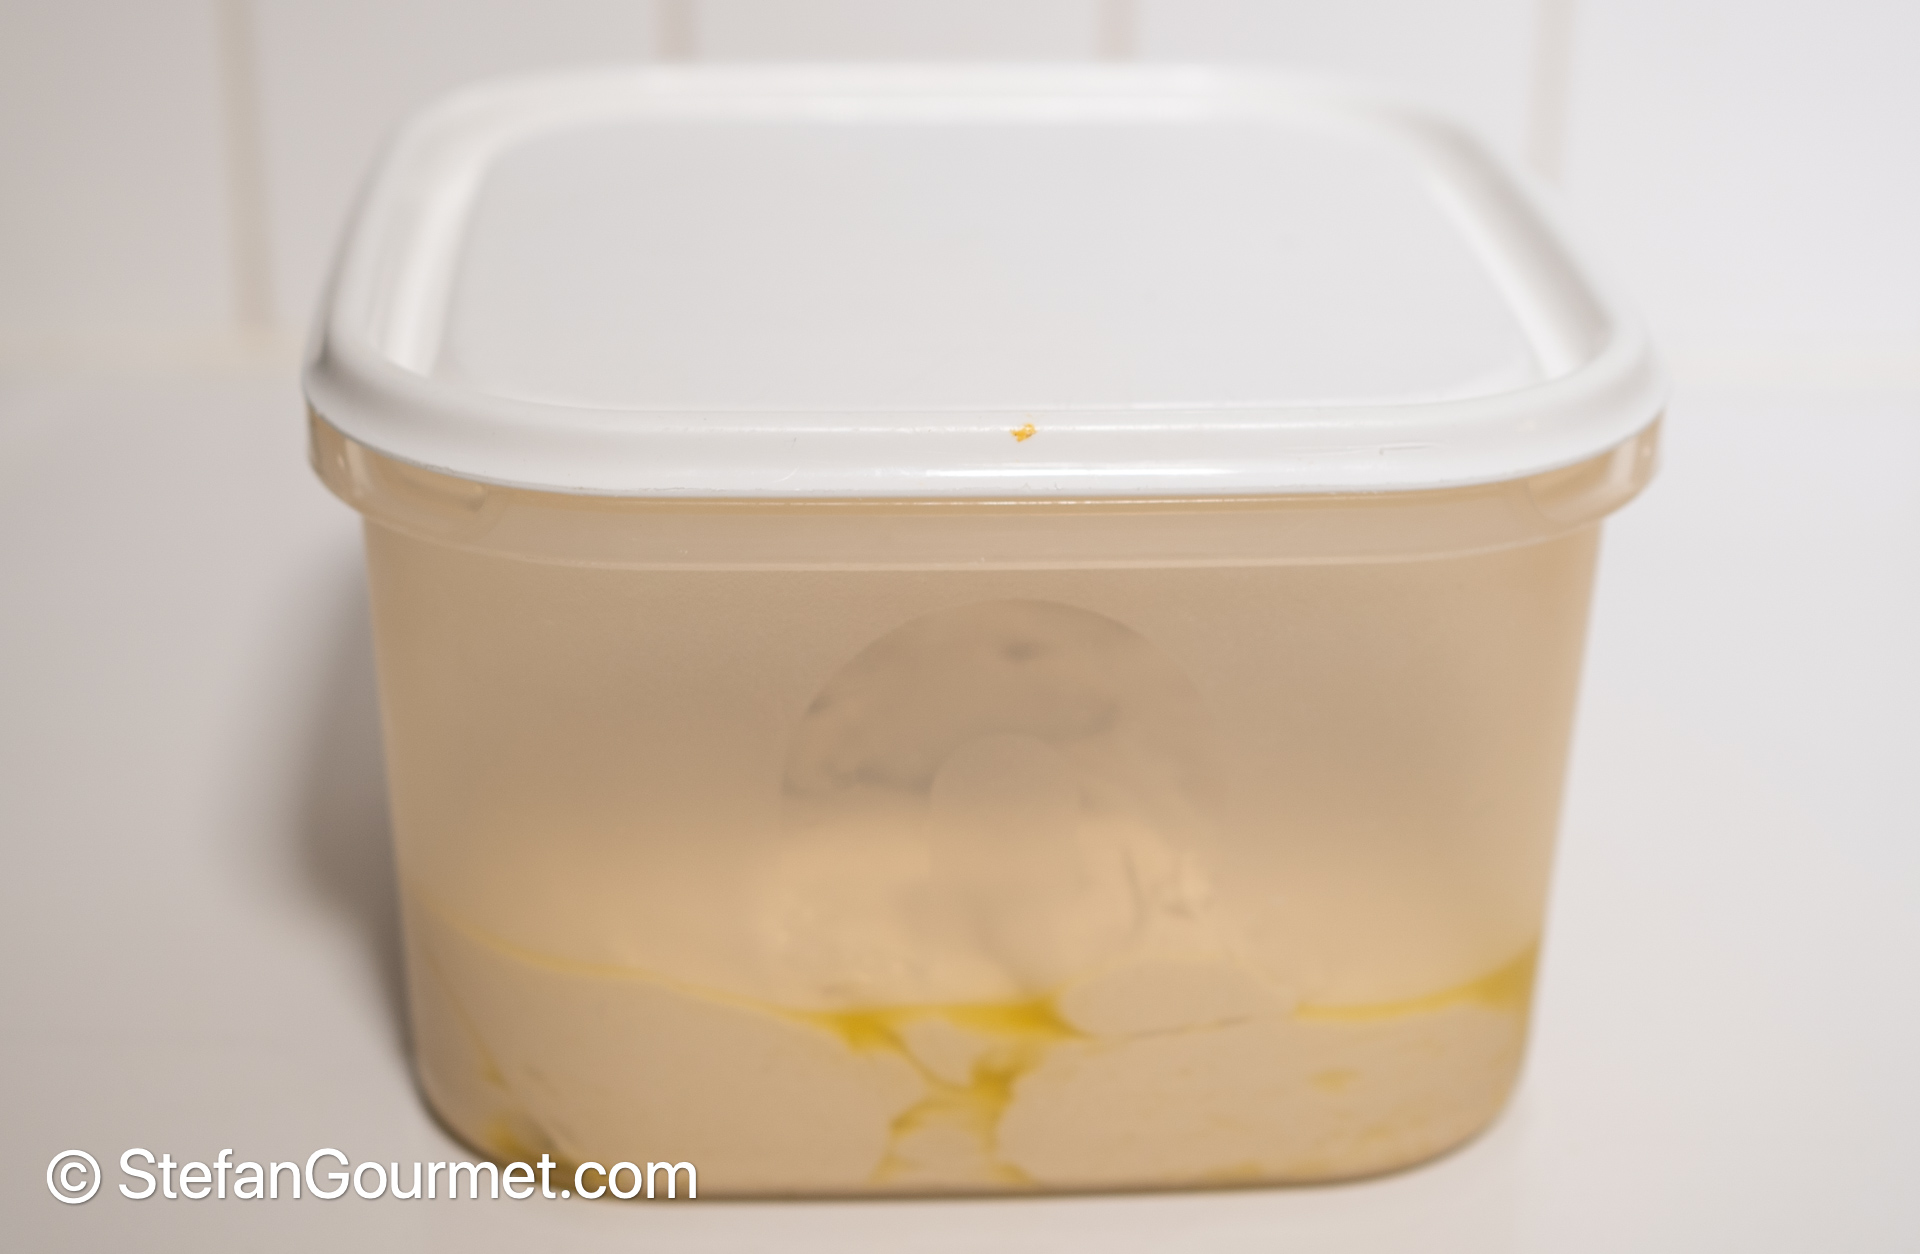
The pre-ferment is done when it has doubled in volume and looks very bubbly.
The time this takes, depends on the amount of yeast you used and the ambient temperature. With 1/8 tsp of yeast at 20C/70F it takes about 12 hours for me. If you used too much yeast, the pre-ferment will collapse before you can use it for the dough. If you did not use enough yeast, it won’t be bubbly by the time you need it. This will take a bit of experience to get right, and remember to take into account differences in temperature (in summer it will be a lot faster than in winter).
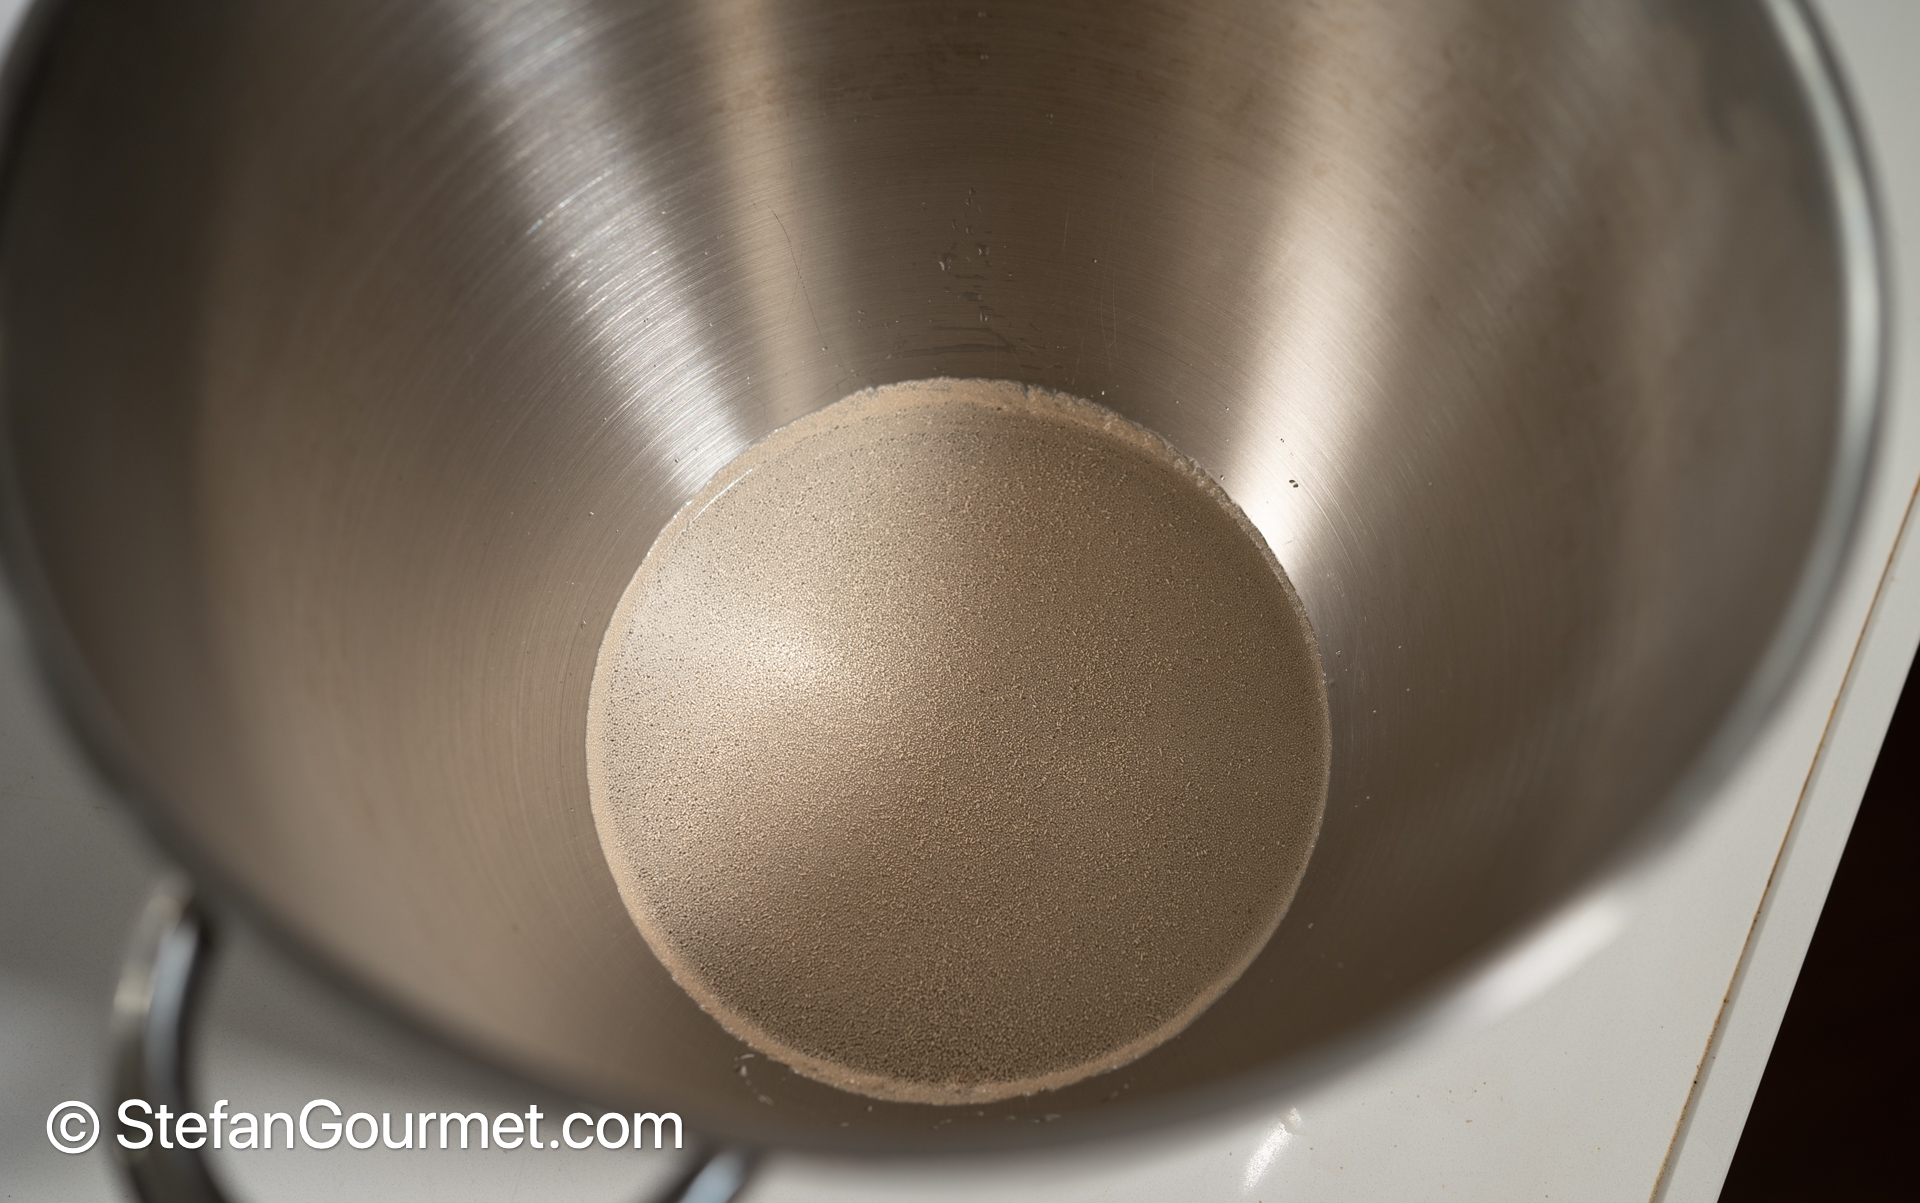
To make the dough, put 210 grams of water in the bowl of a stand mixer with 1 tsp of instant yeast.
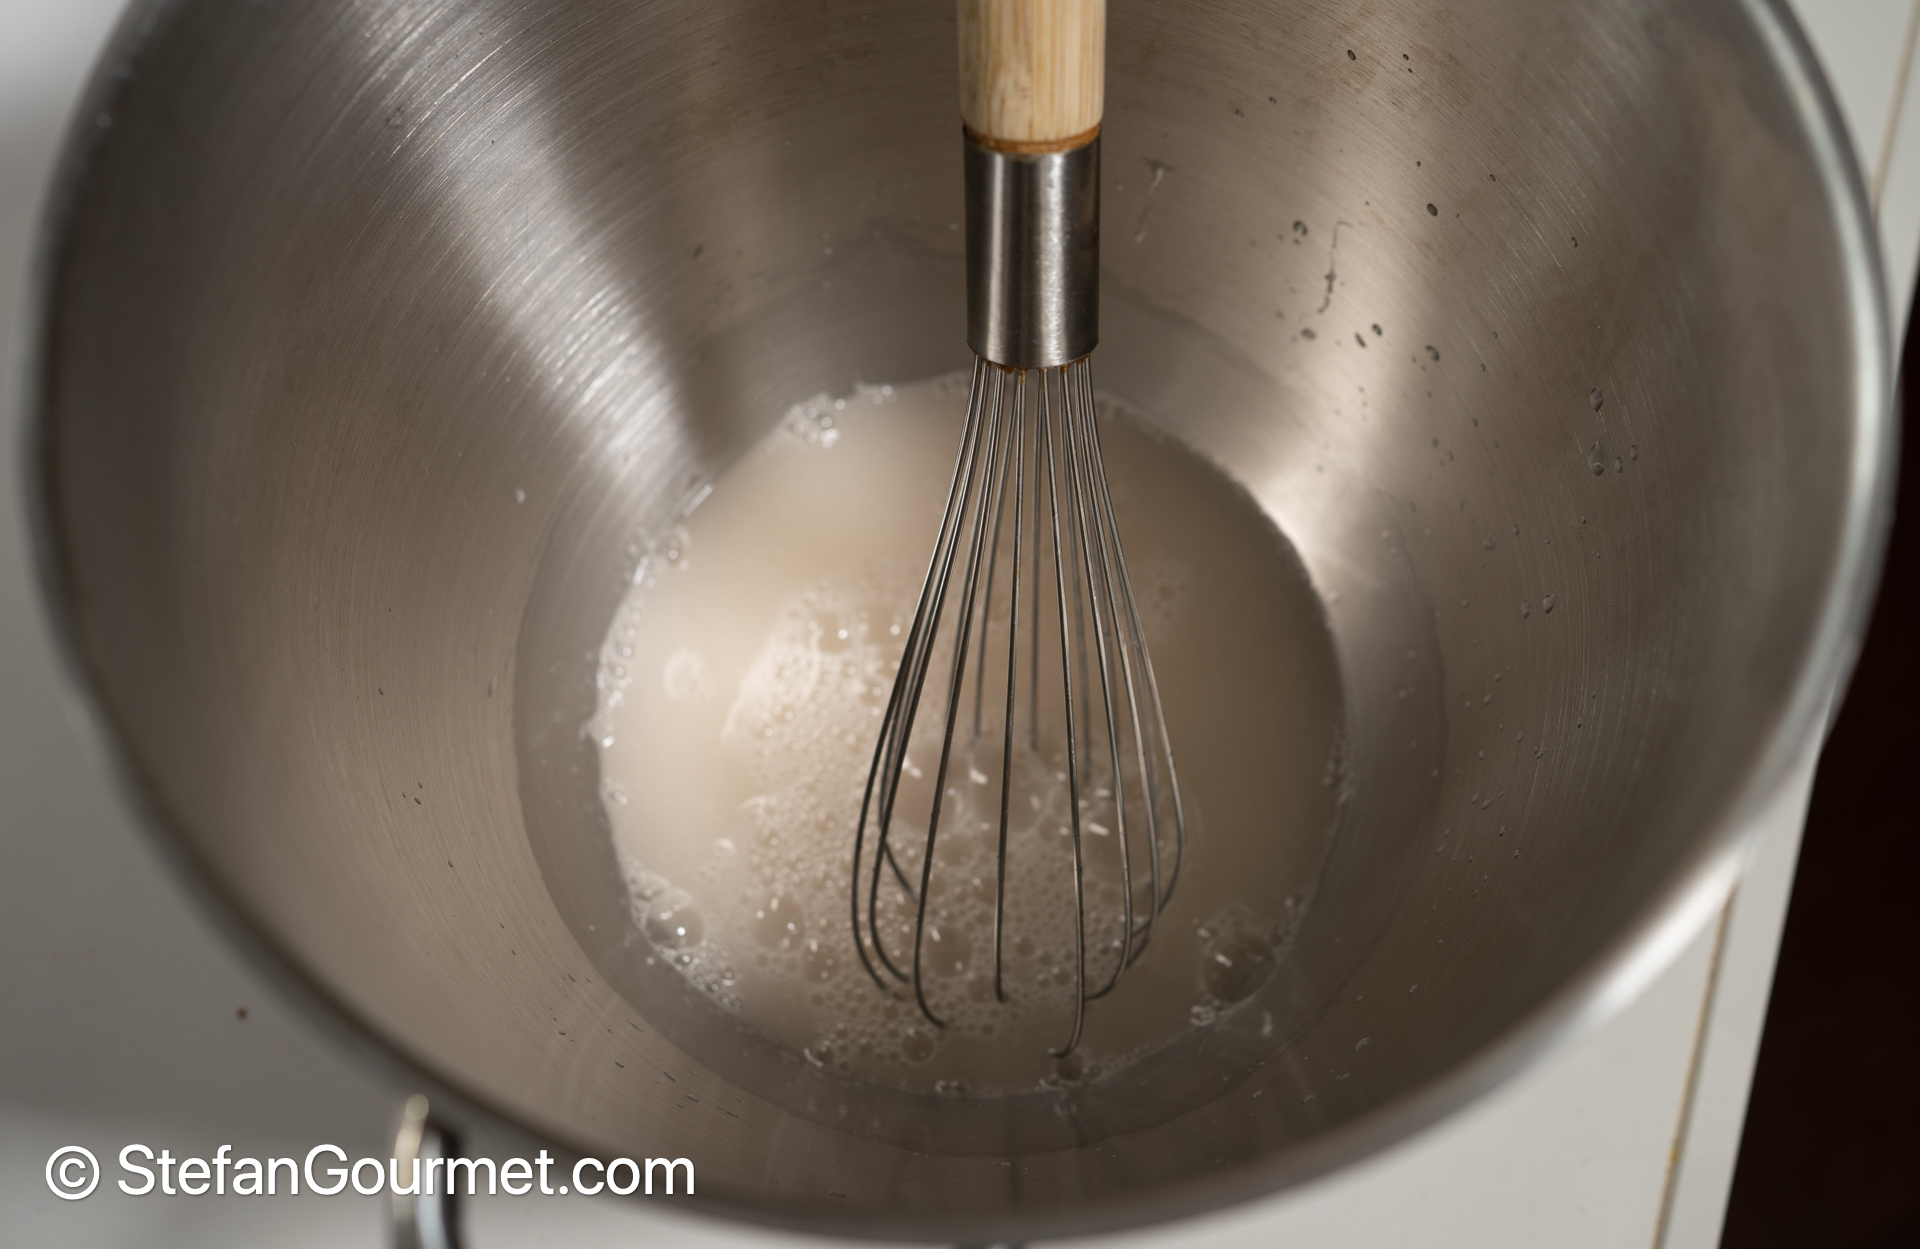
Whisk until the yeast has dissolved.
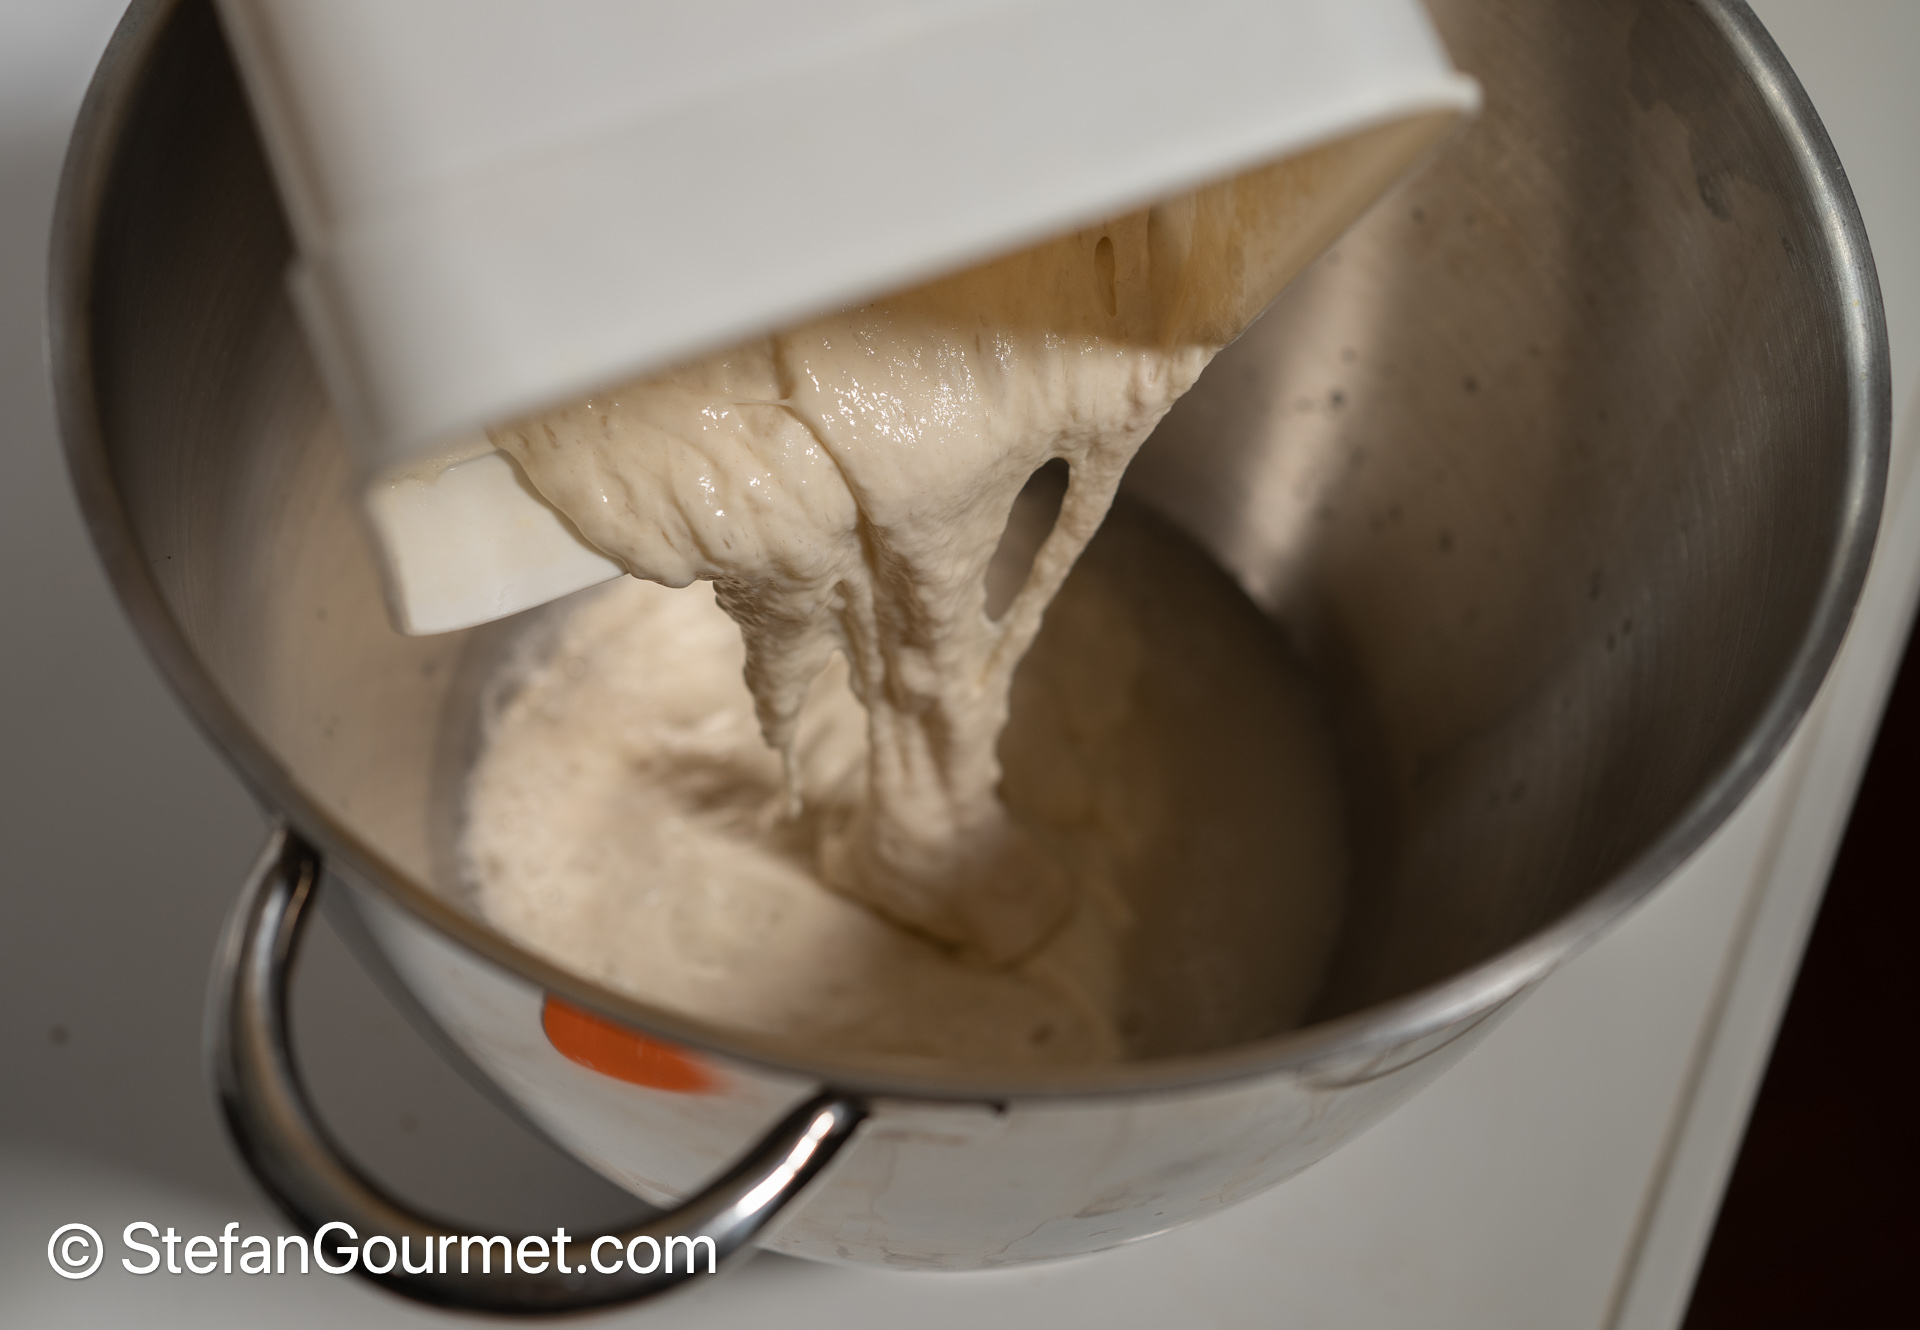
Add the pre-ferment.

The pre-ferment should float on top of the water.
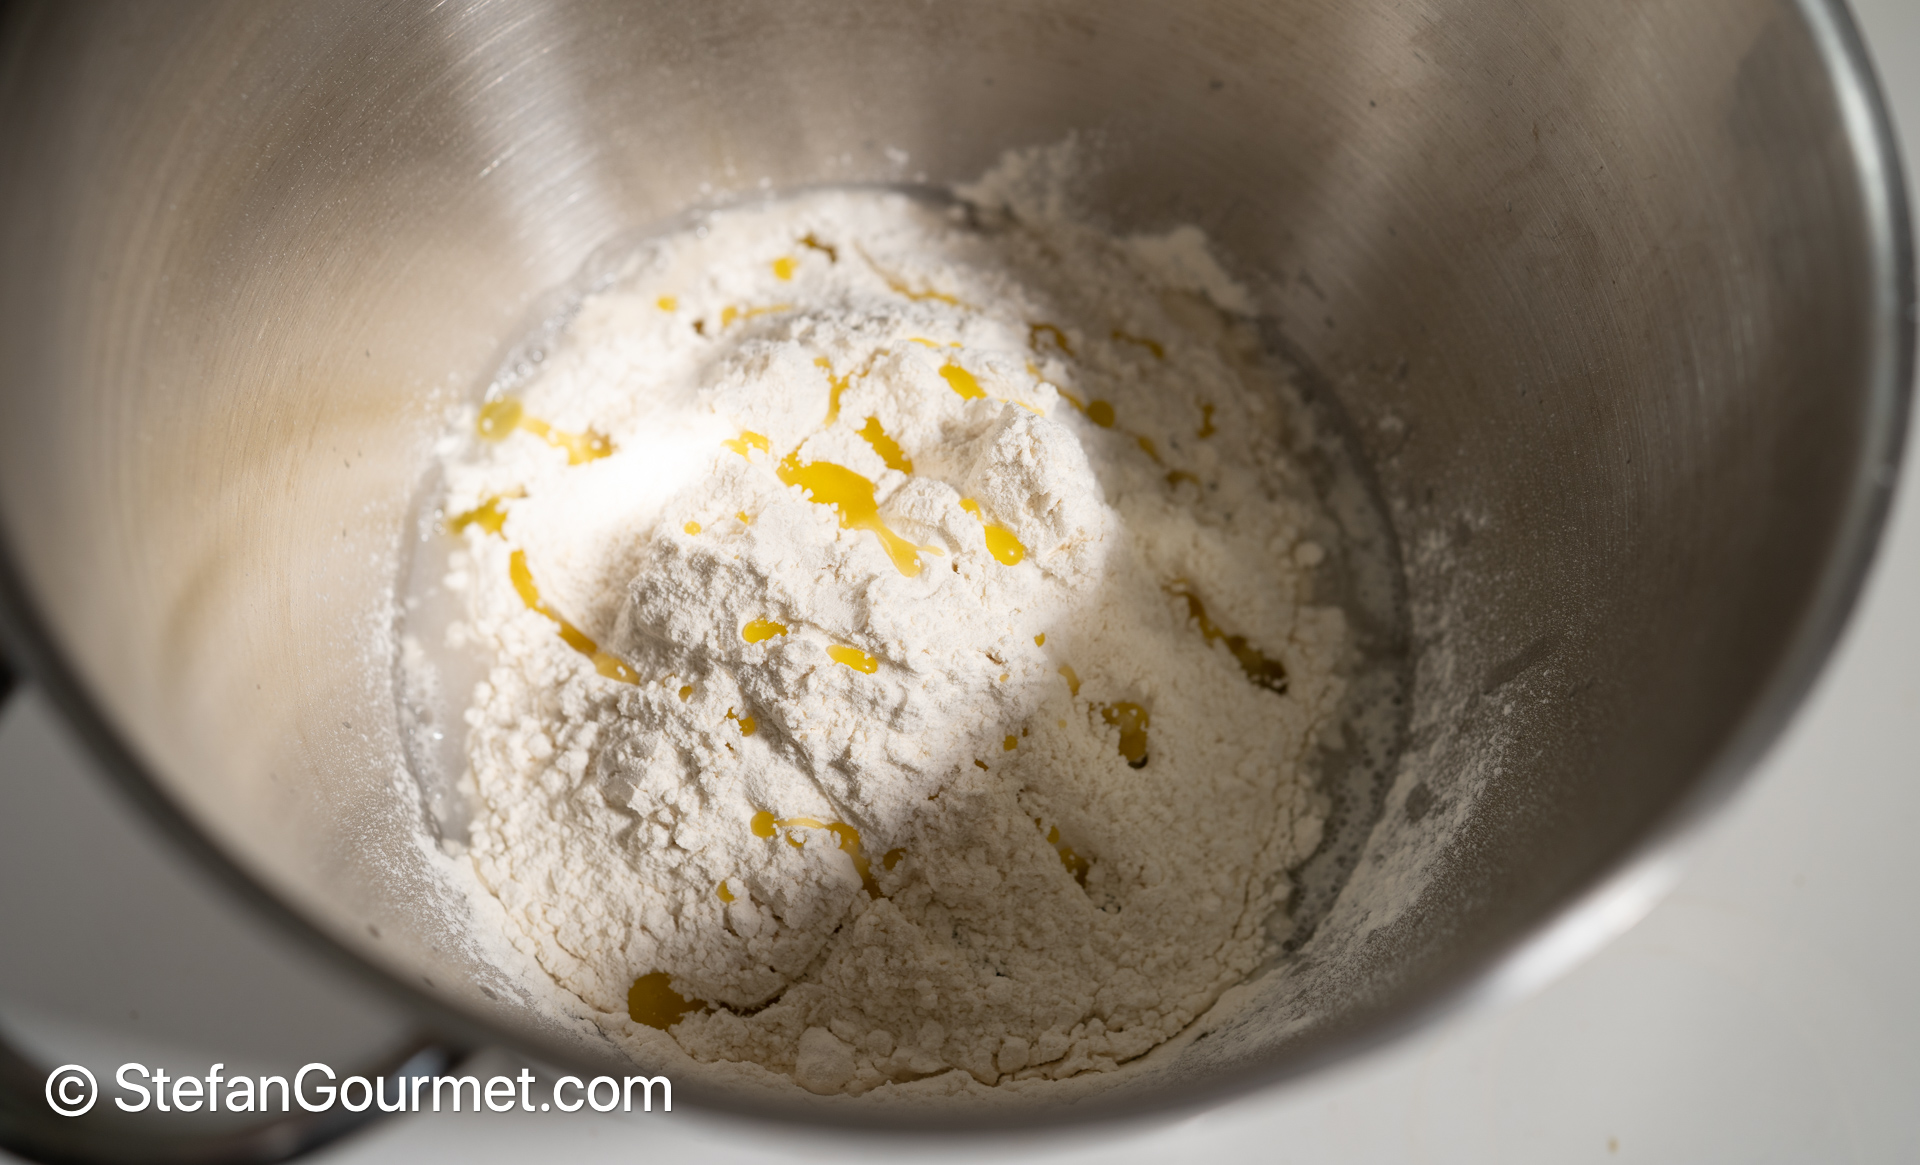
Add 350 grams of flour and 1 teaspoon of extra virgin olive oil.

Mix with the paddle attachment on low speed until you get a shaggy mass.
Remove the paddle attachment and sprinkle 11 grams of salt on top of the shaggy mass.
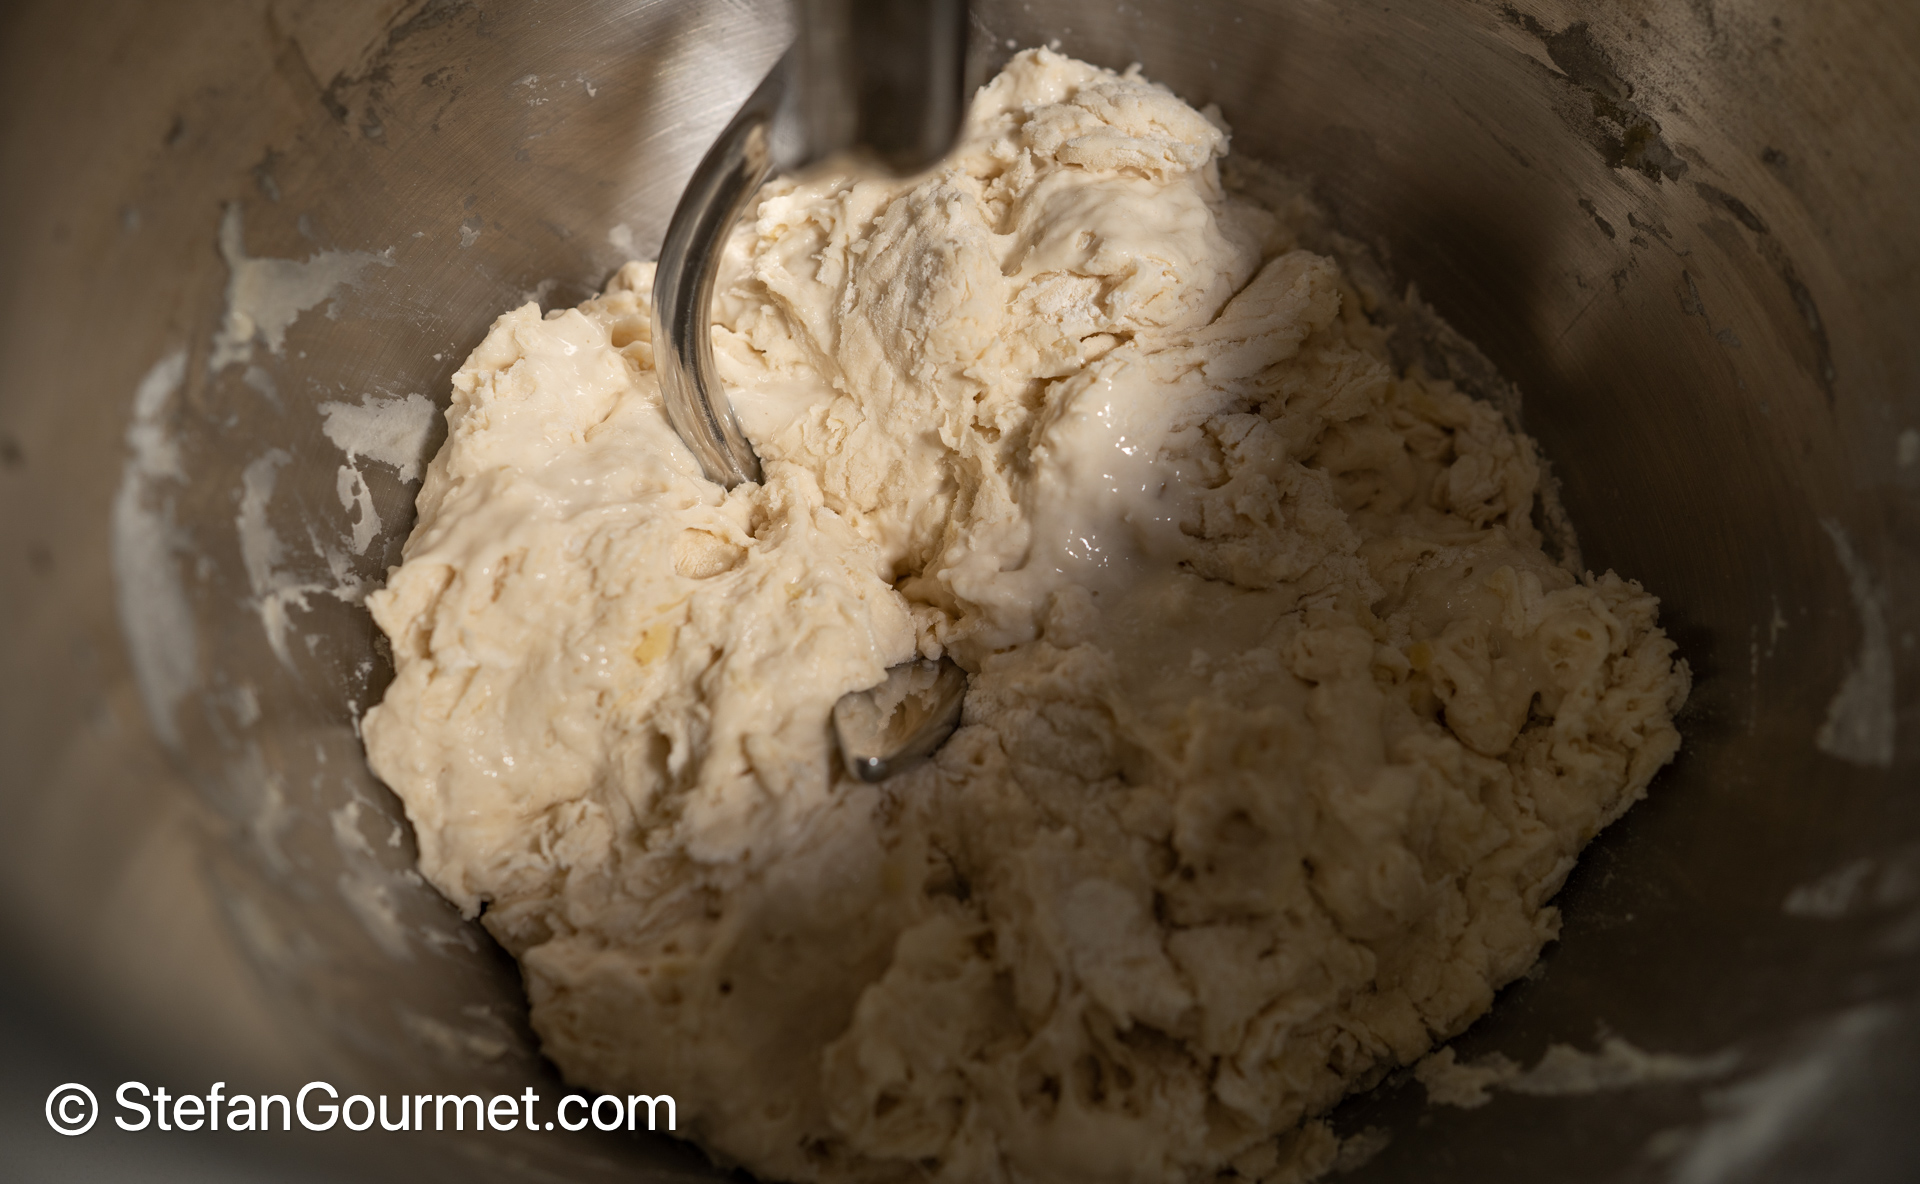
Insert the dough hook.
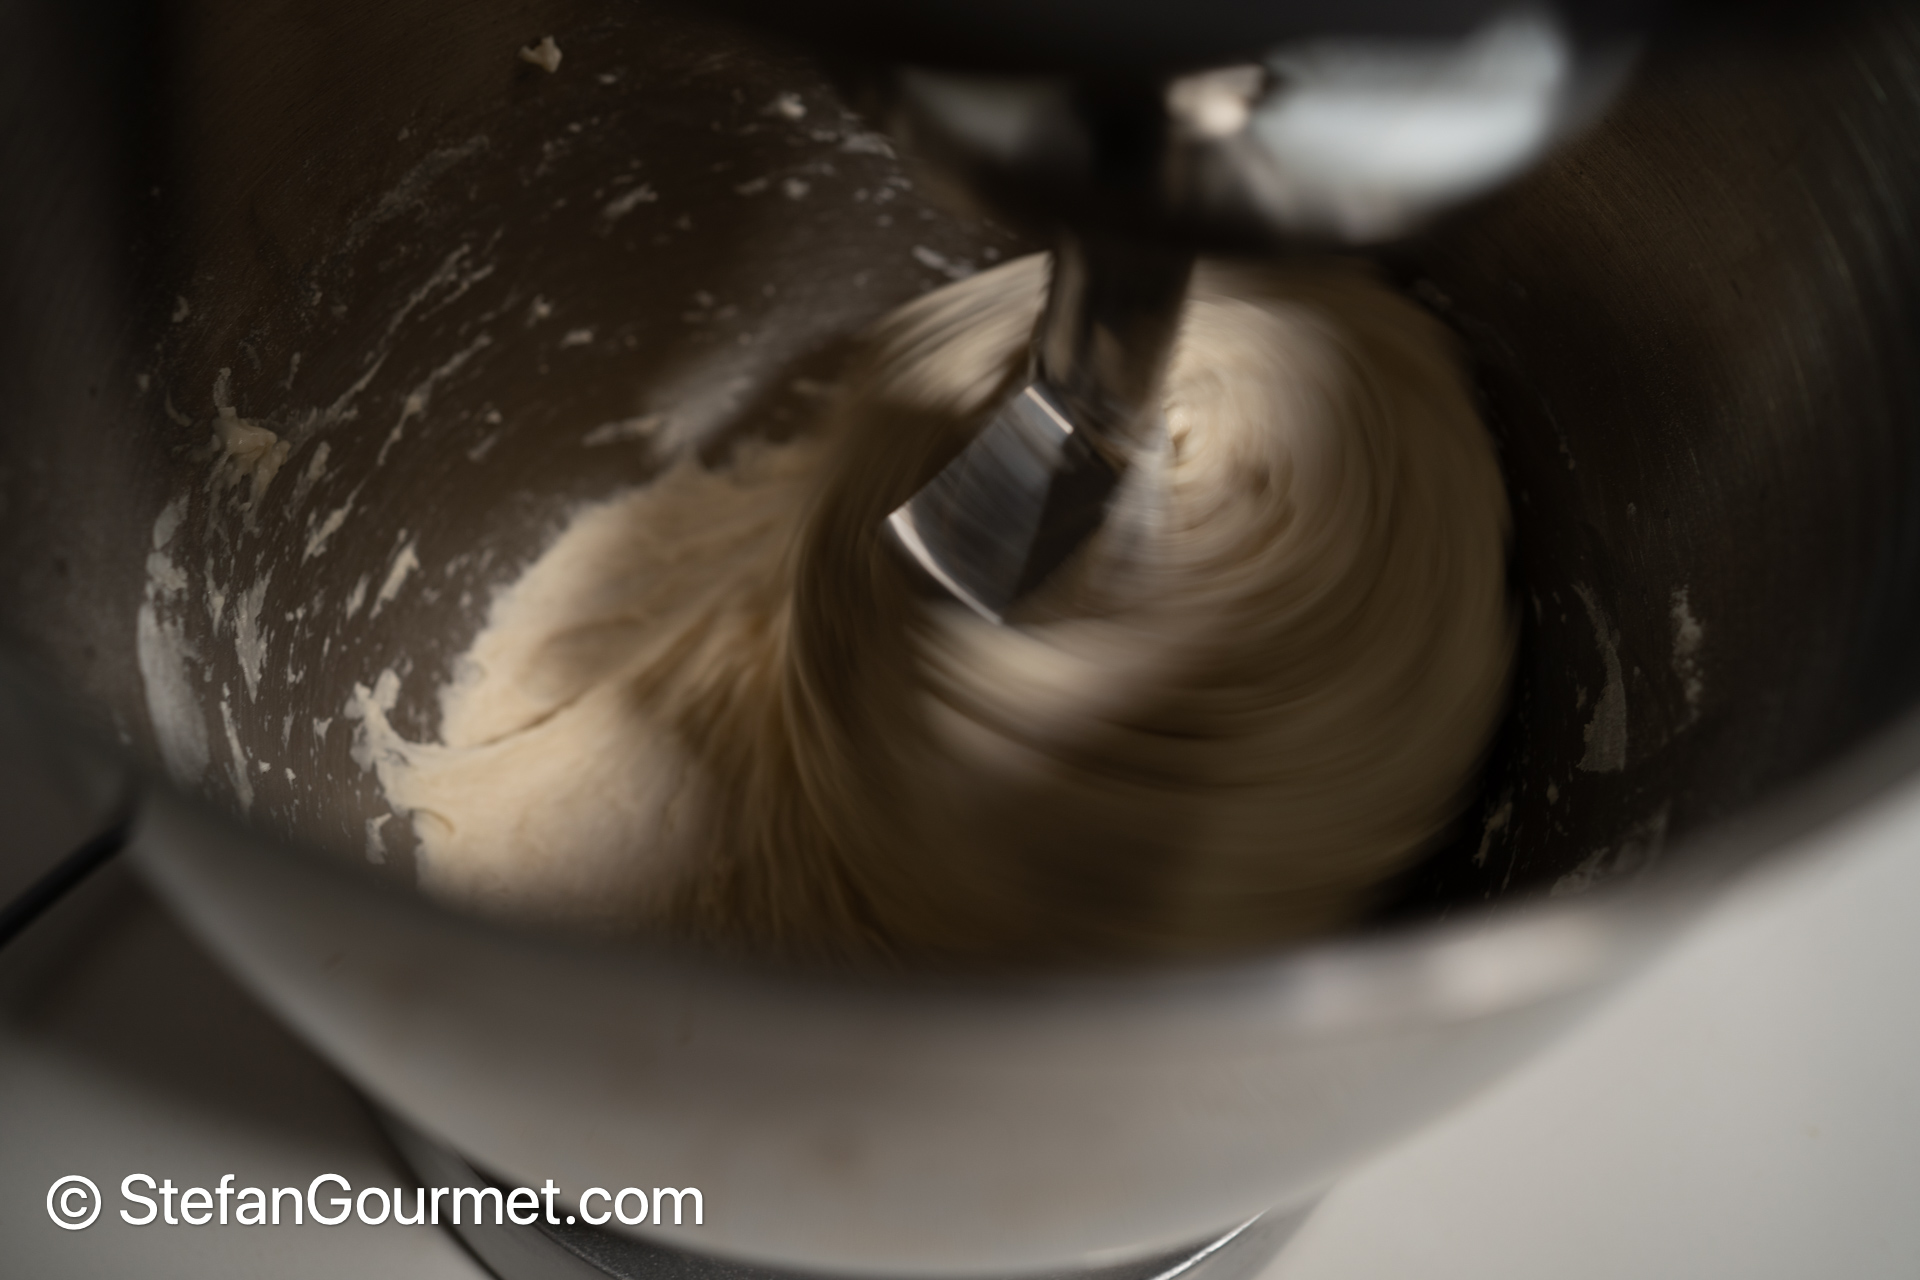
Knead at high speed for 8 minutes.
Or until full gluten development has been reached.
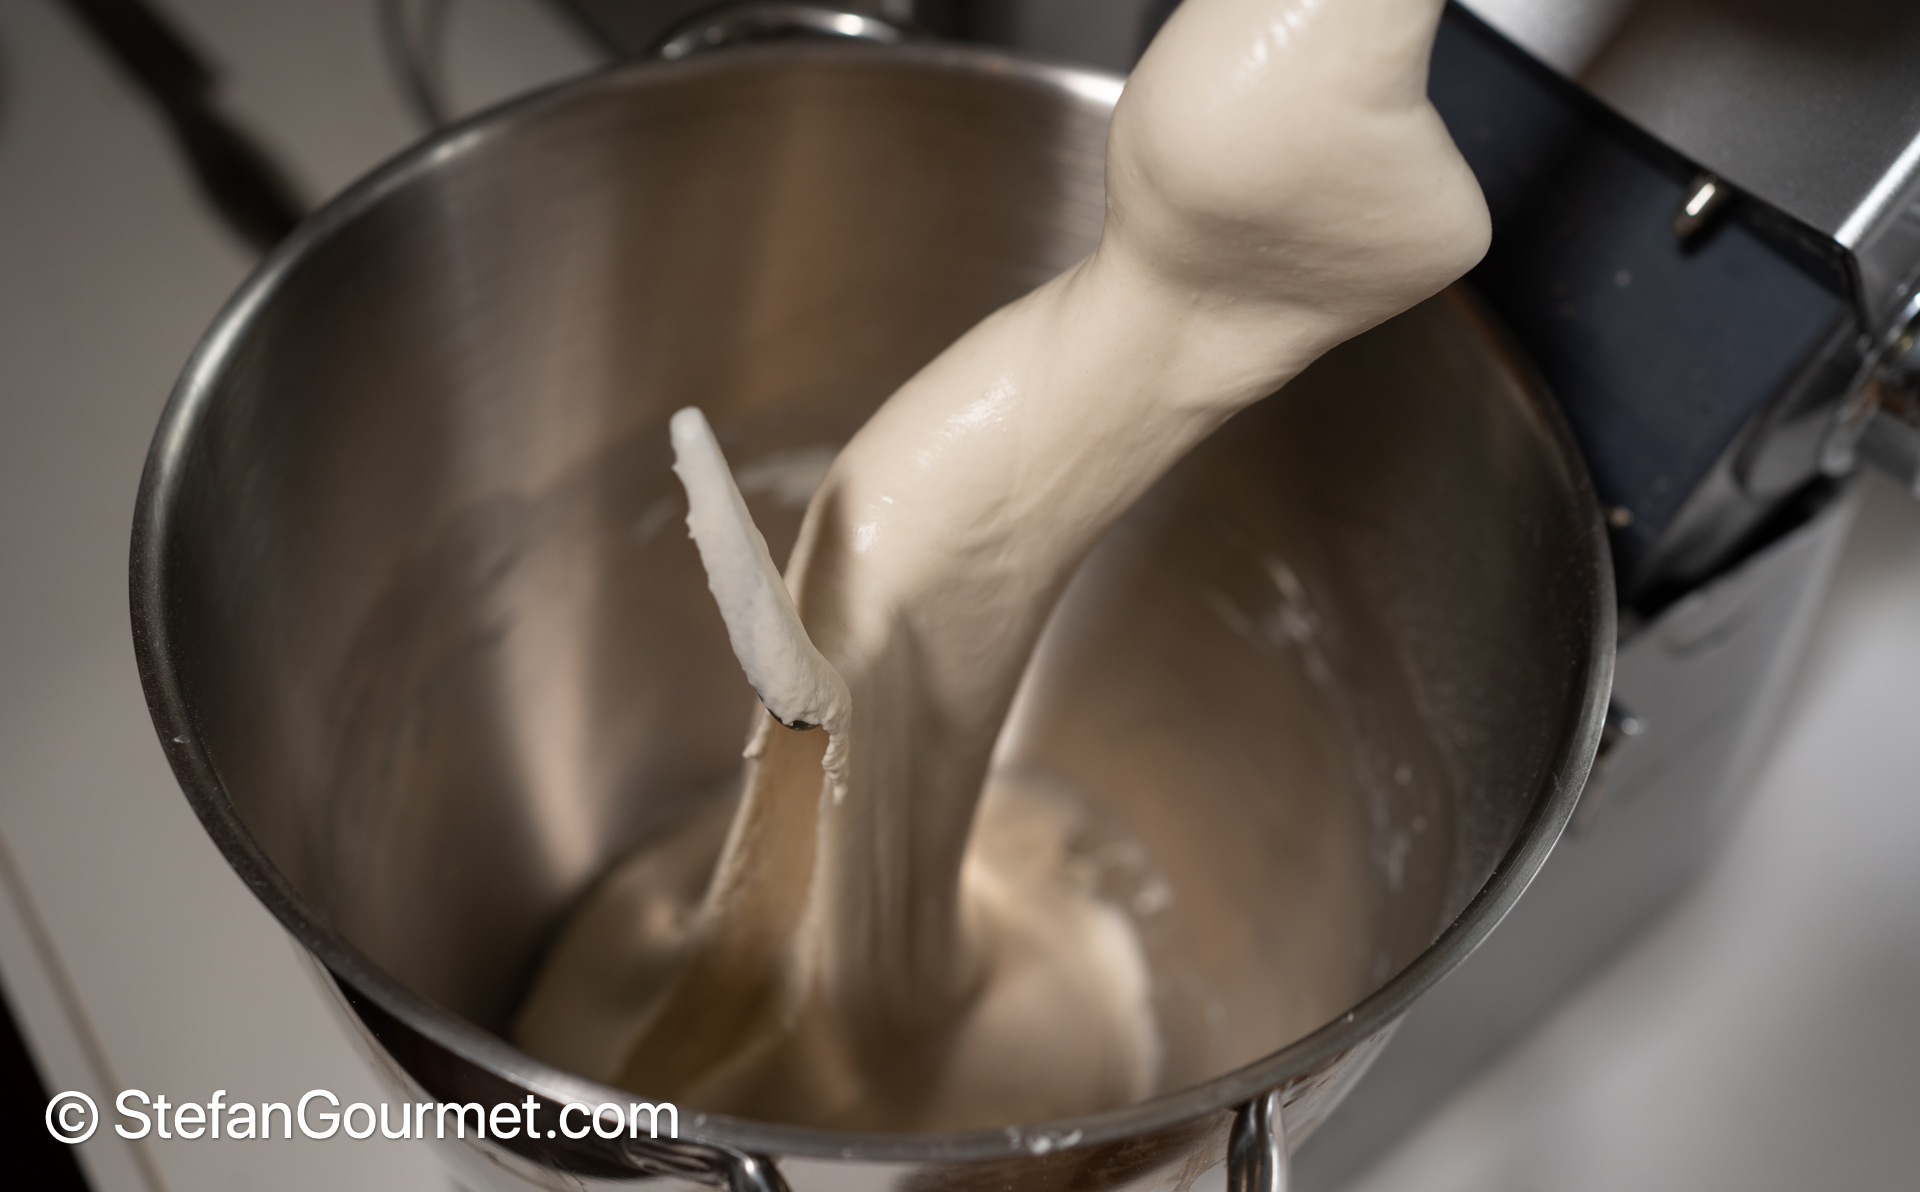
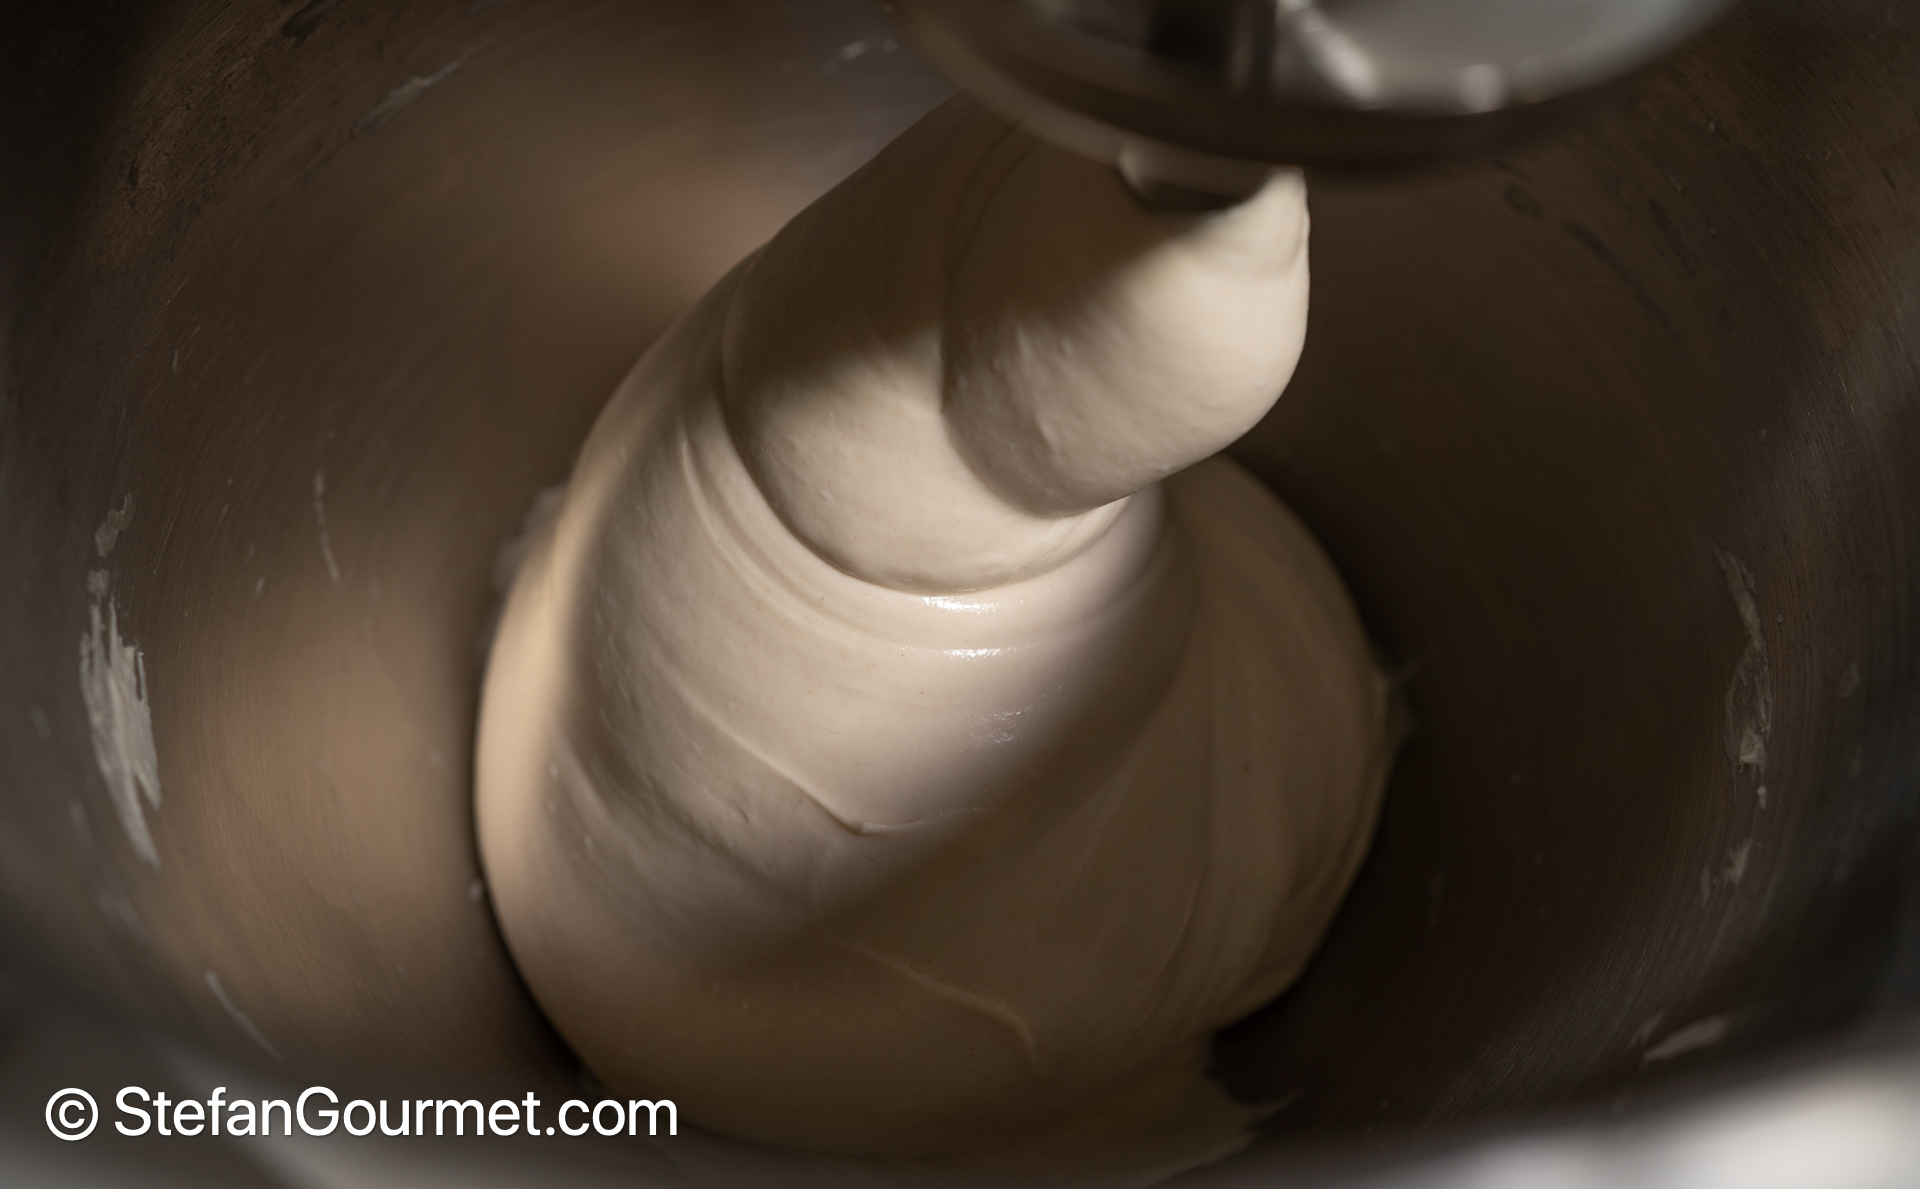
The dough will be very smooth and very elastic.
Lightly oil a plastic container.
Transfer the dough to the plastic container for what is called the “bulk ferment”. Cover the container and leave at room temperature for 45 minutes.
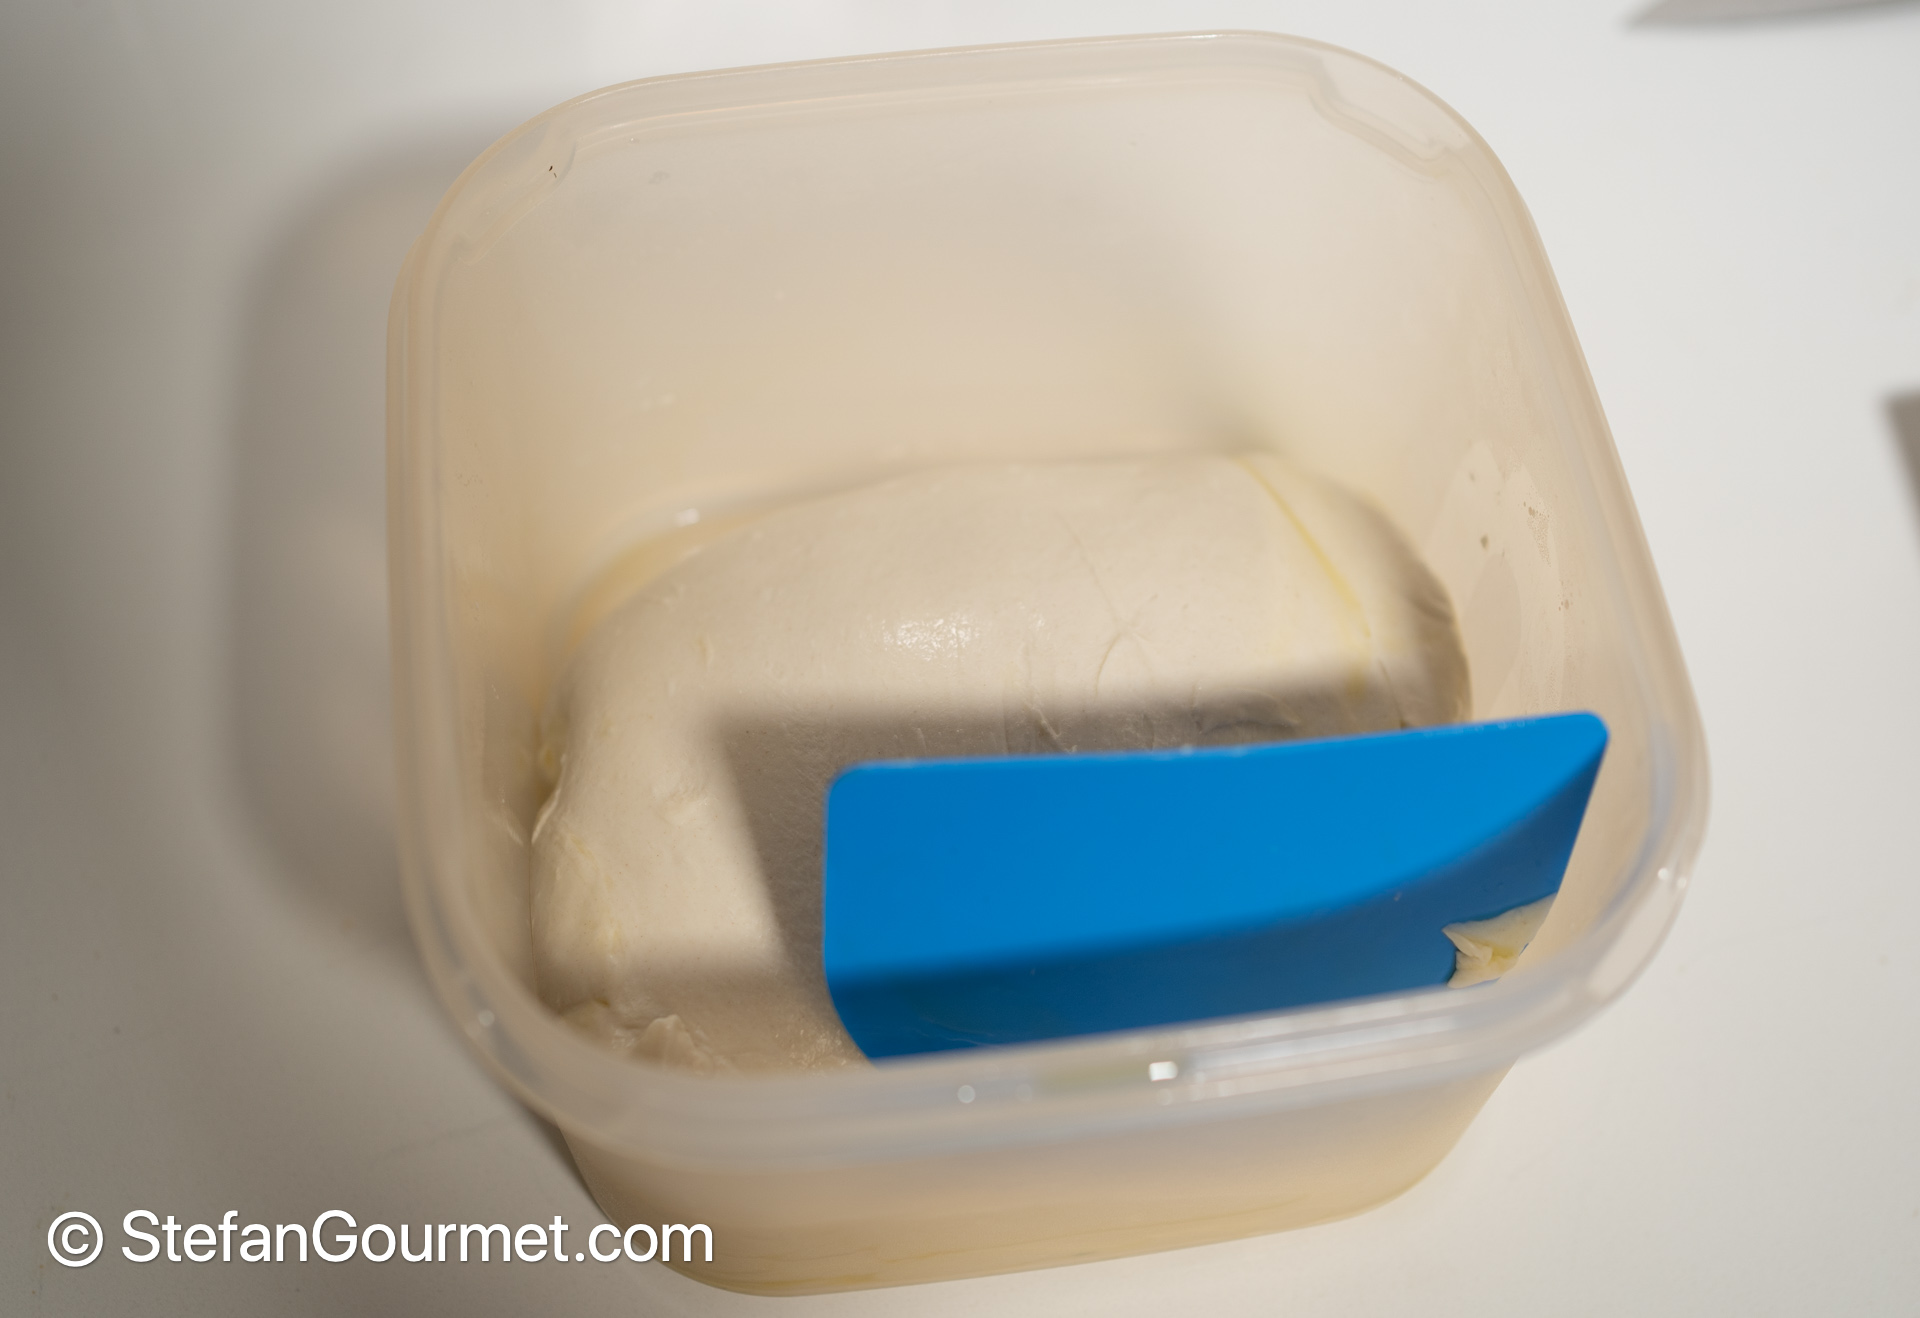
After 45 minutes to 1 hour, perform a four-edge fold. This means using a dough scraper to fold the dough in half from one side, turning the container one quarter, and folding again. Repeat this until you have folded from each of the four sides. Return the cover and repeat the whole process after 45 minutes to 1 hour. After the second four-edge fold, allow to ferment for another 30 minutes.
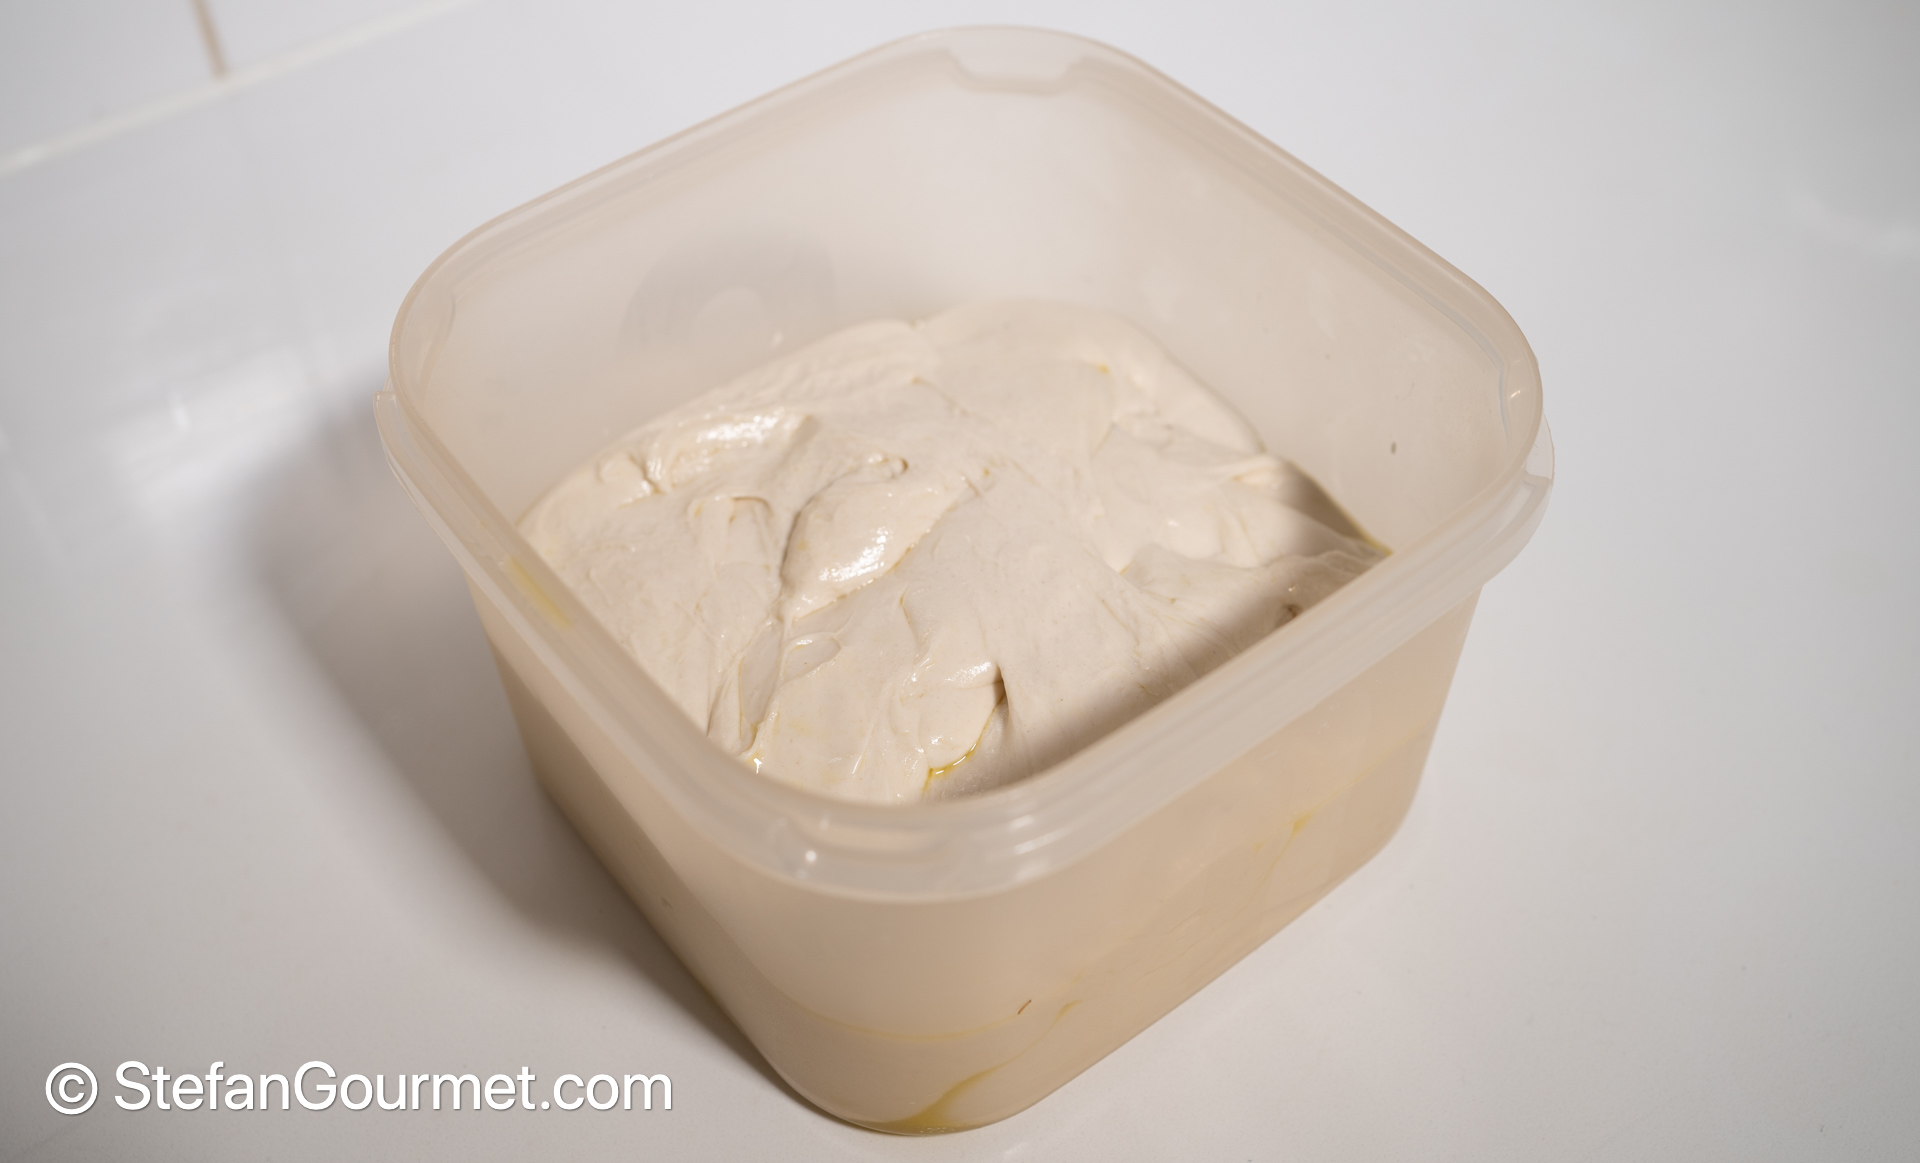
After 2 to 2.5 hours, the dough should be doubled in volume. The time for the bulk ferment will depend on the ambient temperature. If it is cold, you could perform the bulk ferment in the oven with only the light switched on (if your oven doesn’t have LED lighting), or with the oven set to about 27C/80F.
The dough is now ready to be shaped.
3. Shape the dough with the tuck-in method and allow to proof in separate bowls
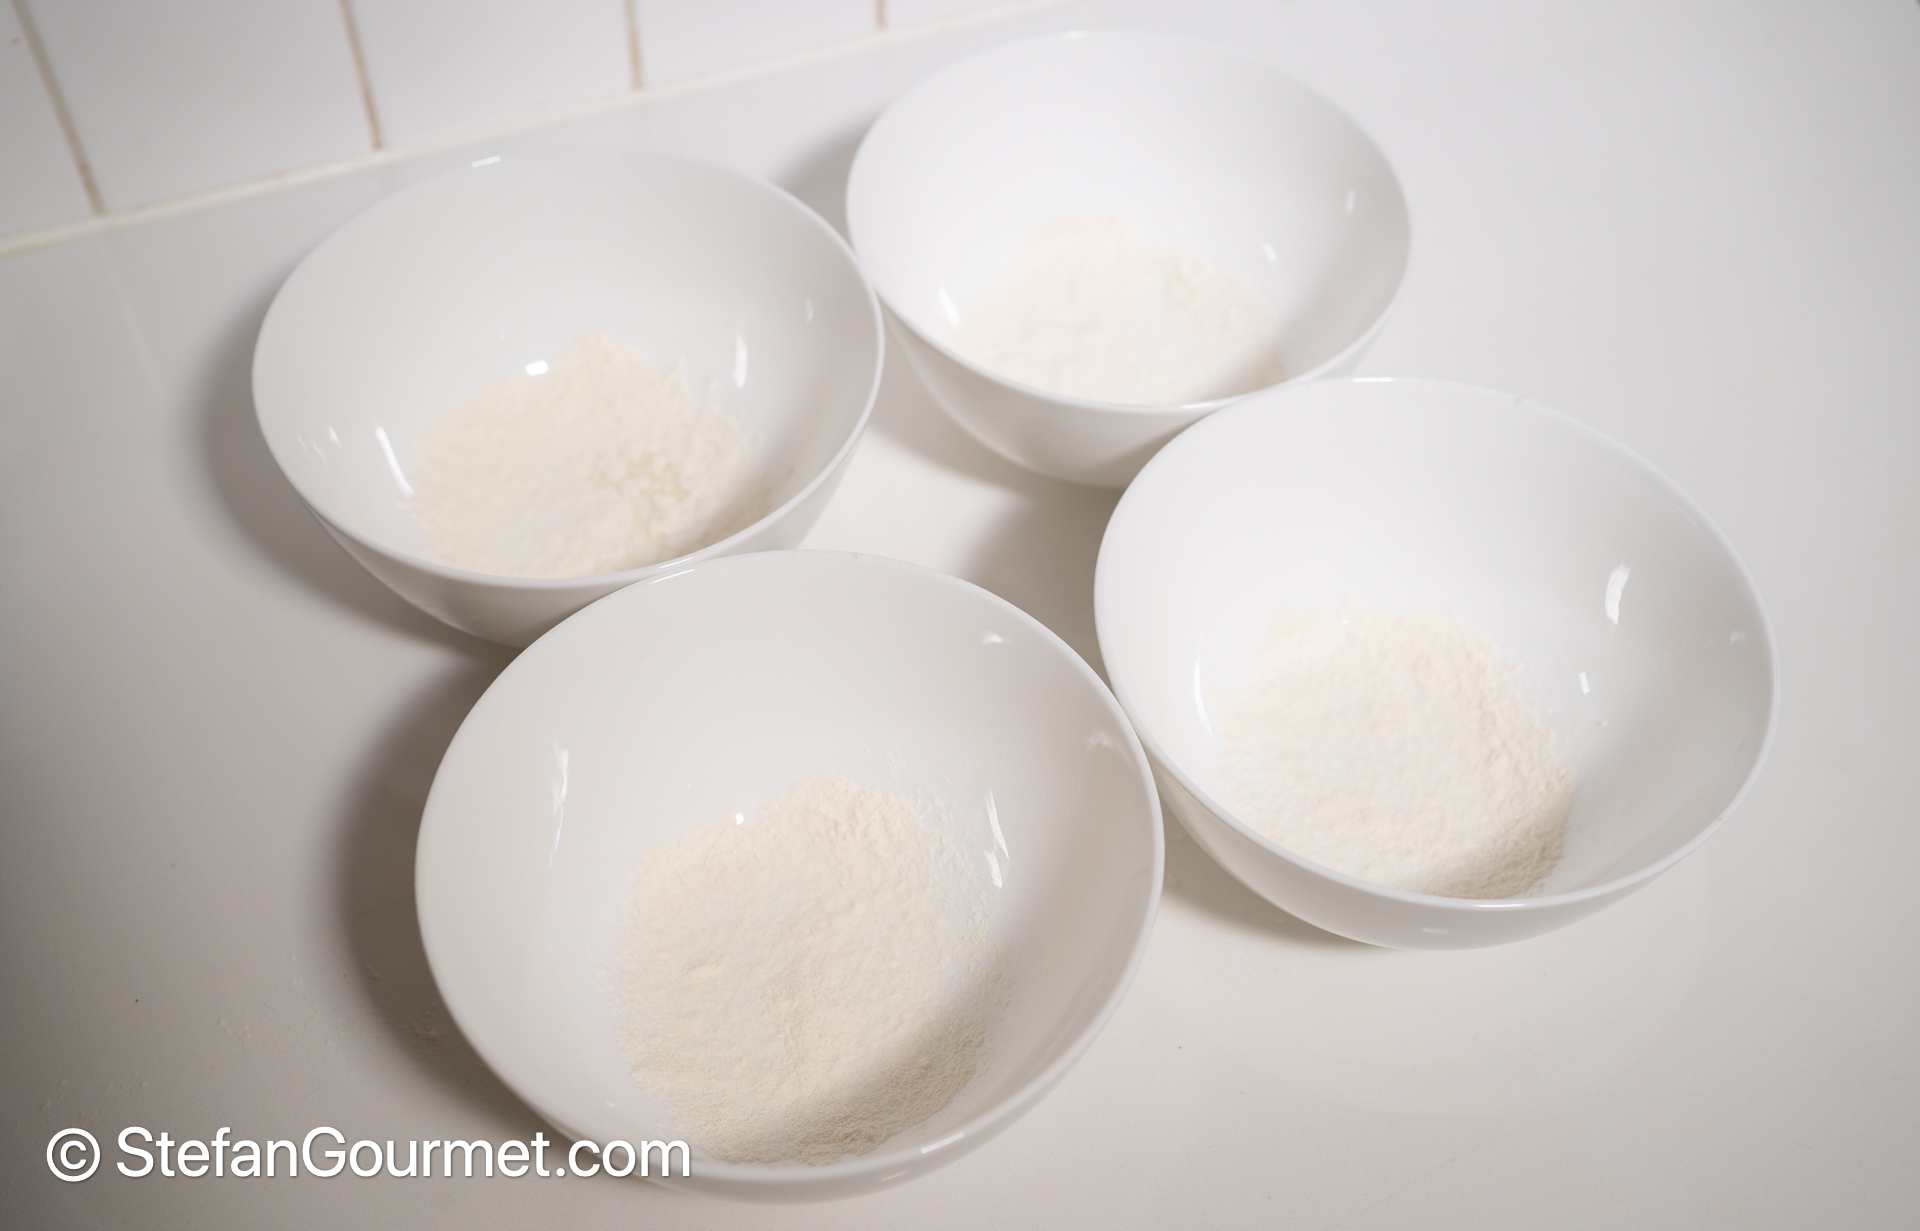
Prepare 4 medium bowls by sprinkling a thin layer of flour inside each bowl. To make pizza you will need balls of dough. By putting them in separate bowls, you can proof those balls without the balls of dough getting stuck to each other.
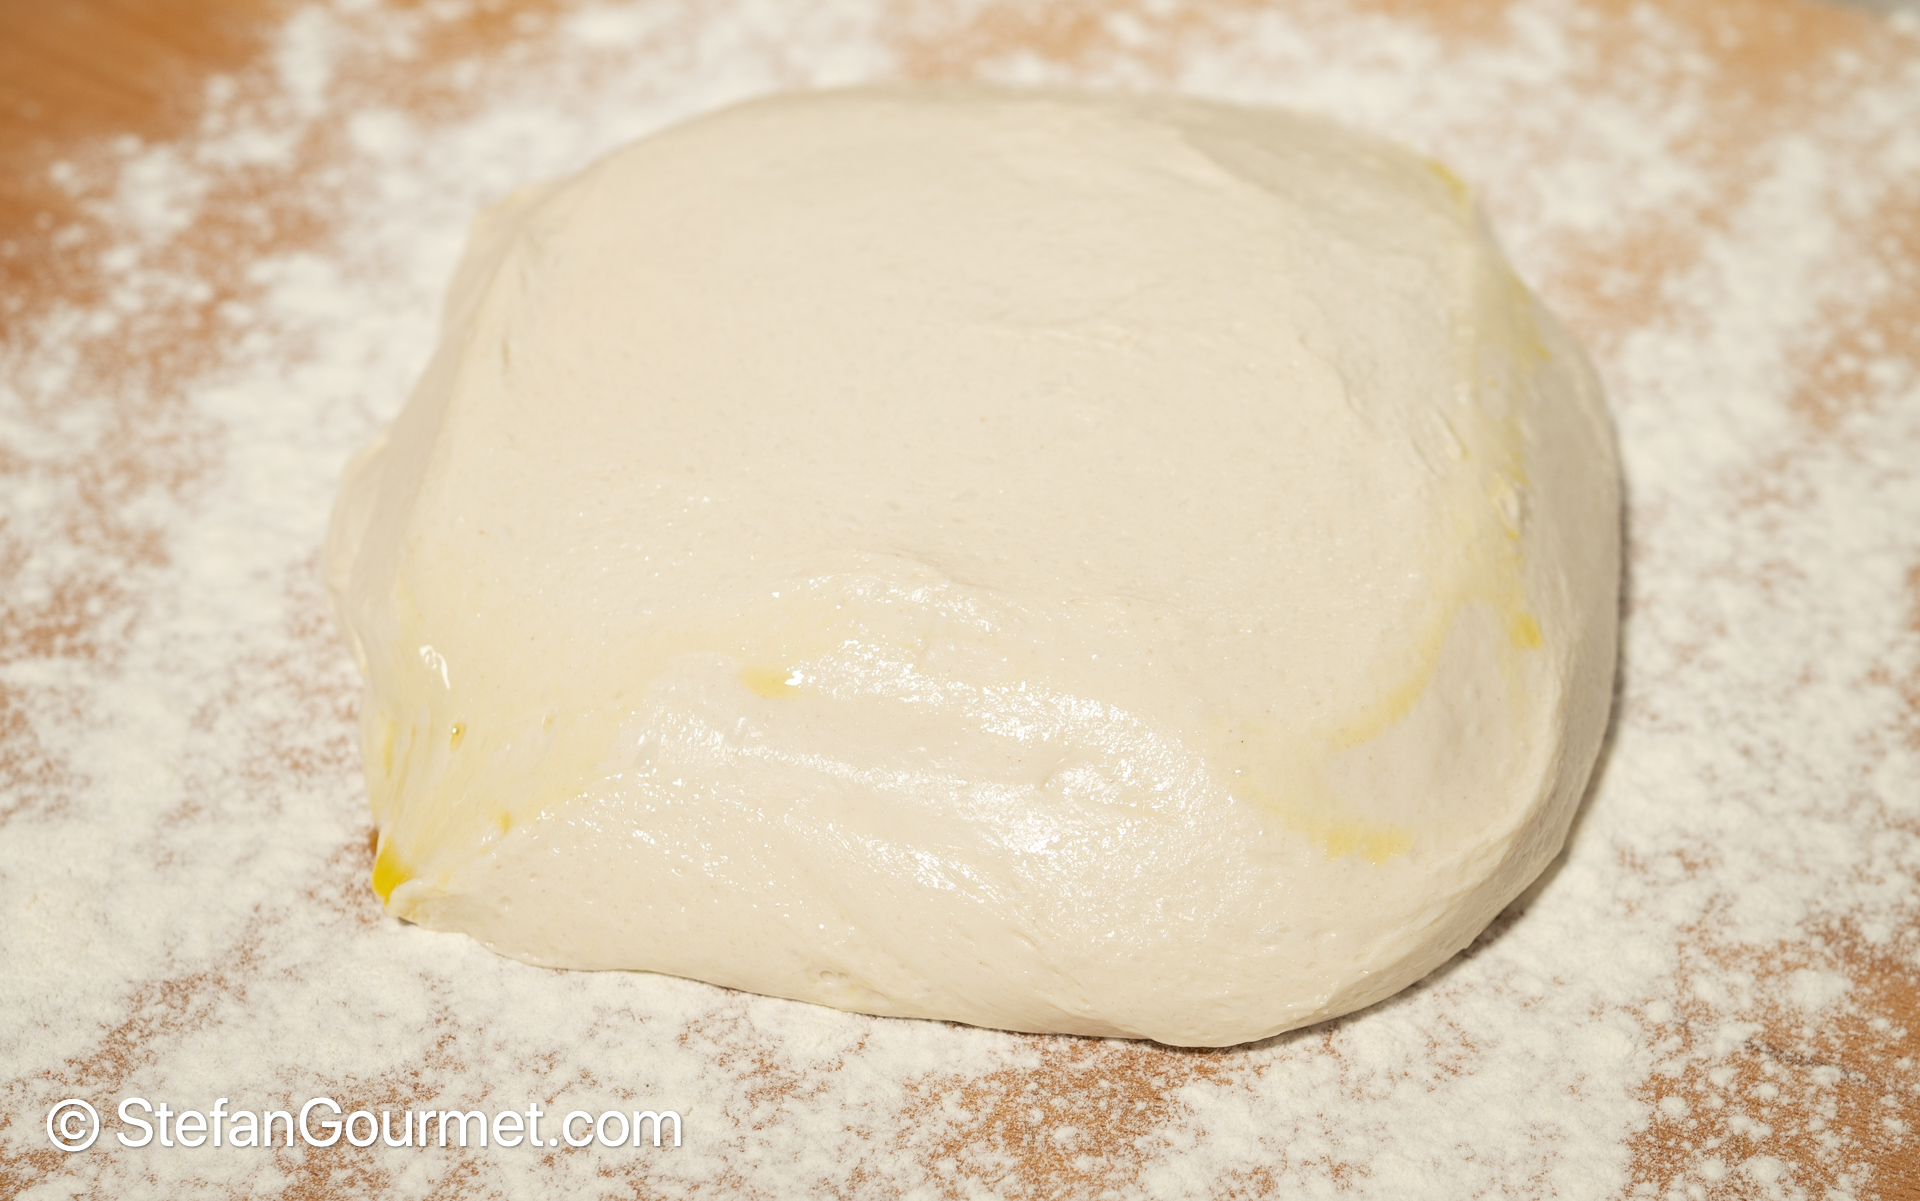
Turn over the bulk fermented dough onto a wooden work surface that you generously sprinkled with flour.

Use a dough scraper and scales to divide the dough into 4 pieces of equal size (about 240 grams each). Sprinkle the dough and your hands lightly with flour as needed to prevent sticking.
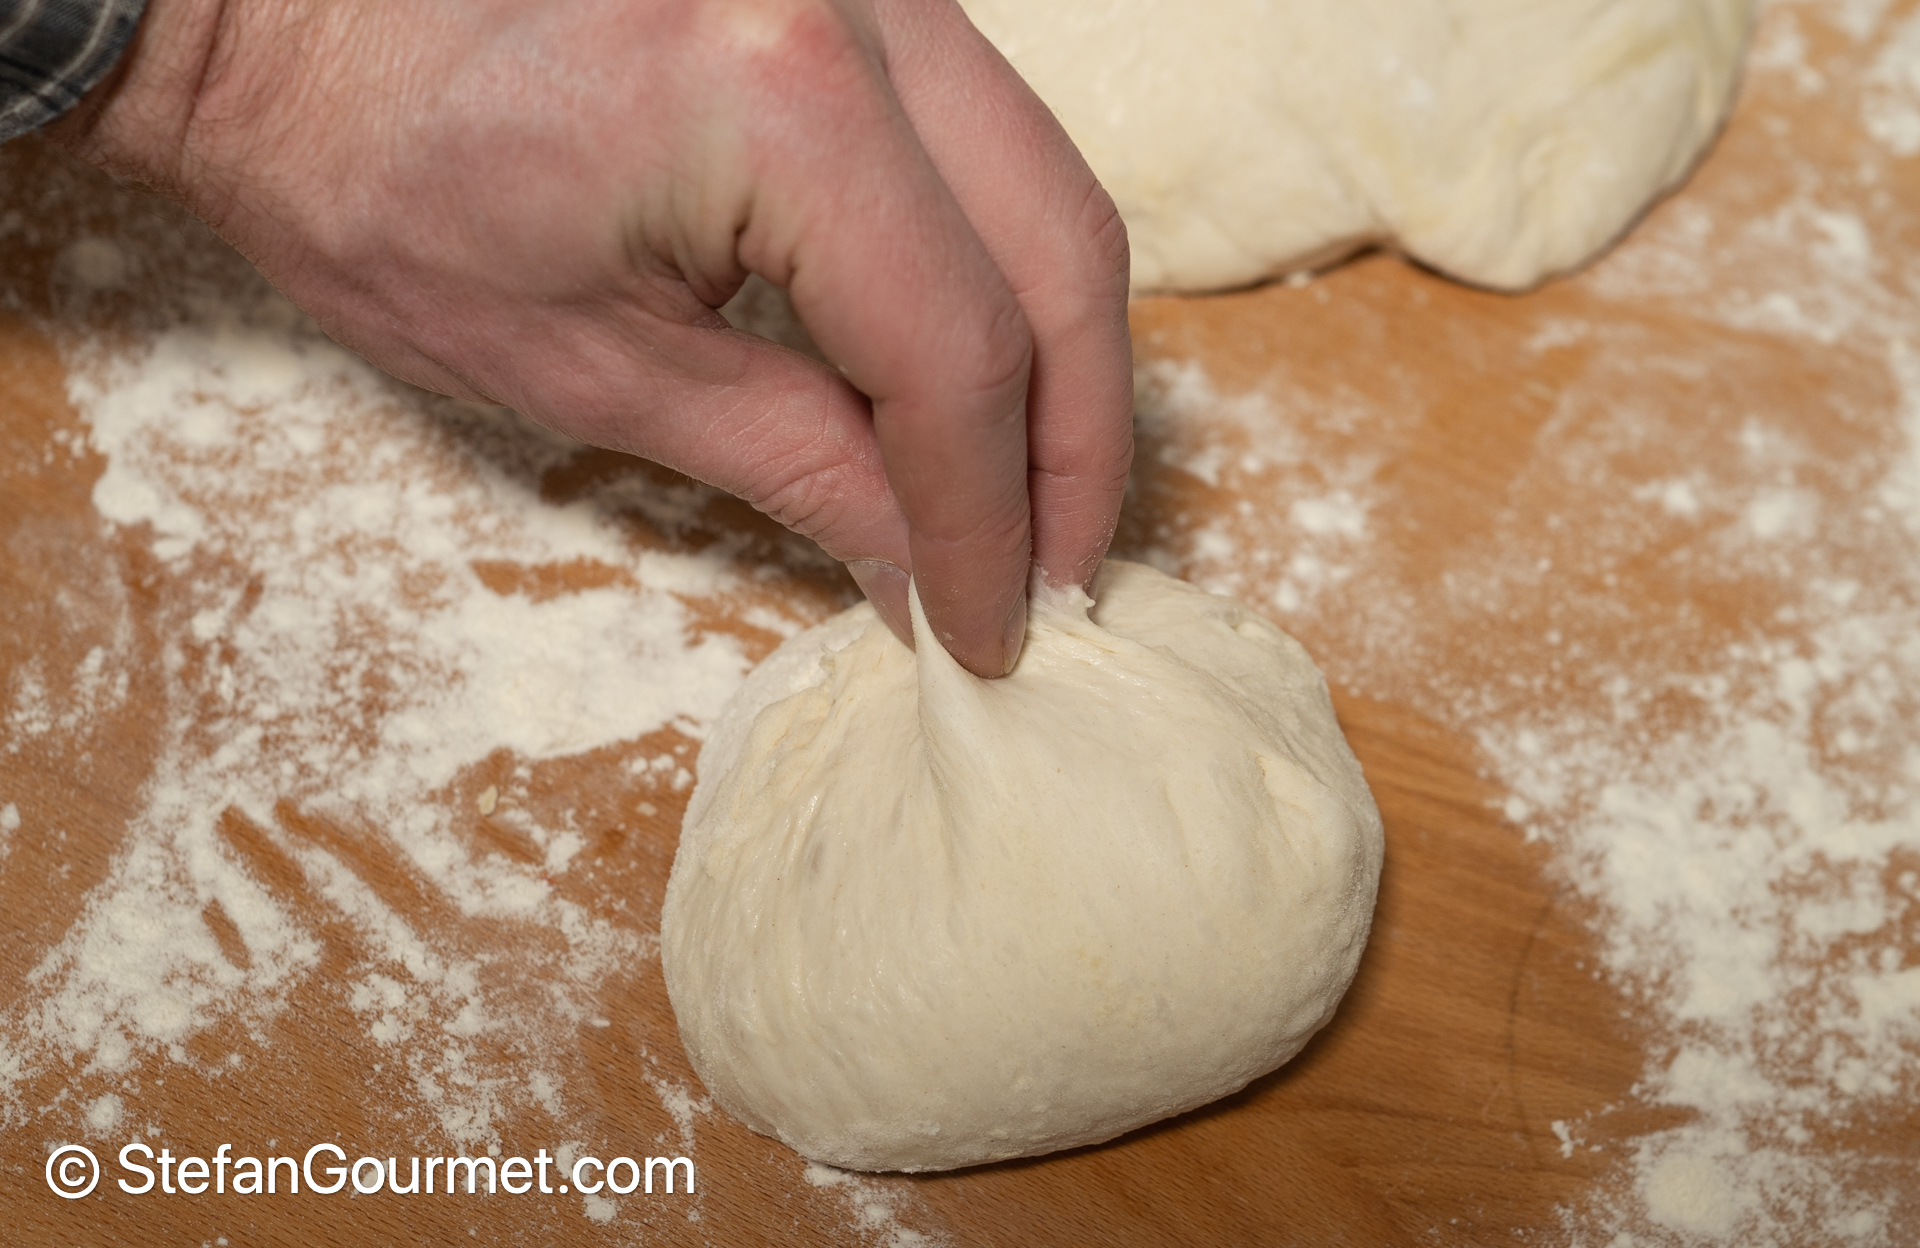
The “tuck in” method is the easiest to shape each piece of dough into a ball. At the start the piece of dough will have 4 corners. Flour your hands. Pick up the dough with your hands, and with one hand, tuck in the corners towards each other one by one with one hand, while holding the dough with your other hand. Repeat the tucking process until the ball as a taut surface.
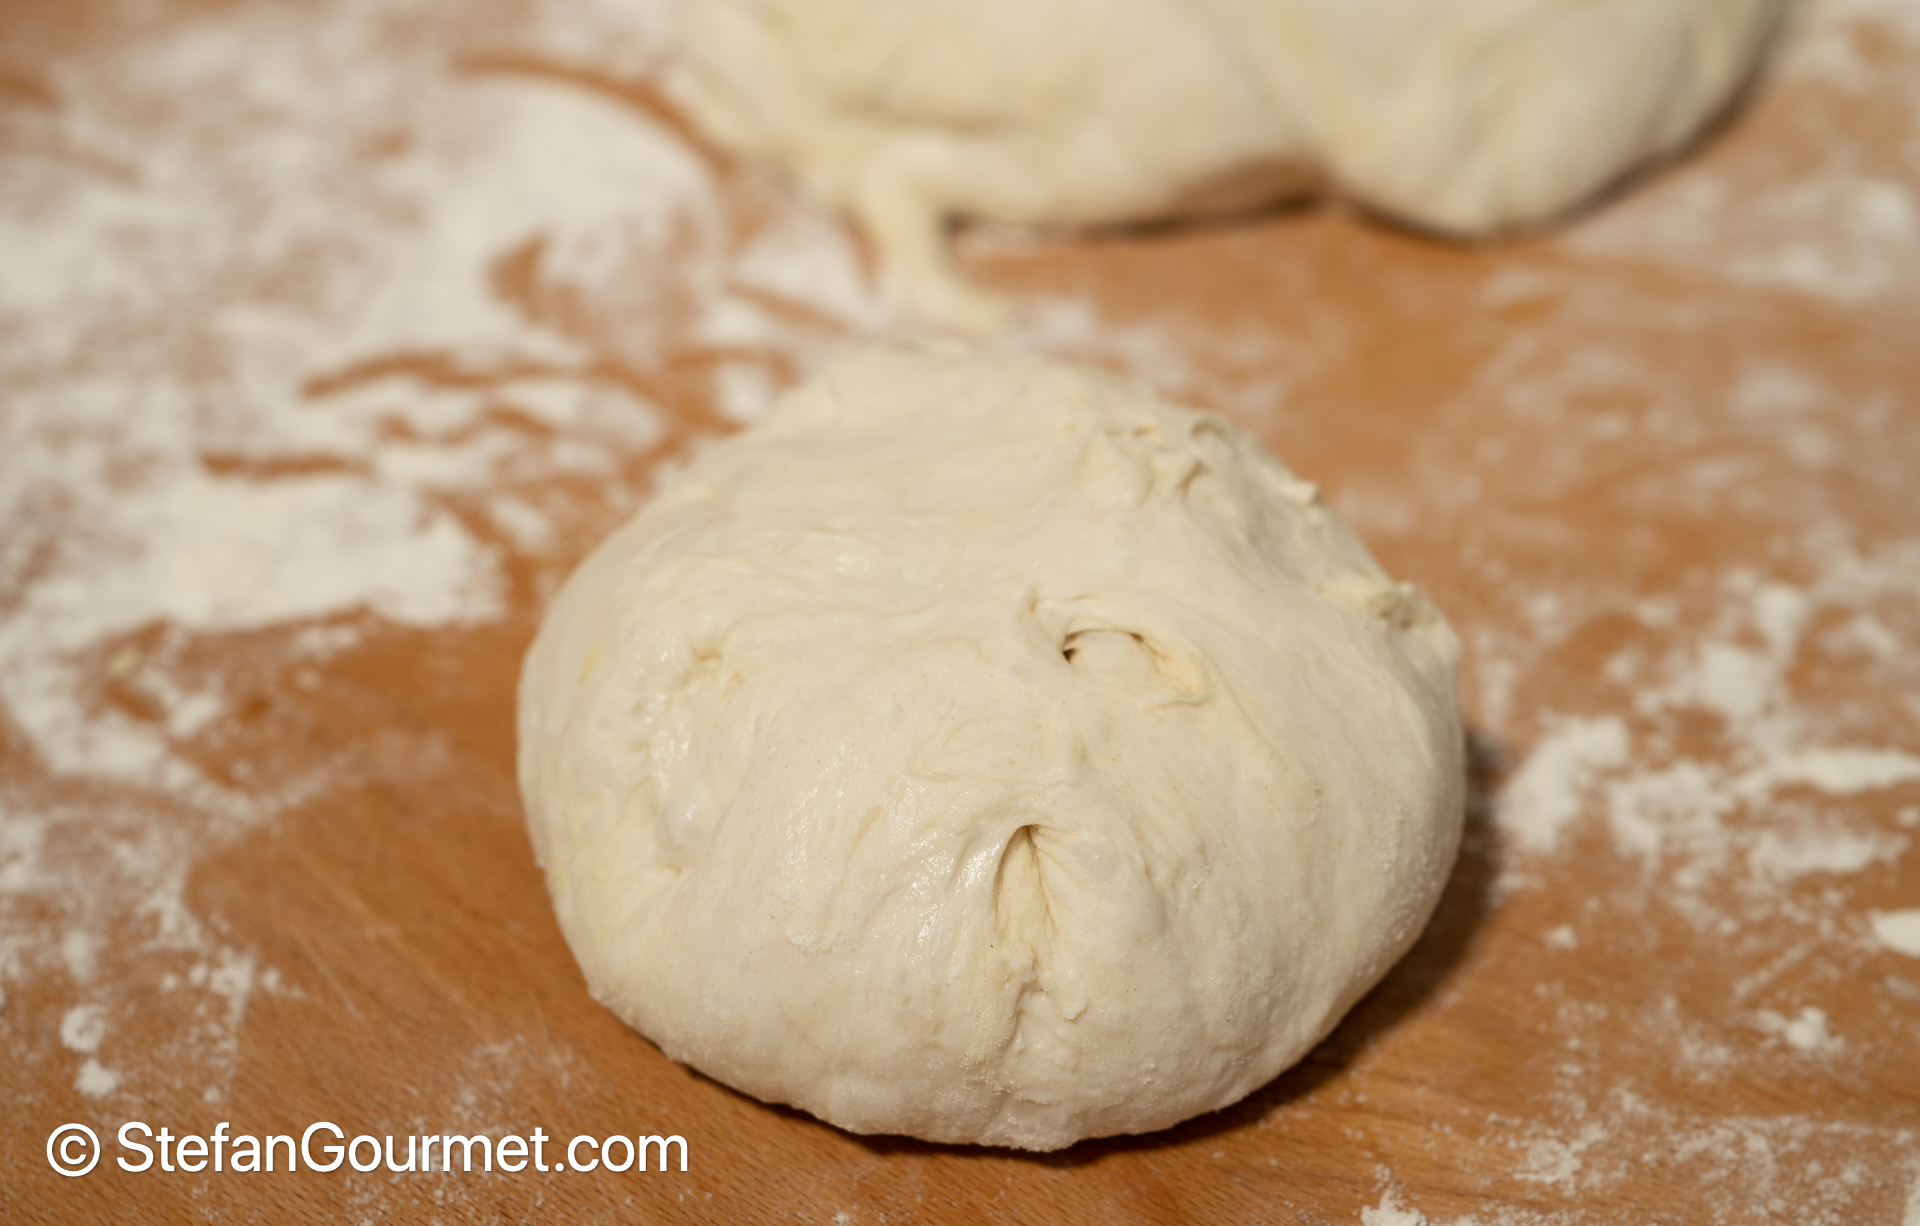
Some more tucking is needed here.
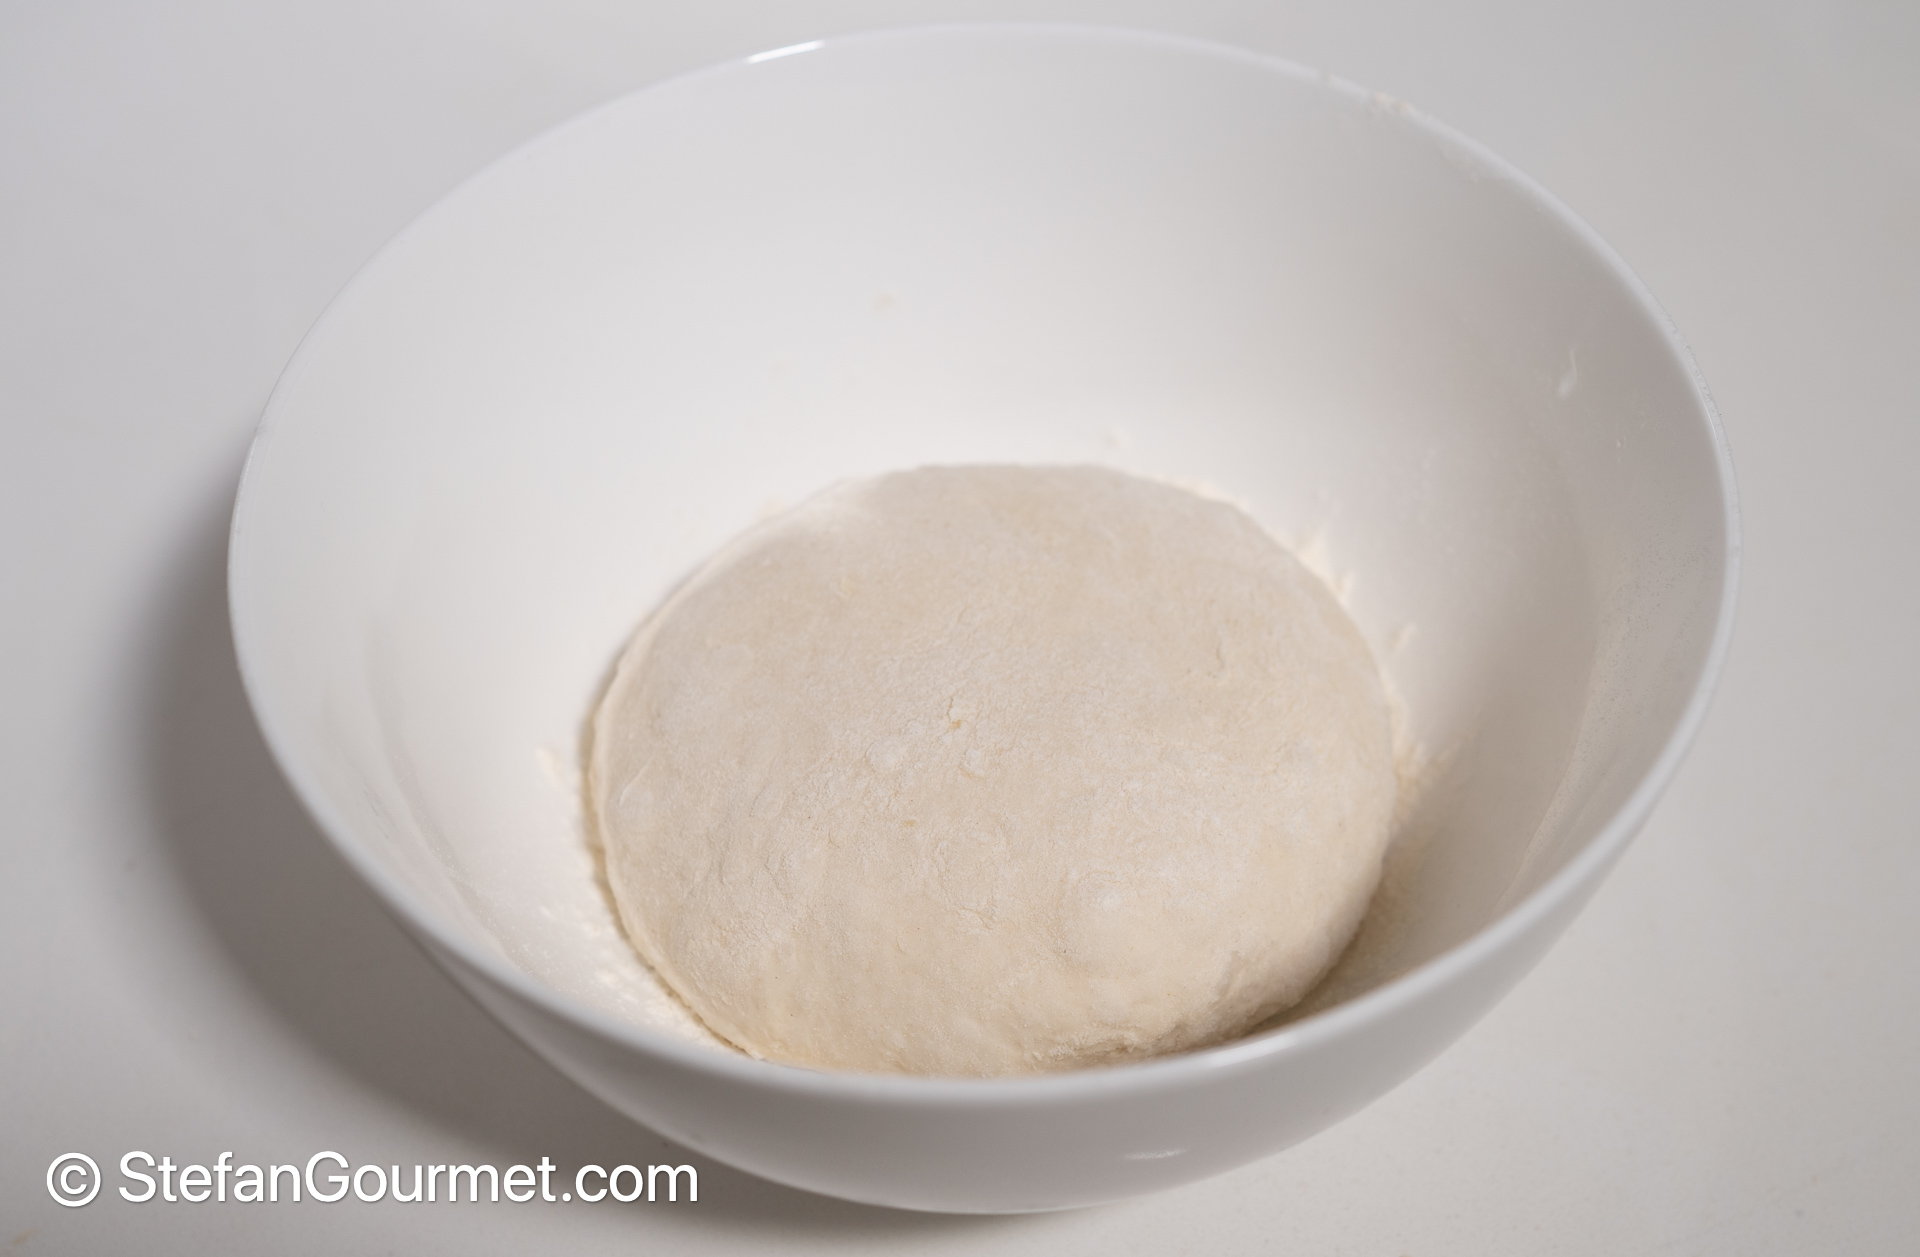
Put the ball with the seam side down in a bowl.
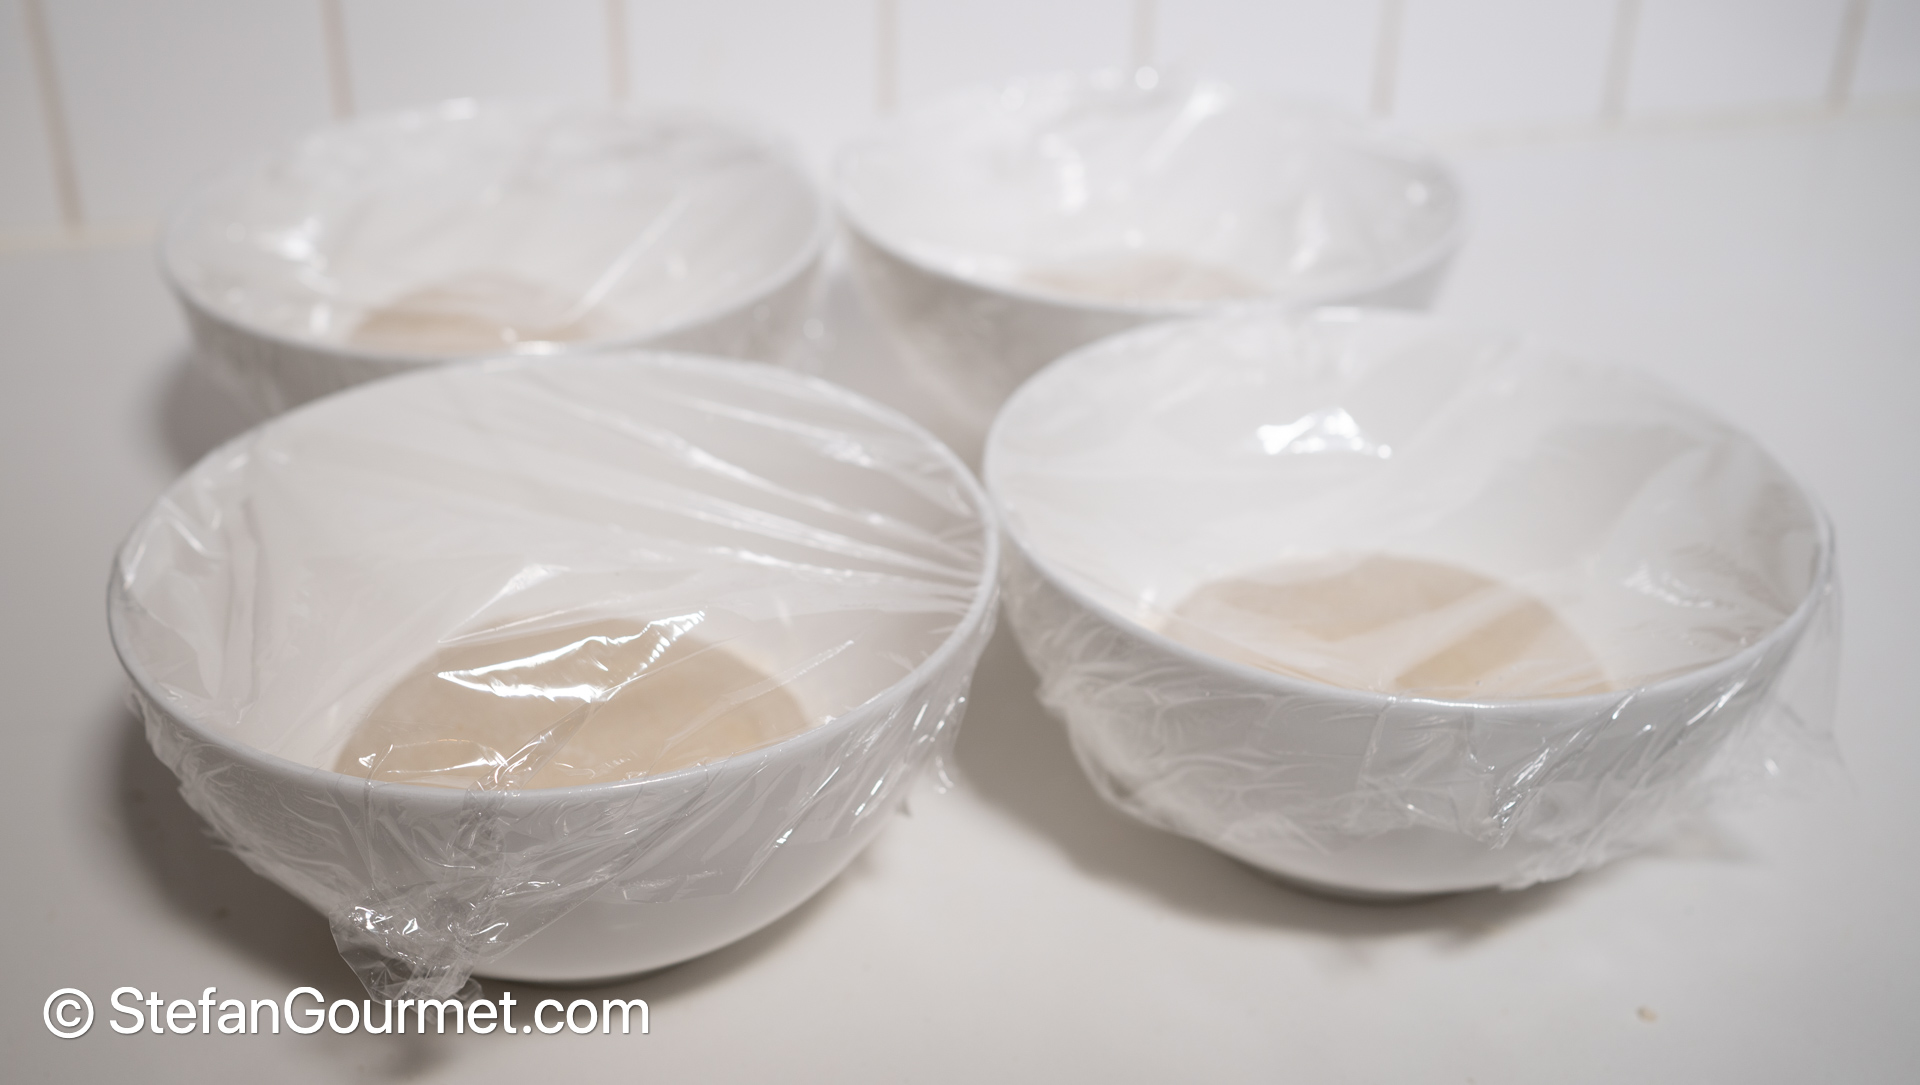
Cover the bowl with plastic wrap and repeat with the other pieces of dough. Allow the dough to proof for at least 1.5 hours at room temperature.
4. Dry the mozzarella before using
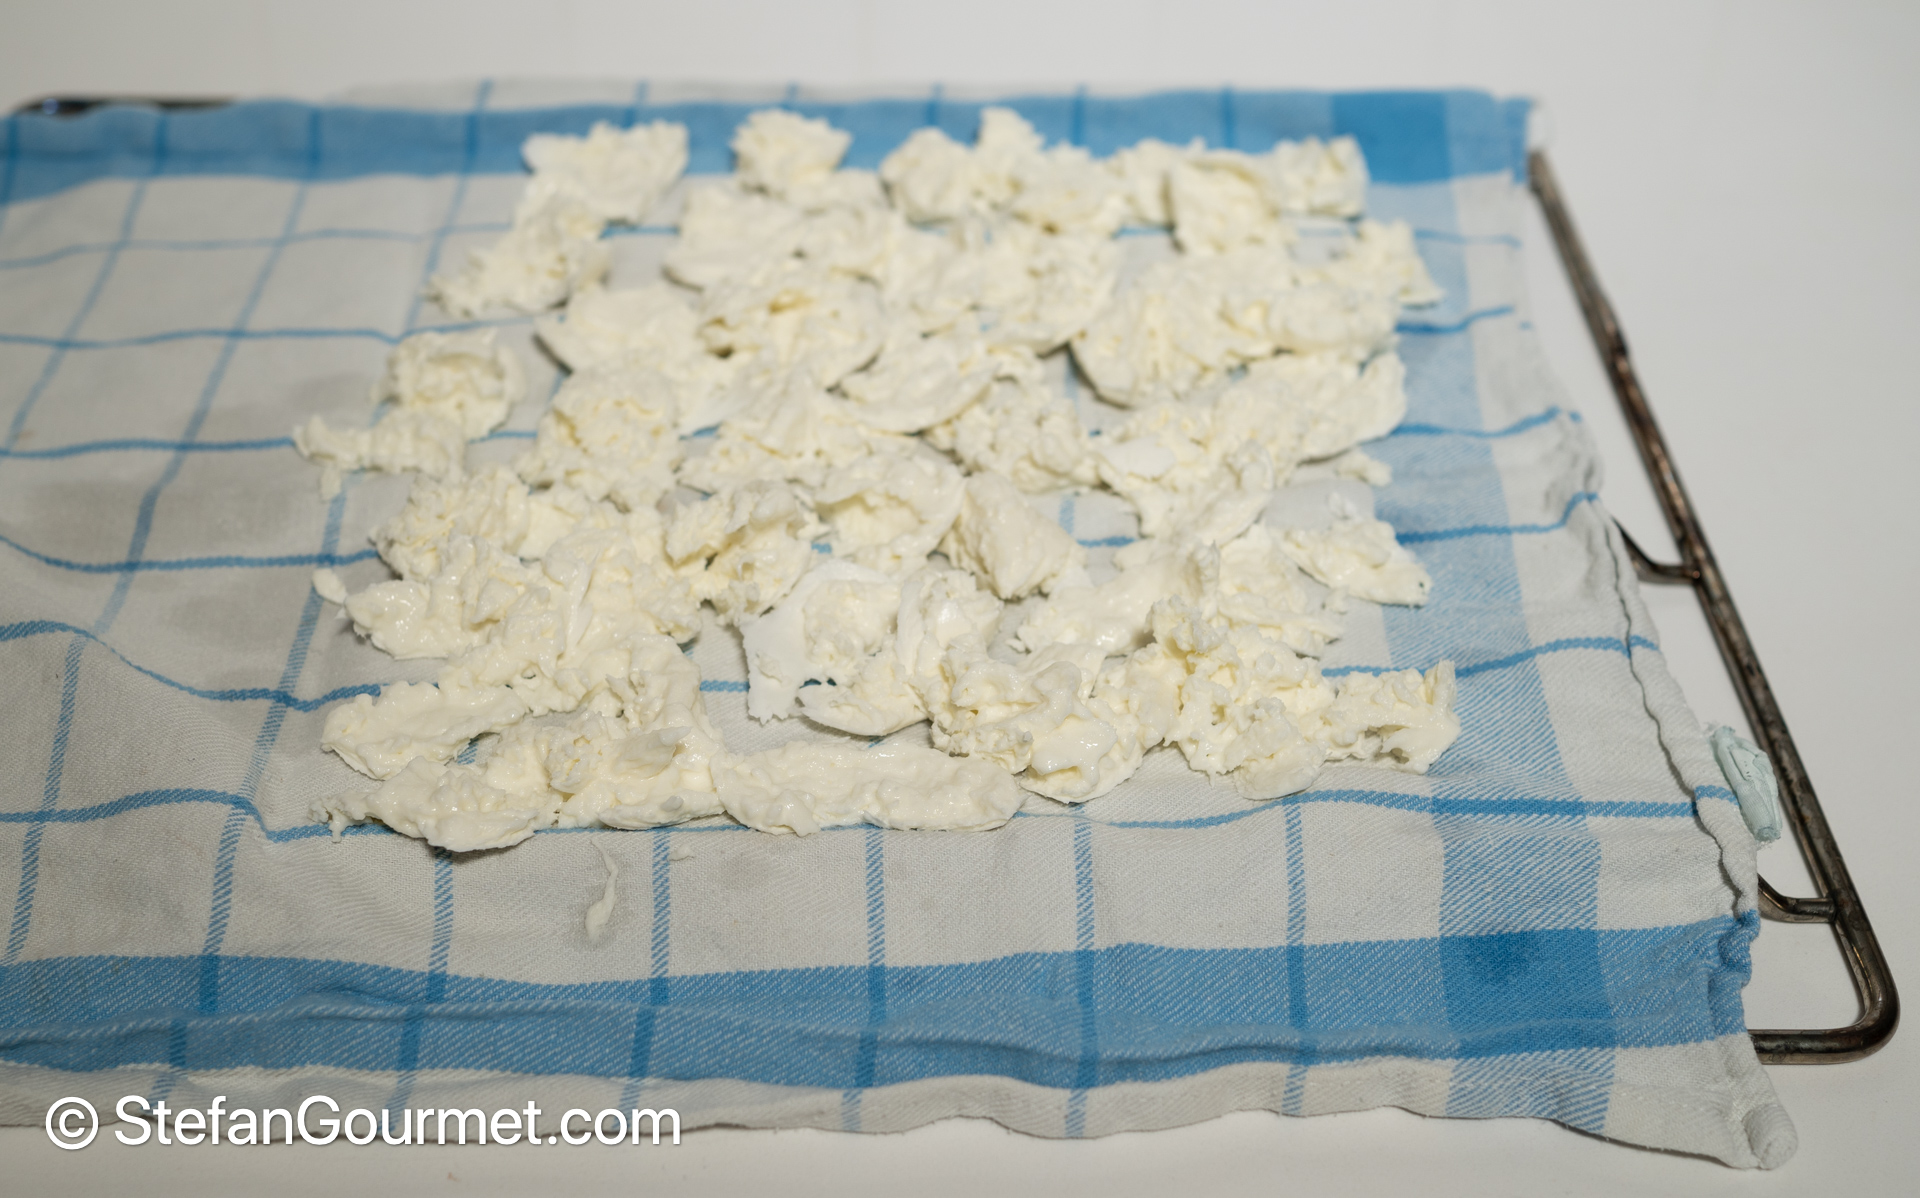
The cheese to use for pizza is mozzarella. A pizza Margherita with just tomato and mozzarella can be excellent if you use good quality mozzarella, preferably buffalo mozzarella. If you are going to use strong-flavored other toppings as well, it may not be worth to spend more for buffalo mozzarella. You will need 125 grams of mozzarella for 1 pizza.
Mozzarella contains a lot of water. If you just put mozzarella on your pizza, a lot of water will come out of the mozzarella as you bake your pizza, and so your pizza will become soggy. It could even still be wet when it comes out of the oven. To prevent this, place a clean tea towel on a wire rack. Tear the mozzarella into pieces. Arrange the pieces on the tea towel in a single layer. Sprinkle the mozzarella lightly with salt.
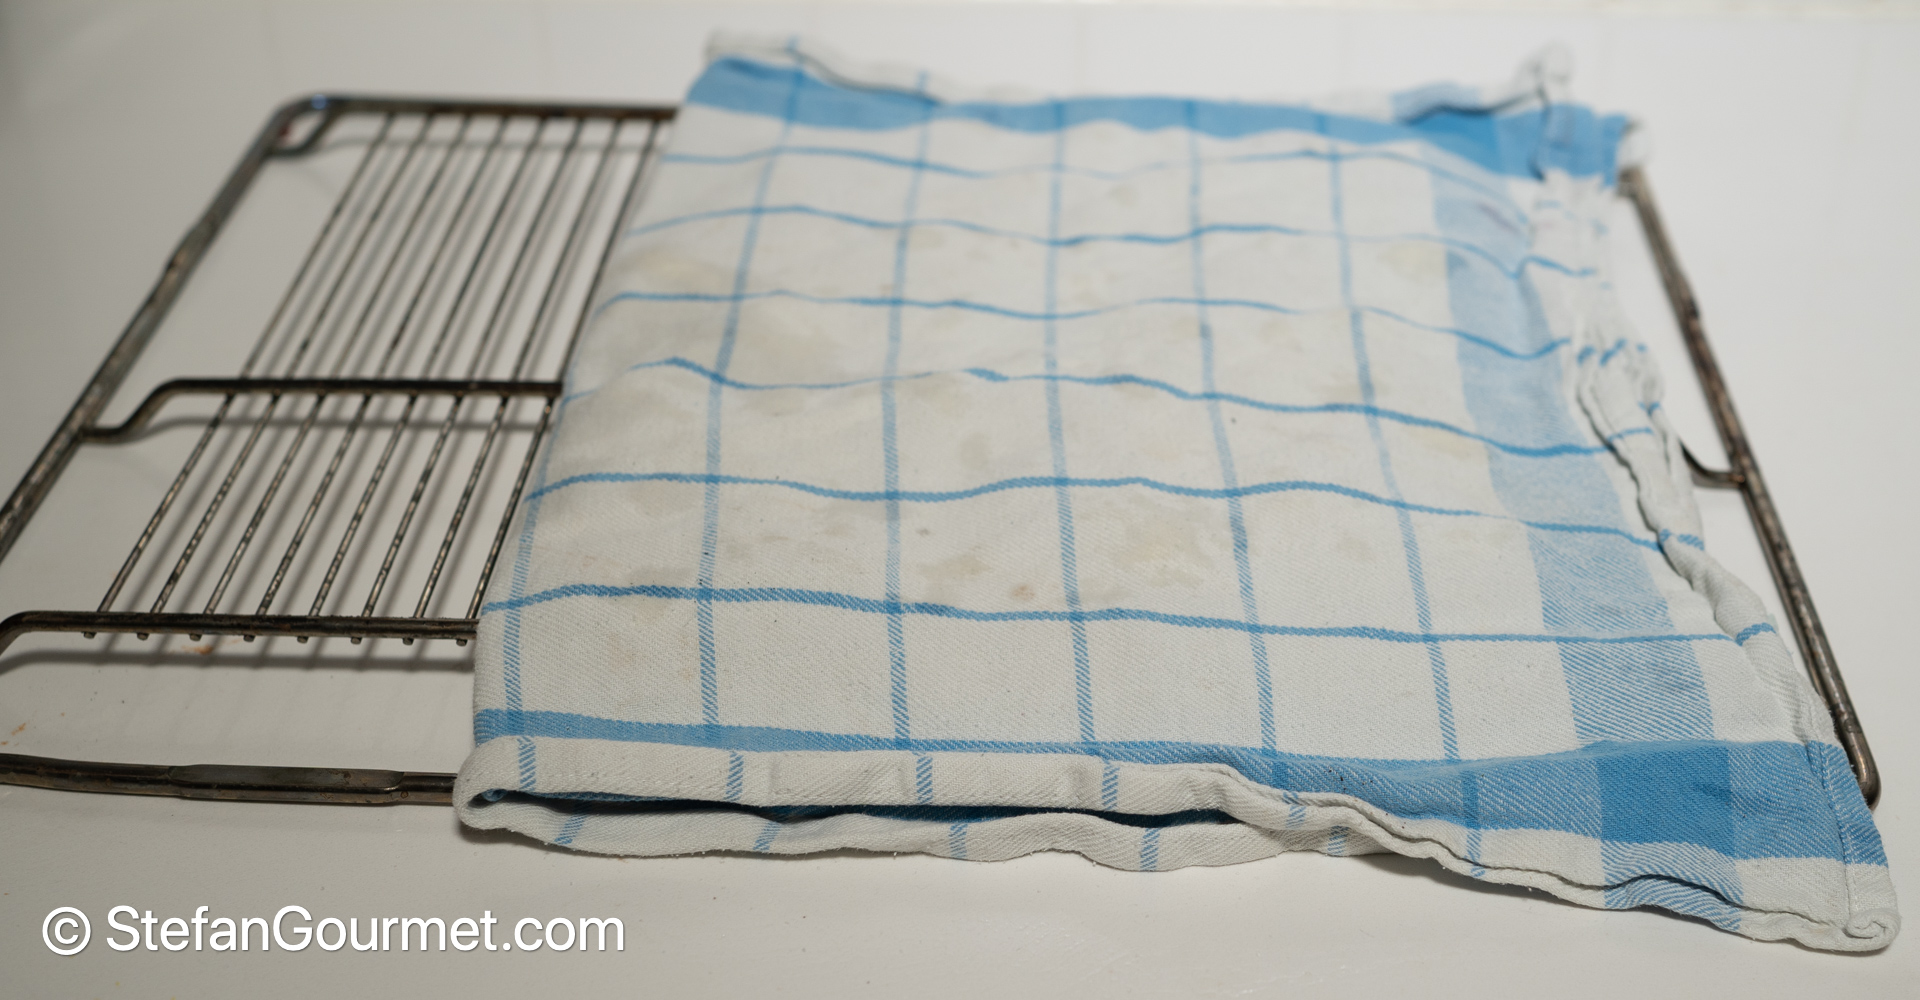
Cover the mozzarella with another tea towel, or fold it over the mozzarella if it is large enough. Refrigerate the mozzarella overnight.
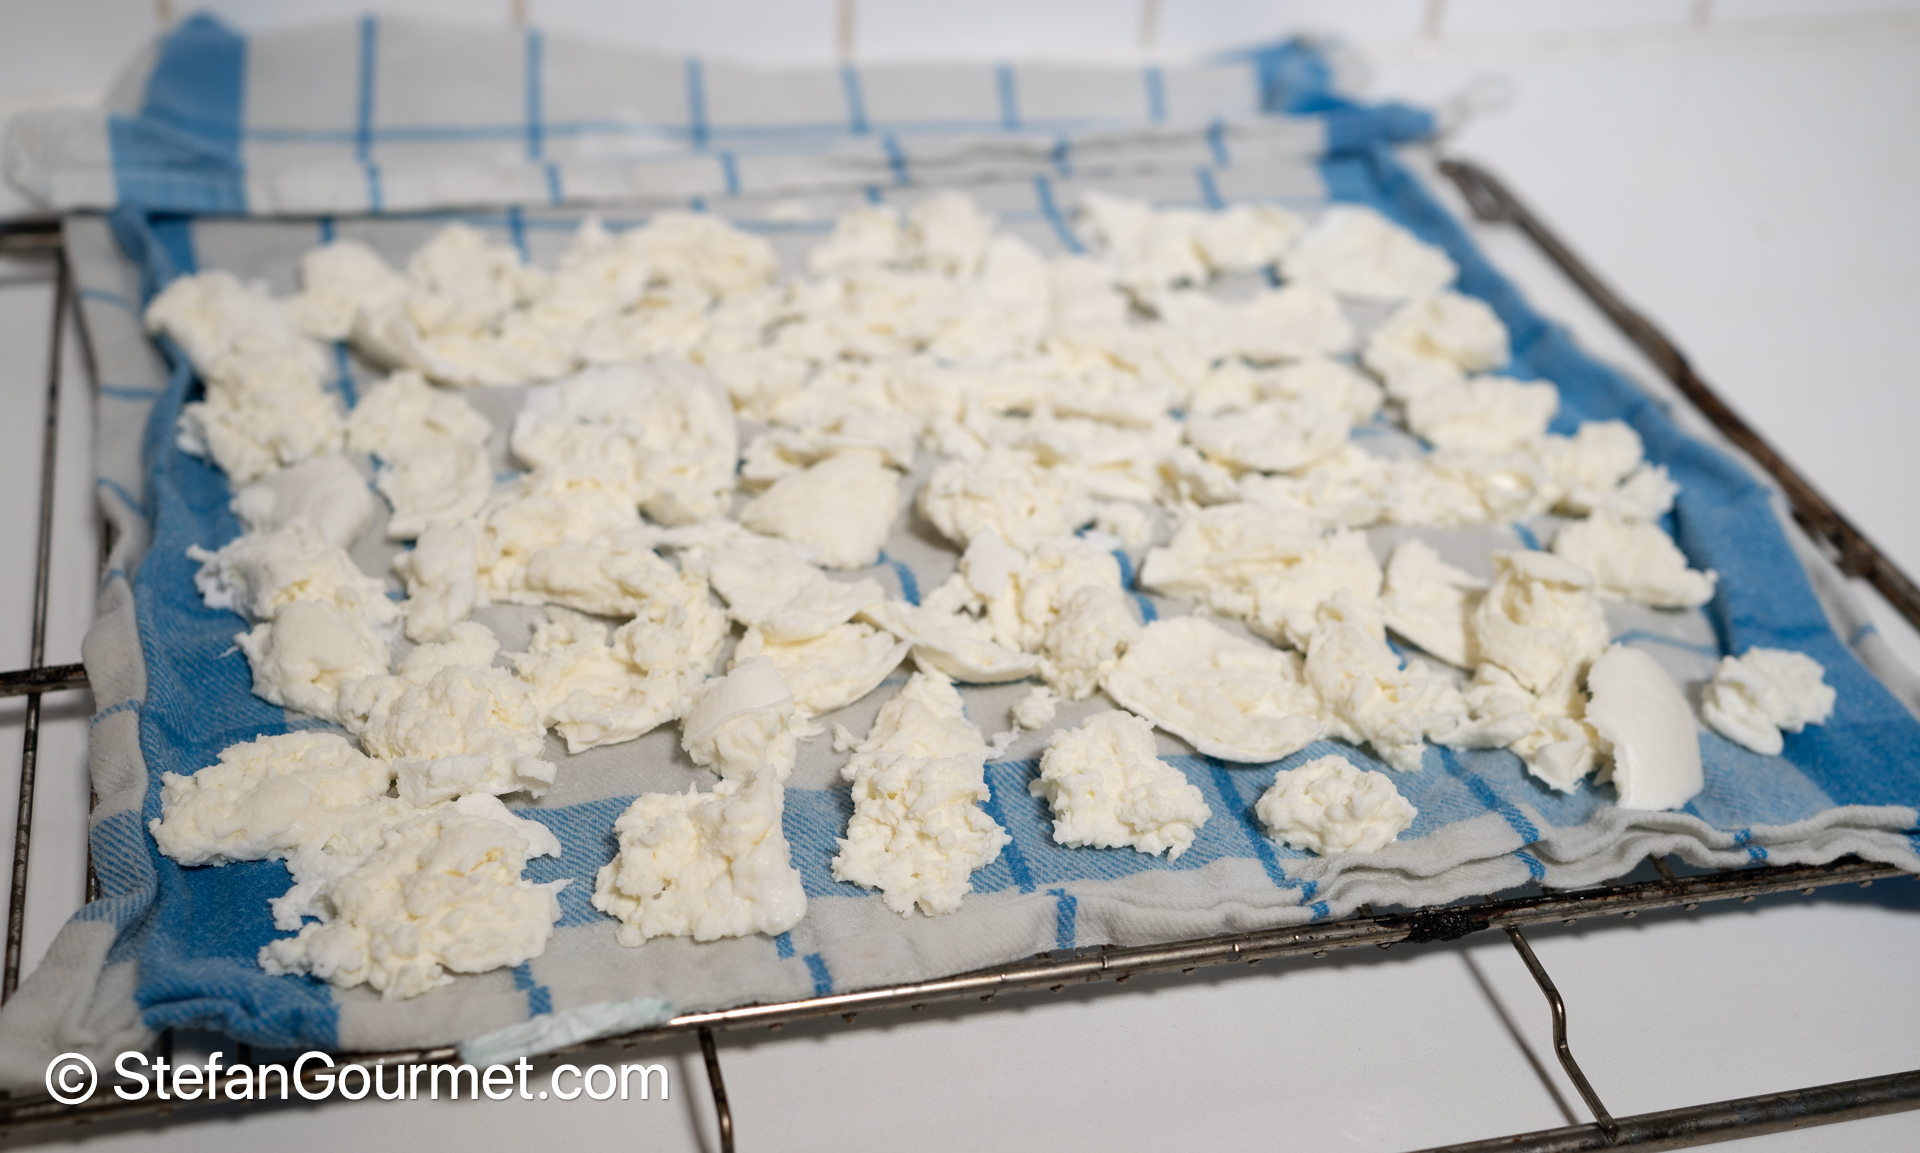
The next day, the mozzarella will have dried and the tea towel will be wet. The dried mozzarella is now ready to be used on pizza.
5. Use good quality passata instead of tomato sauce
A good pizza should have some tomato, but not too much. If you use too much tomato, it would overpower the other flavors, or it would make the pizza soggy. 4 tablespoons of passata per pizza is enough.
There is no need to prepare a tomato sauce: you can just use sieved tomatoes with some additional ingredients. Passata is Italian for sieved tomatoes, also known as tomato puree (but do not confuse it with tomato paste).
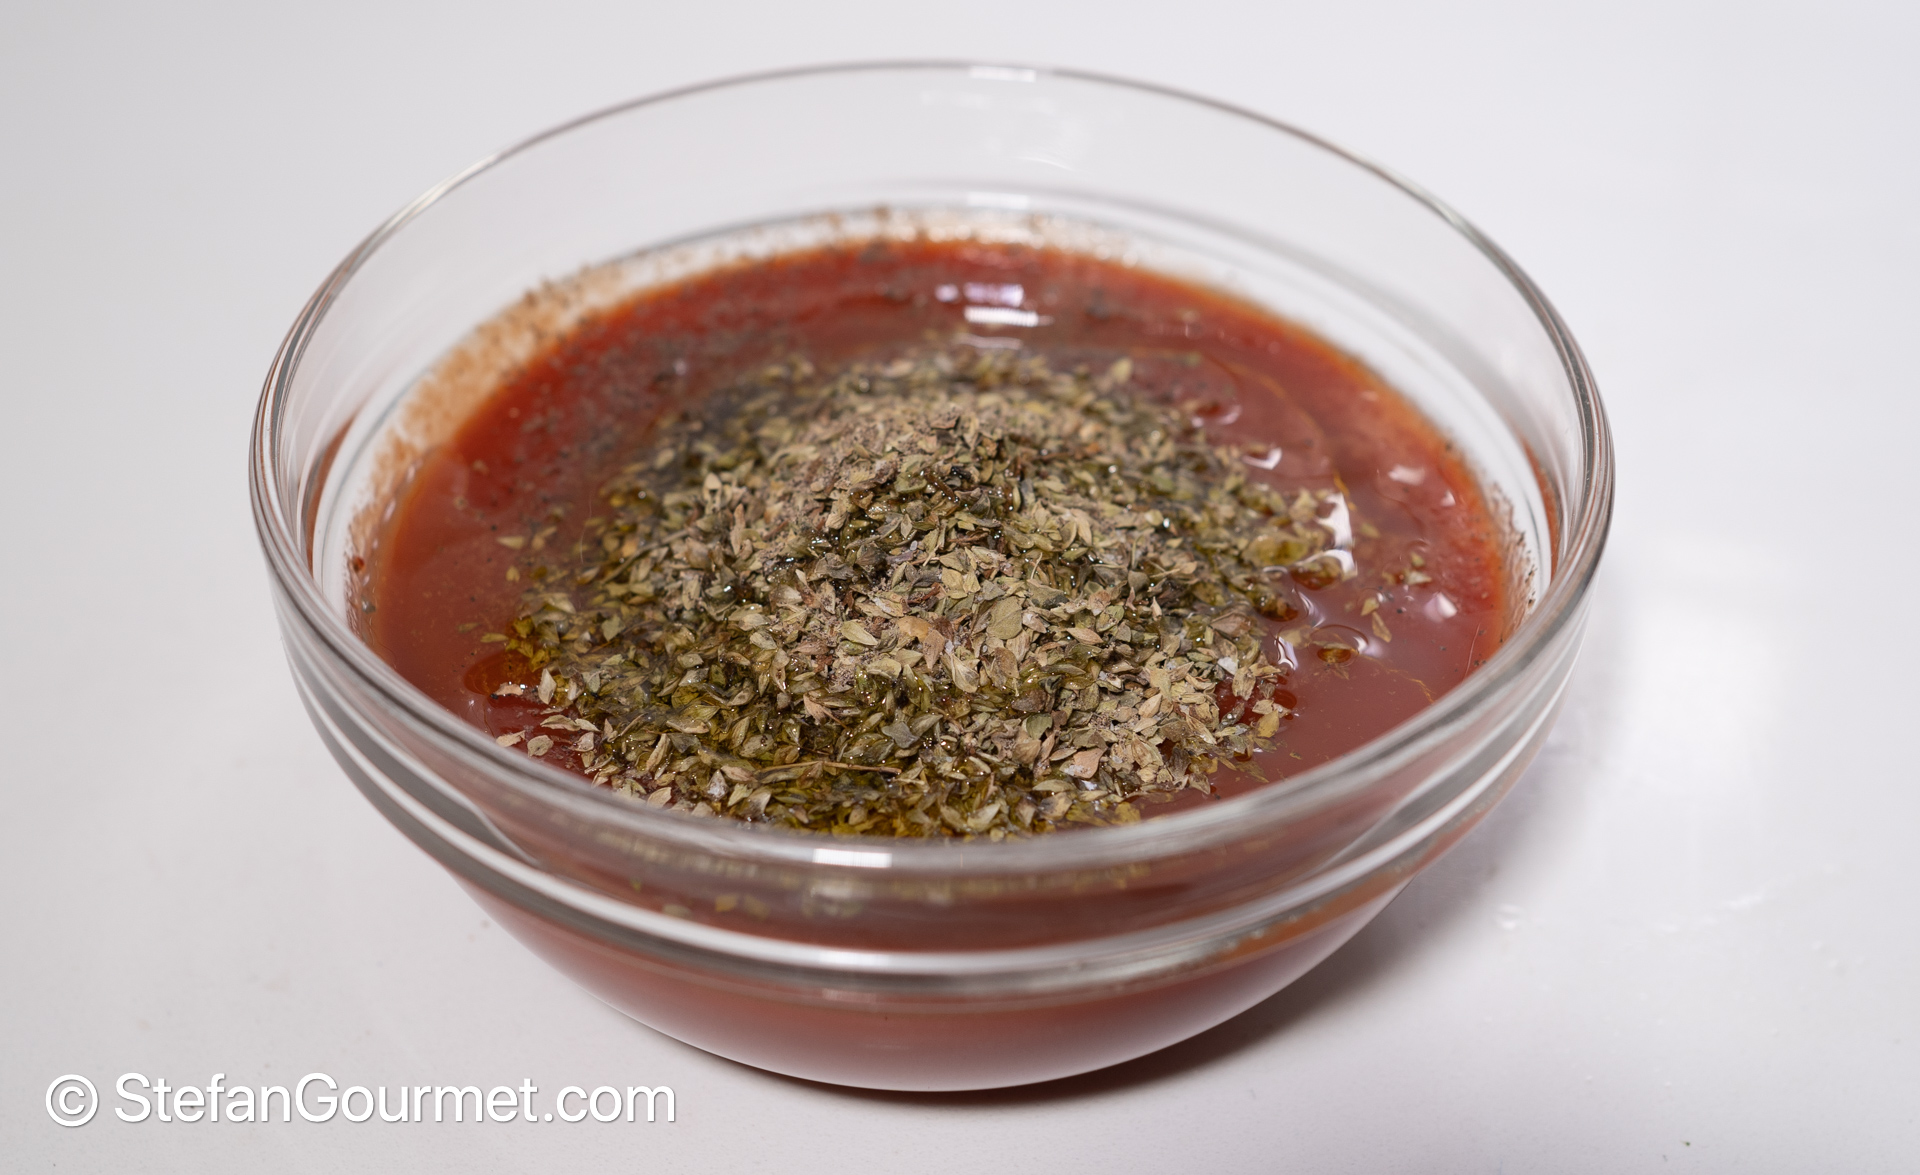
For 4 pizzas, mix 240 ml (1 cup) of passata with 4 teaspoons of dried oregano, 2 tablespoons of good extra virgin olive oil, salt and freshly ground black pepper to taste.
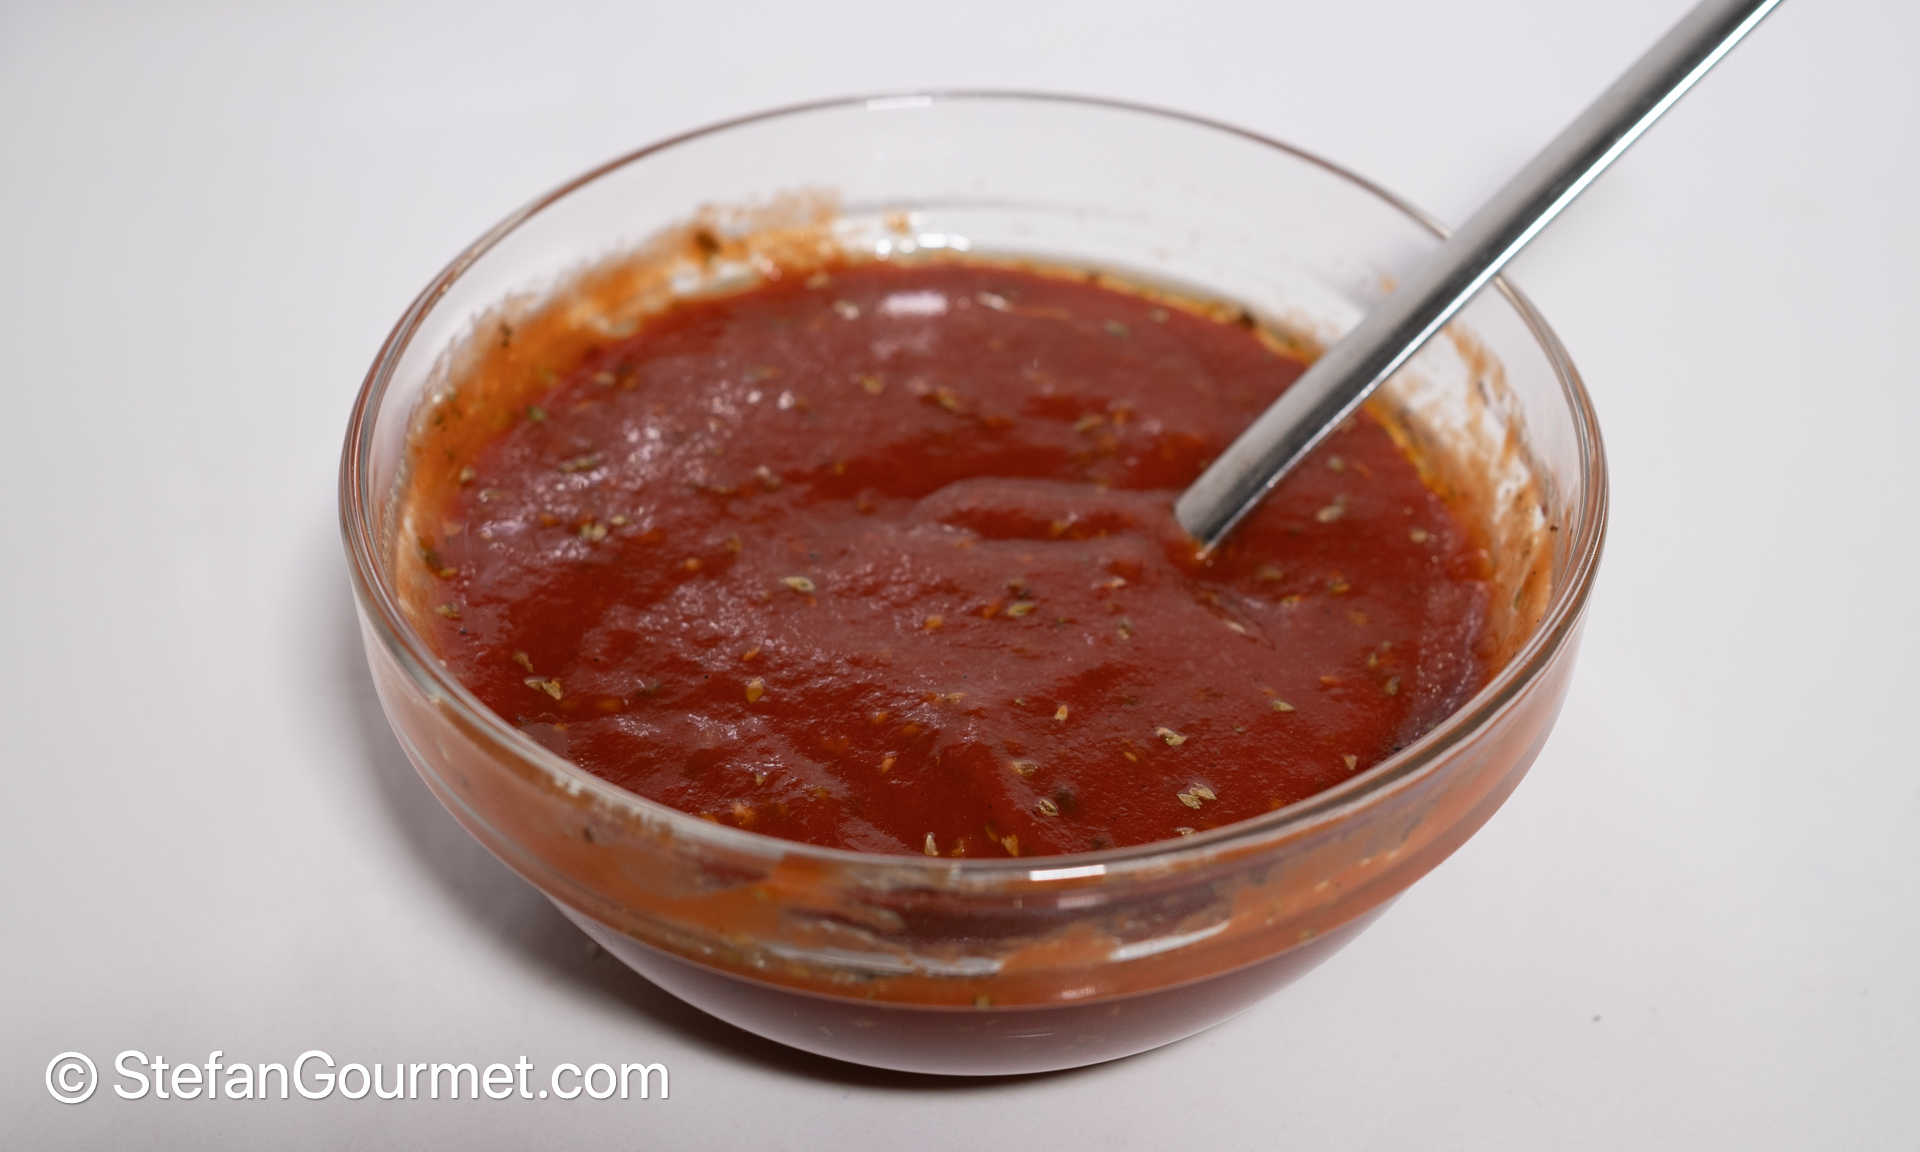
There is no need to cook it, just stir and you are done.

Spread out 4 tablespoons of this mixture on each pizza, using the back of a tablespoon to spread it out.
6. Sauté wet toppings before using
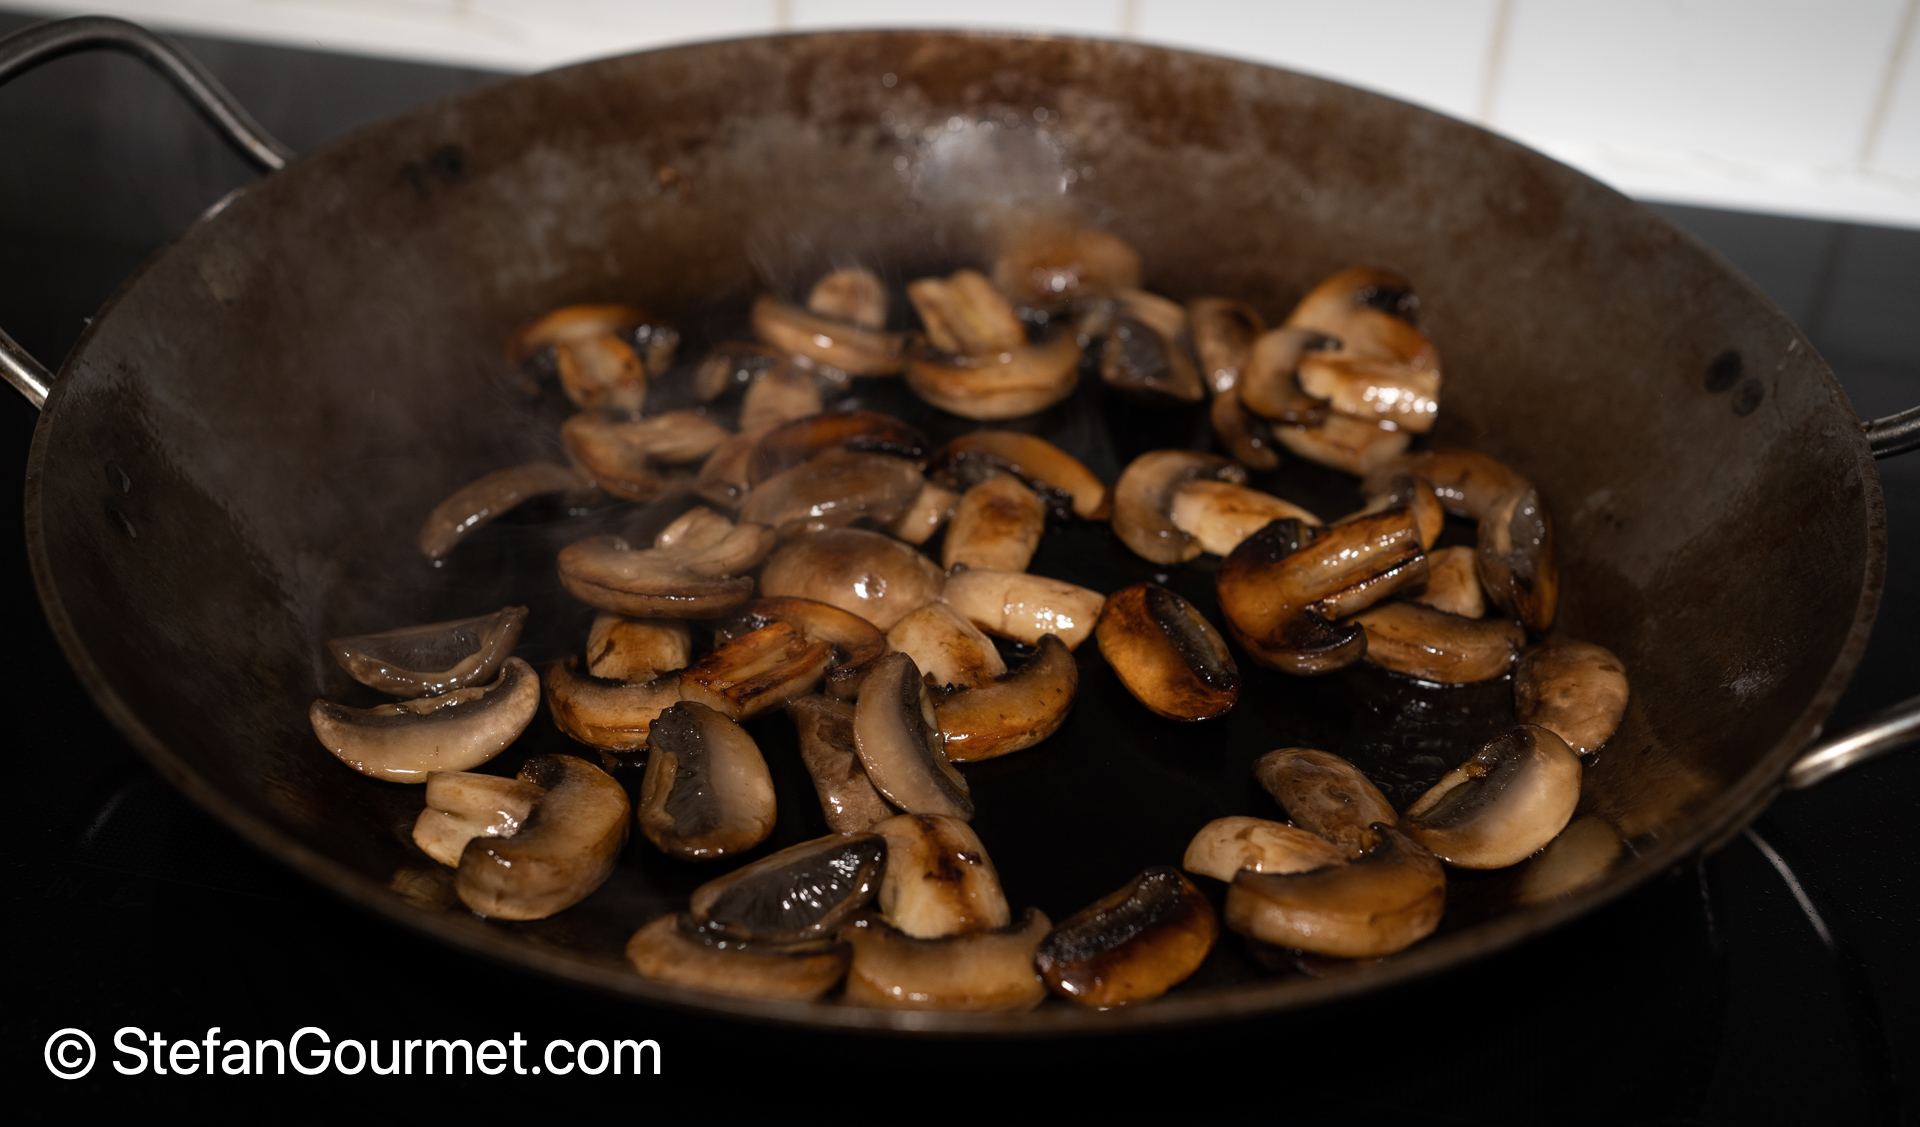
It is not just the mozzarella that can ruin your pizza by releasing too much water, this also happens with vegetables and mushrooms. To prevent that, and to add flavor, sauté or grill mushrooms or other vegetables before using them on a pizza. Season any mushrooms or vegetables with salt and freshly ground pepper for more flavor.
7. Roll or stretch the dough out thinly on a wooden surface
Pizza dough should be rolled out or stretched out thinly. Purists will tell you that you should stretch out pizza dough with your hands (and by tossing it in the air), but you can also get a good result with a rolling pin as long as you use it to stretch the dough by pushing outwards, rather than using the rolling pin to flatten the dough by pushing down. If you push down too much, you will push out all the air bubbles.
Rolling out dough is easier on a wooden surface that has been sprinkled with flour. A wooden surface with some flour provides just the right amount of stickiness. If the surface is too sticky (not enough flour sprinkled on it), your pizza will get stuck. If it is not sticky enough (too much flour on it or a surface that is too smooth), the pizza will keep shrinking and it will be difficult to roll out.

I am personally not a big fan of having a wide rim of dough without toppings. Such a rim, also called cornicione, generally has two purposes: (1) to be able to hold a pizza slice in your hand, and (2) to keep the sauce from flowing off the pizza. The latter is certainly not a good reason, as there should not be such a large amount of sauce in the first place. To get a cornicione, you should stretch the pizza by hand rather than using a rolling pin. There are plenty of youtube videos that explain the process. It is even more important to full gluten development and high protein flour to get a very elastic dough, so you can stretch the dough by hand without tearing it.
8. Limit the amount of toppings
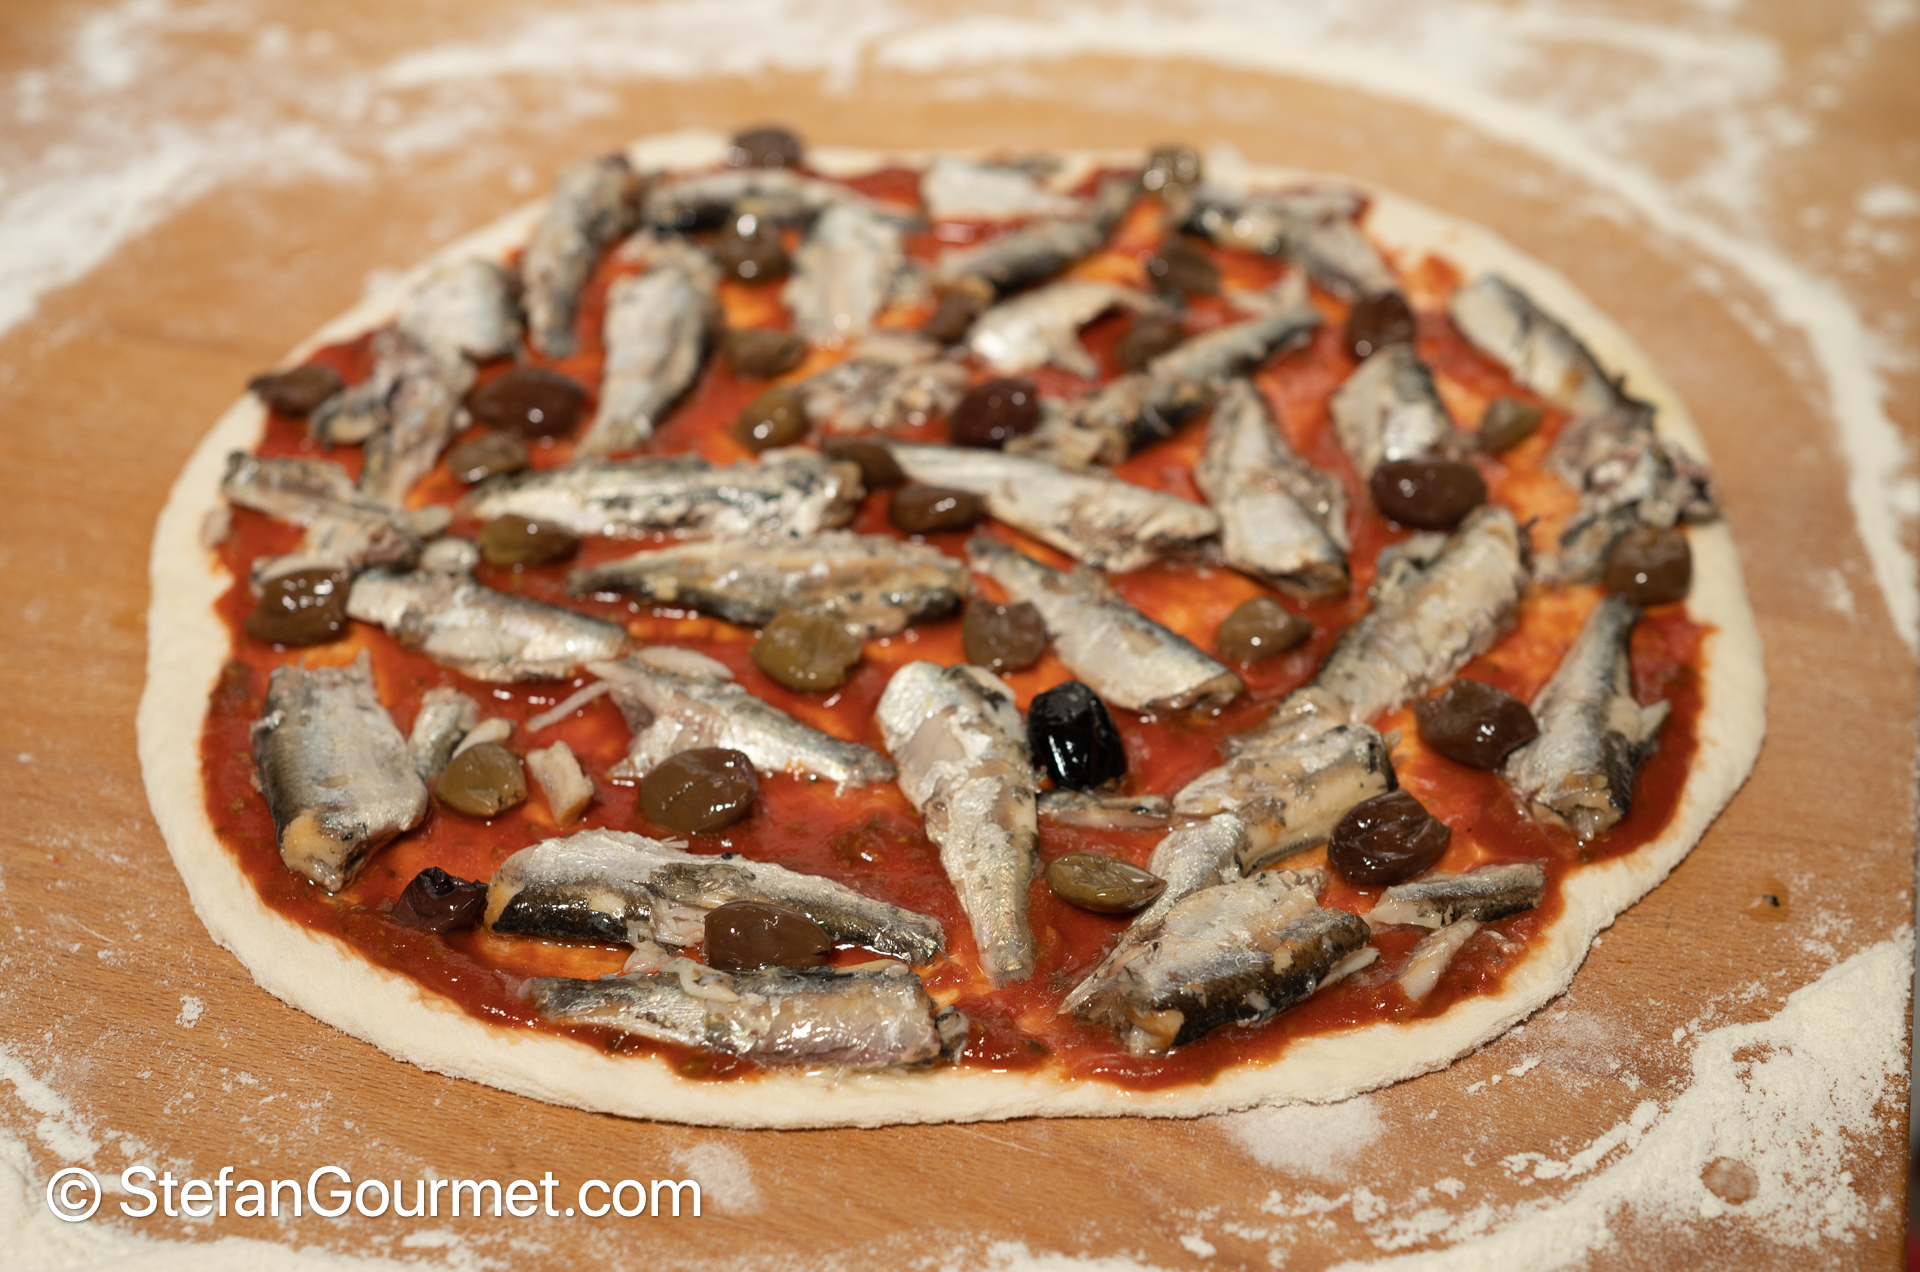
Tomato, canned sardines, and black olives. (These olives are taggiasca olives from Liguria. They are more tender and flavorful than ordinary black olives.)
Limiting the amount of toppings has two meanings:
- Limit the number of different toppings. Tomato, mozzarella, and then 1, 2 or at most 3 other ingredients. Or even no other ingredients (except for some basil that is added if the pizza comes out of the oven) for a Margherita. If you use good quality ingredients, you will be able to taste them a lot better if you don’t clutter your pizza with too many different toppings.
- Limit the quantity of toppings. As you can see in the photos, the pizza can be covered richly with toppings, but if the layer of toppings becomes too thick, your pizza won’t cook properly, and it will be very difficult to transfer it into the oven.
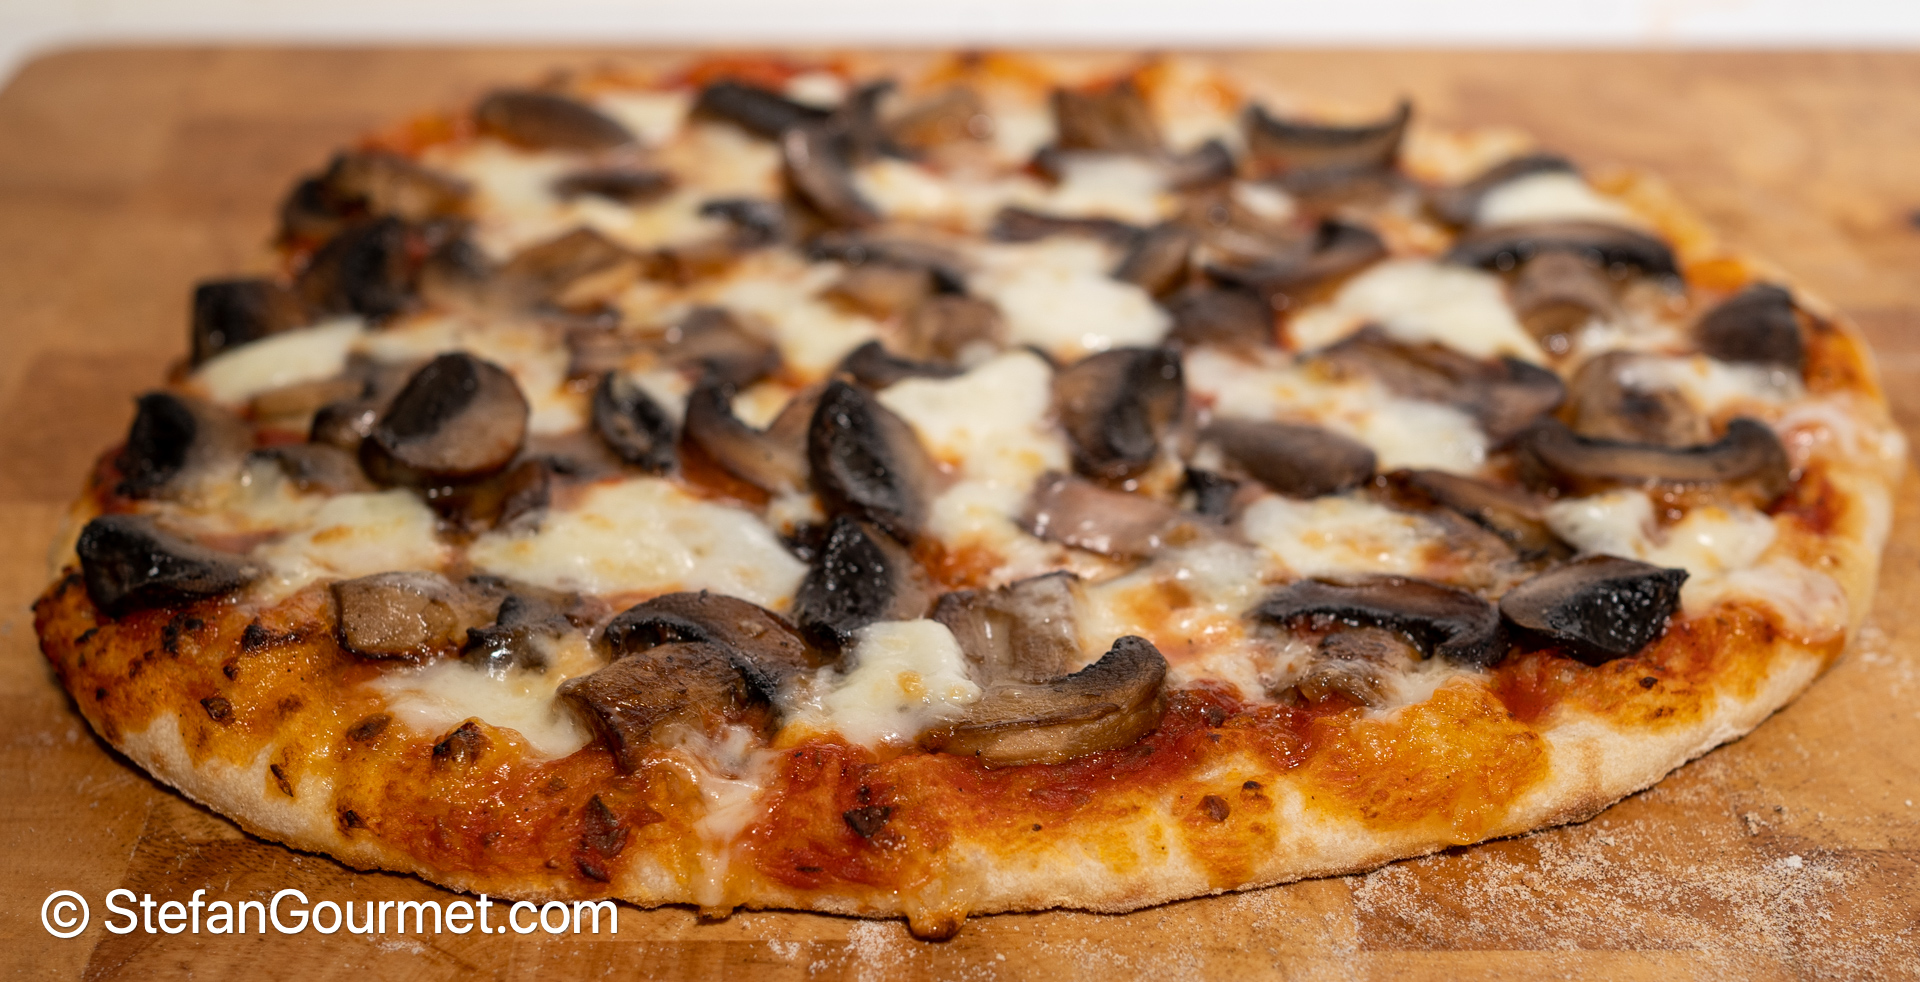
Tomato, mushrooms, and mozzarella.
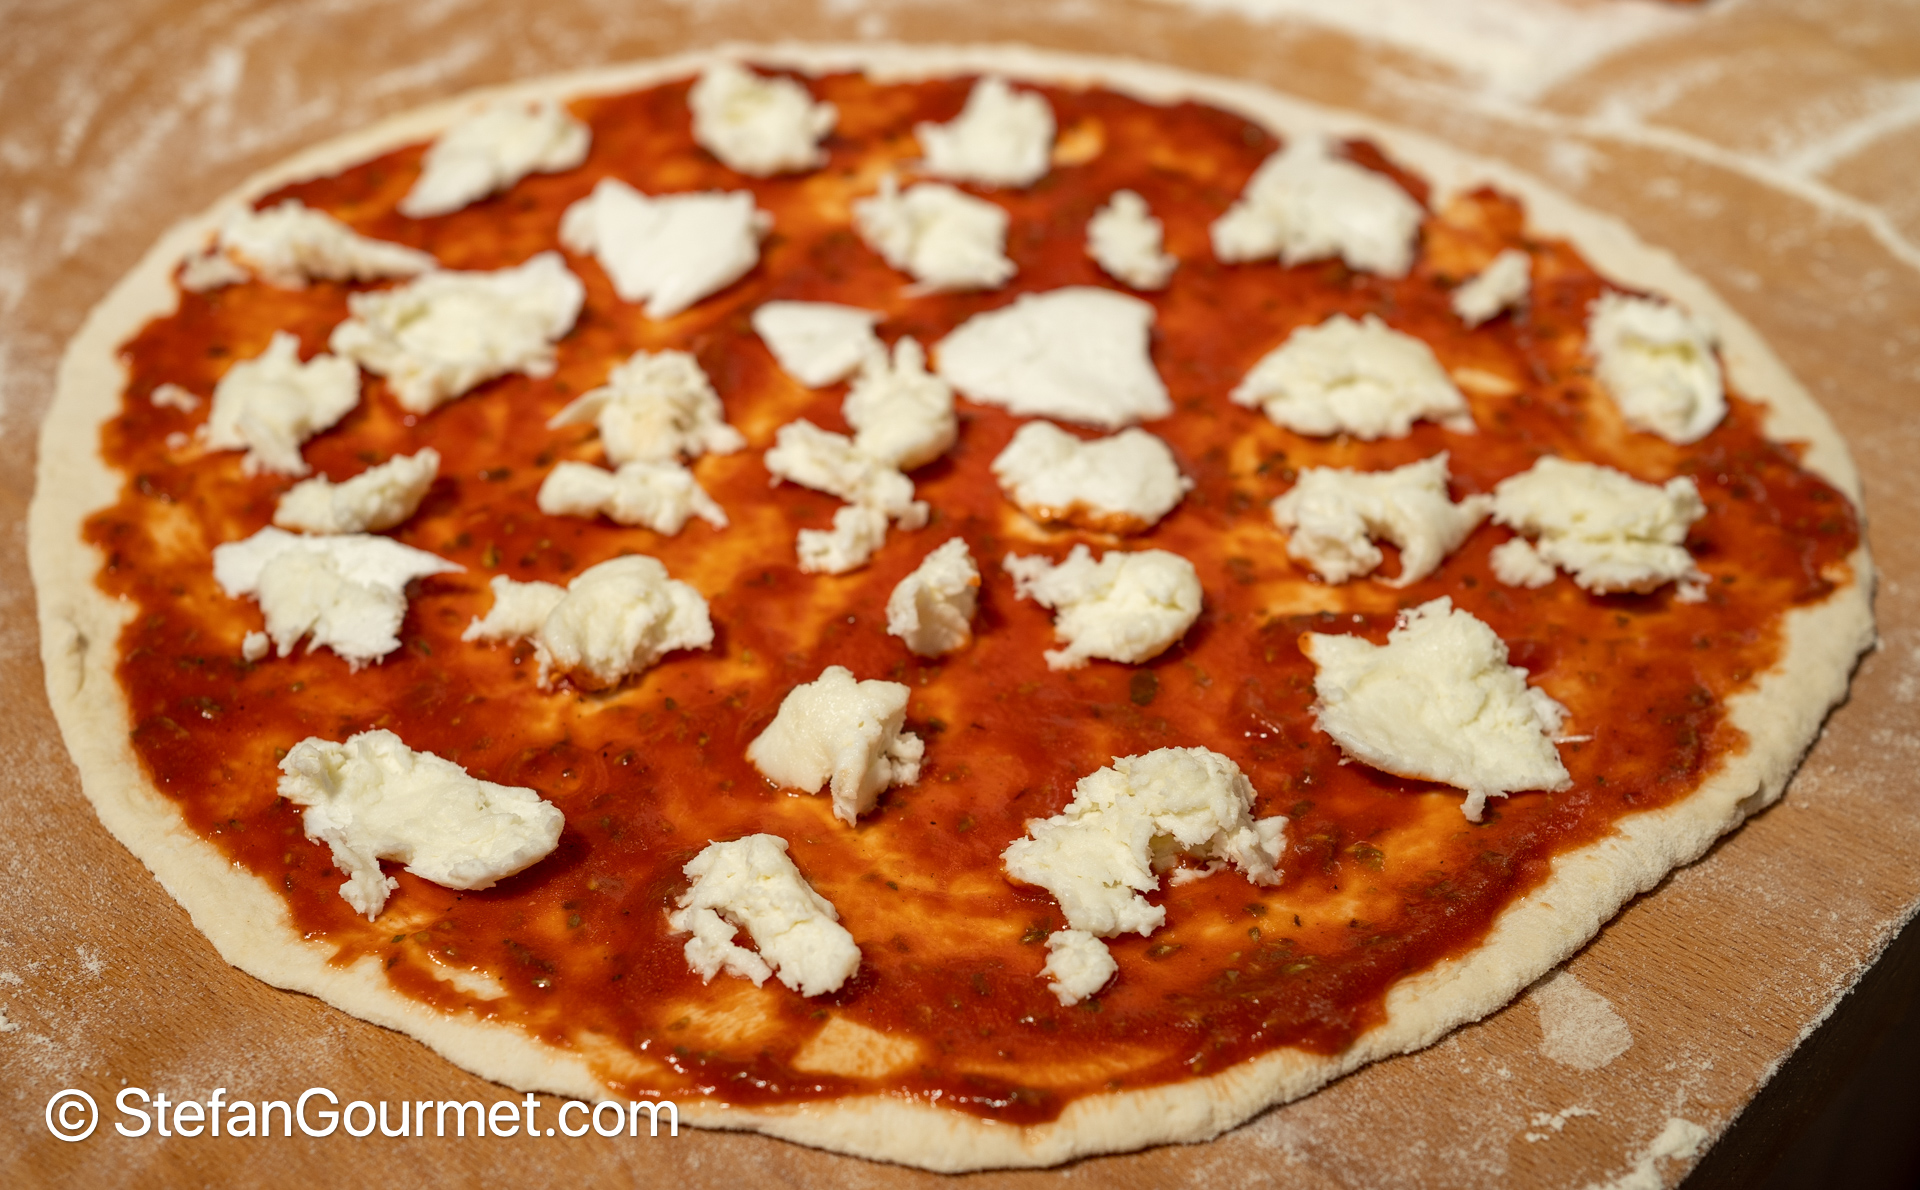
Tomato, mozzarella.

Tomato, parmigiano, gorgonzola, and mozzarella. Although “quattro formaggi” is very well known, I find that these 3 cheeses are sufficient for a wonderful cheese flavor. I call this pizza “death by cheese” 🙂
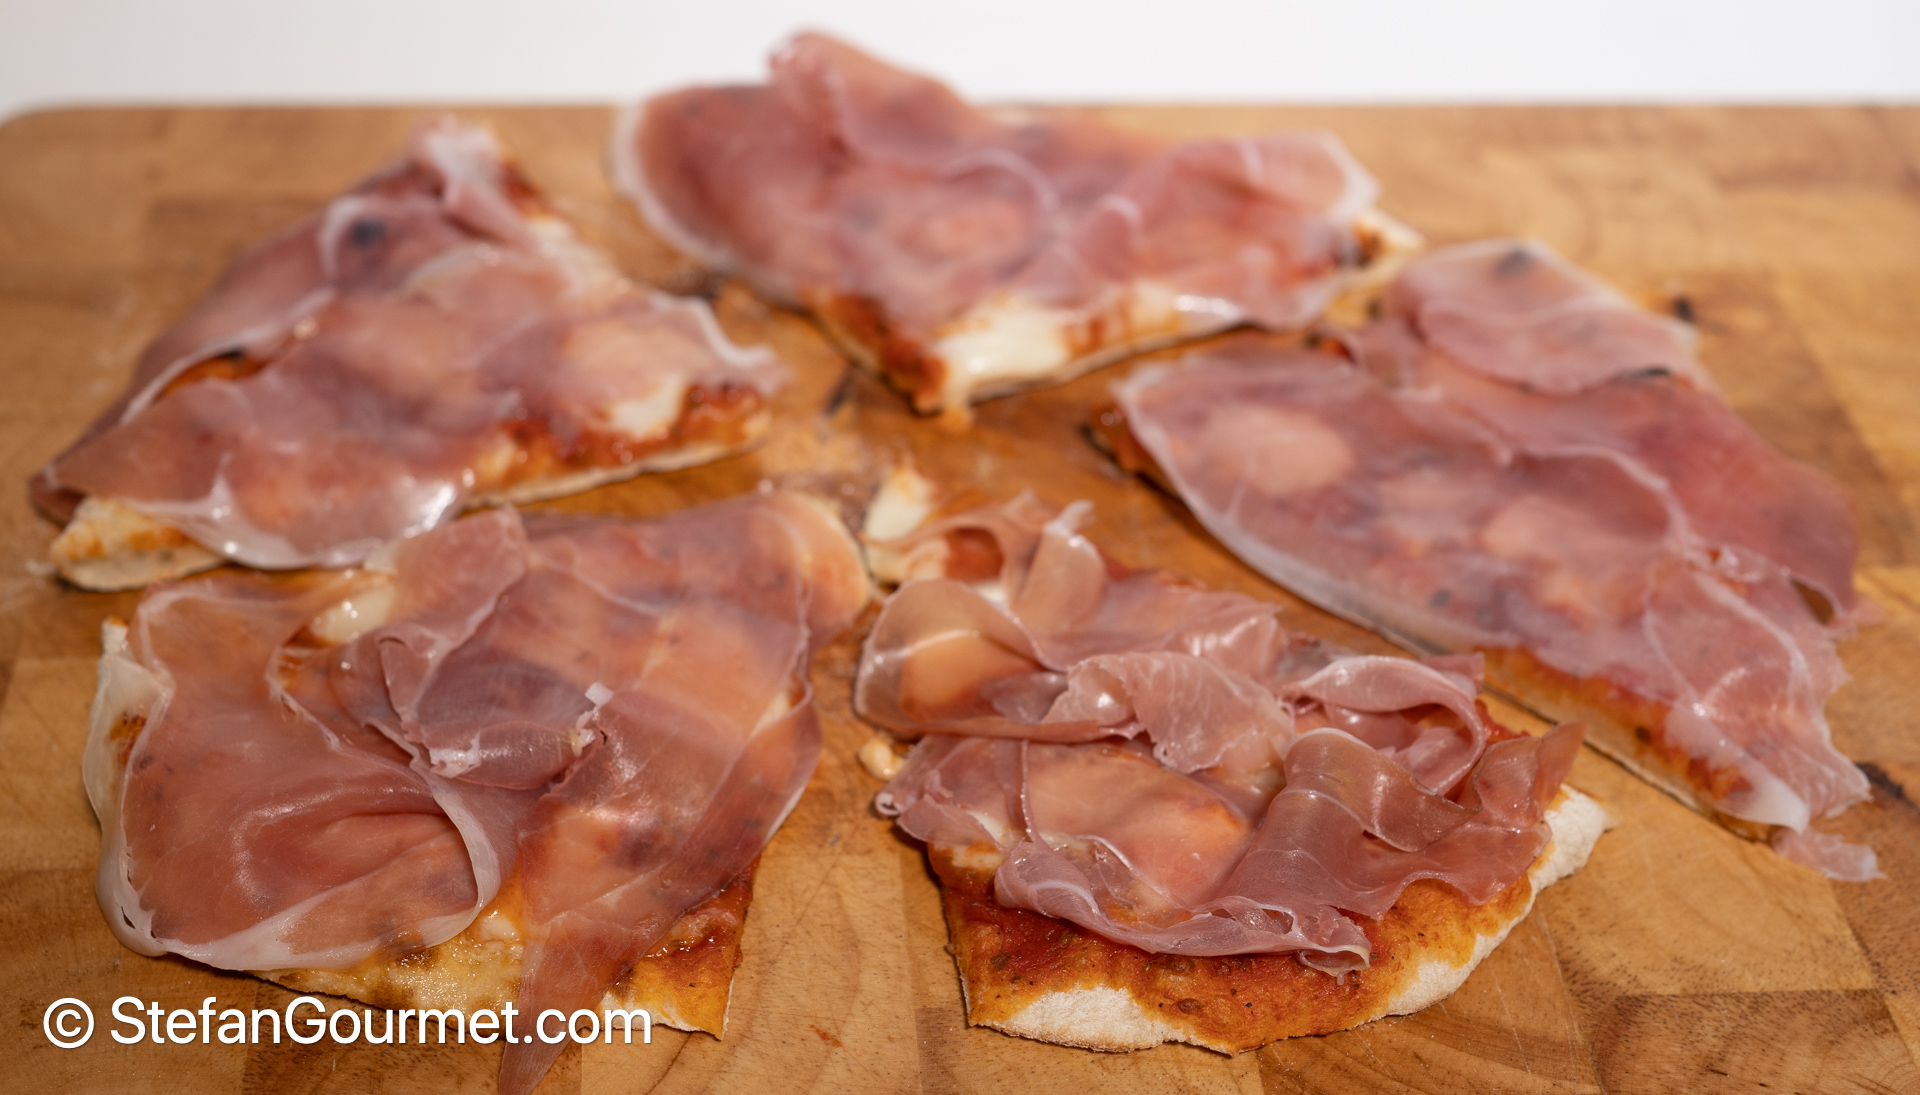
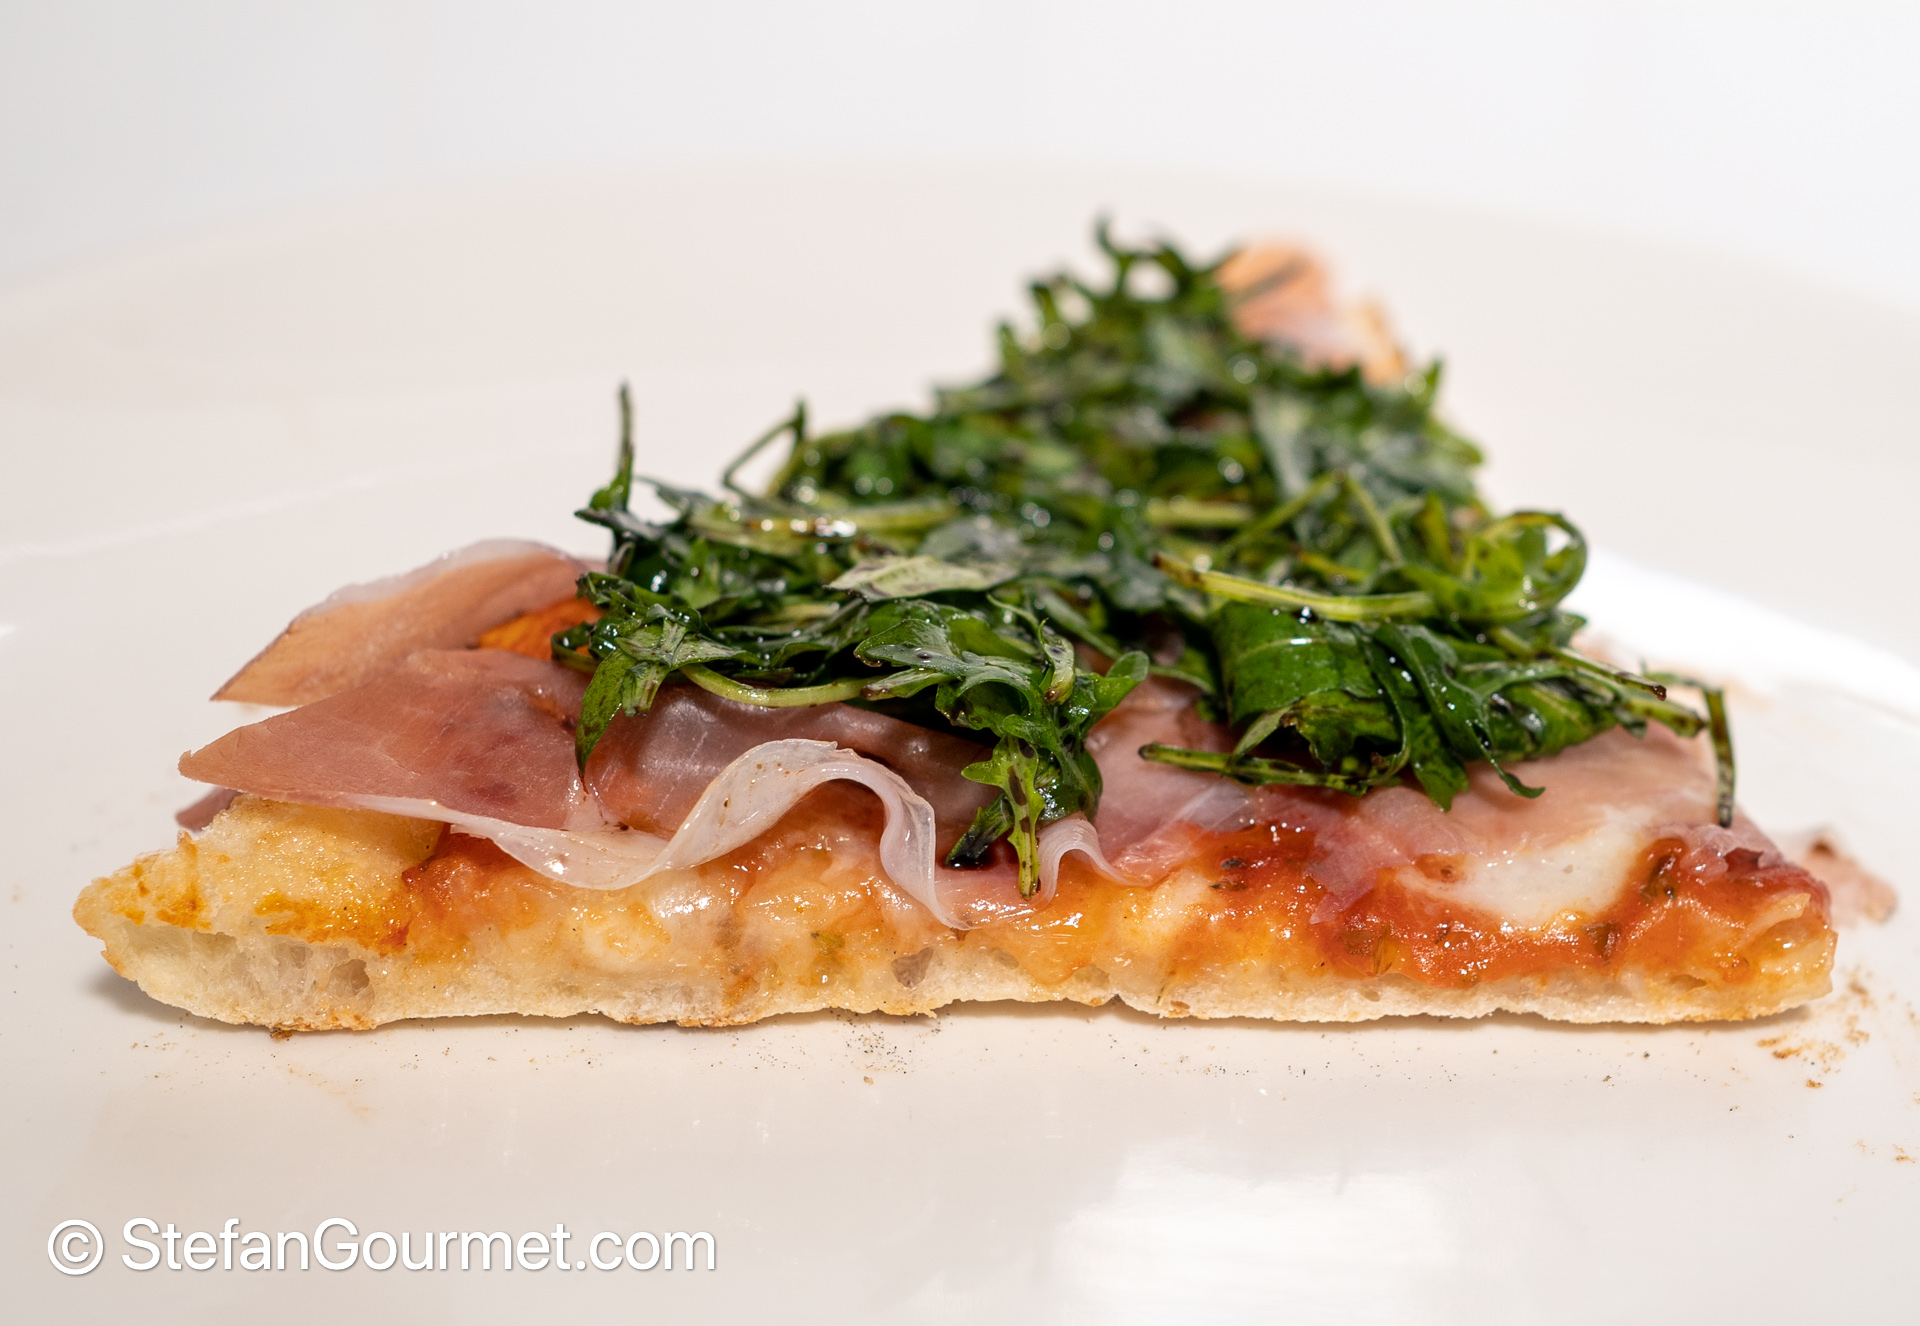
Margherita with prosciutto. The prosciutto is added after baking the pizza, not before.
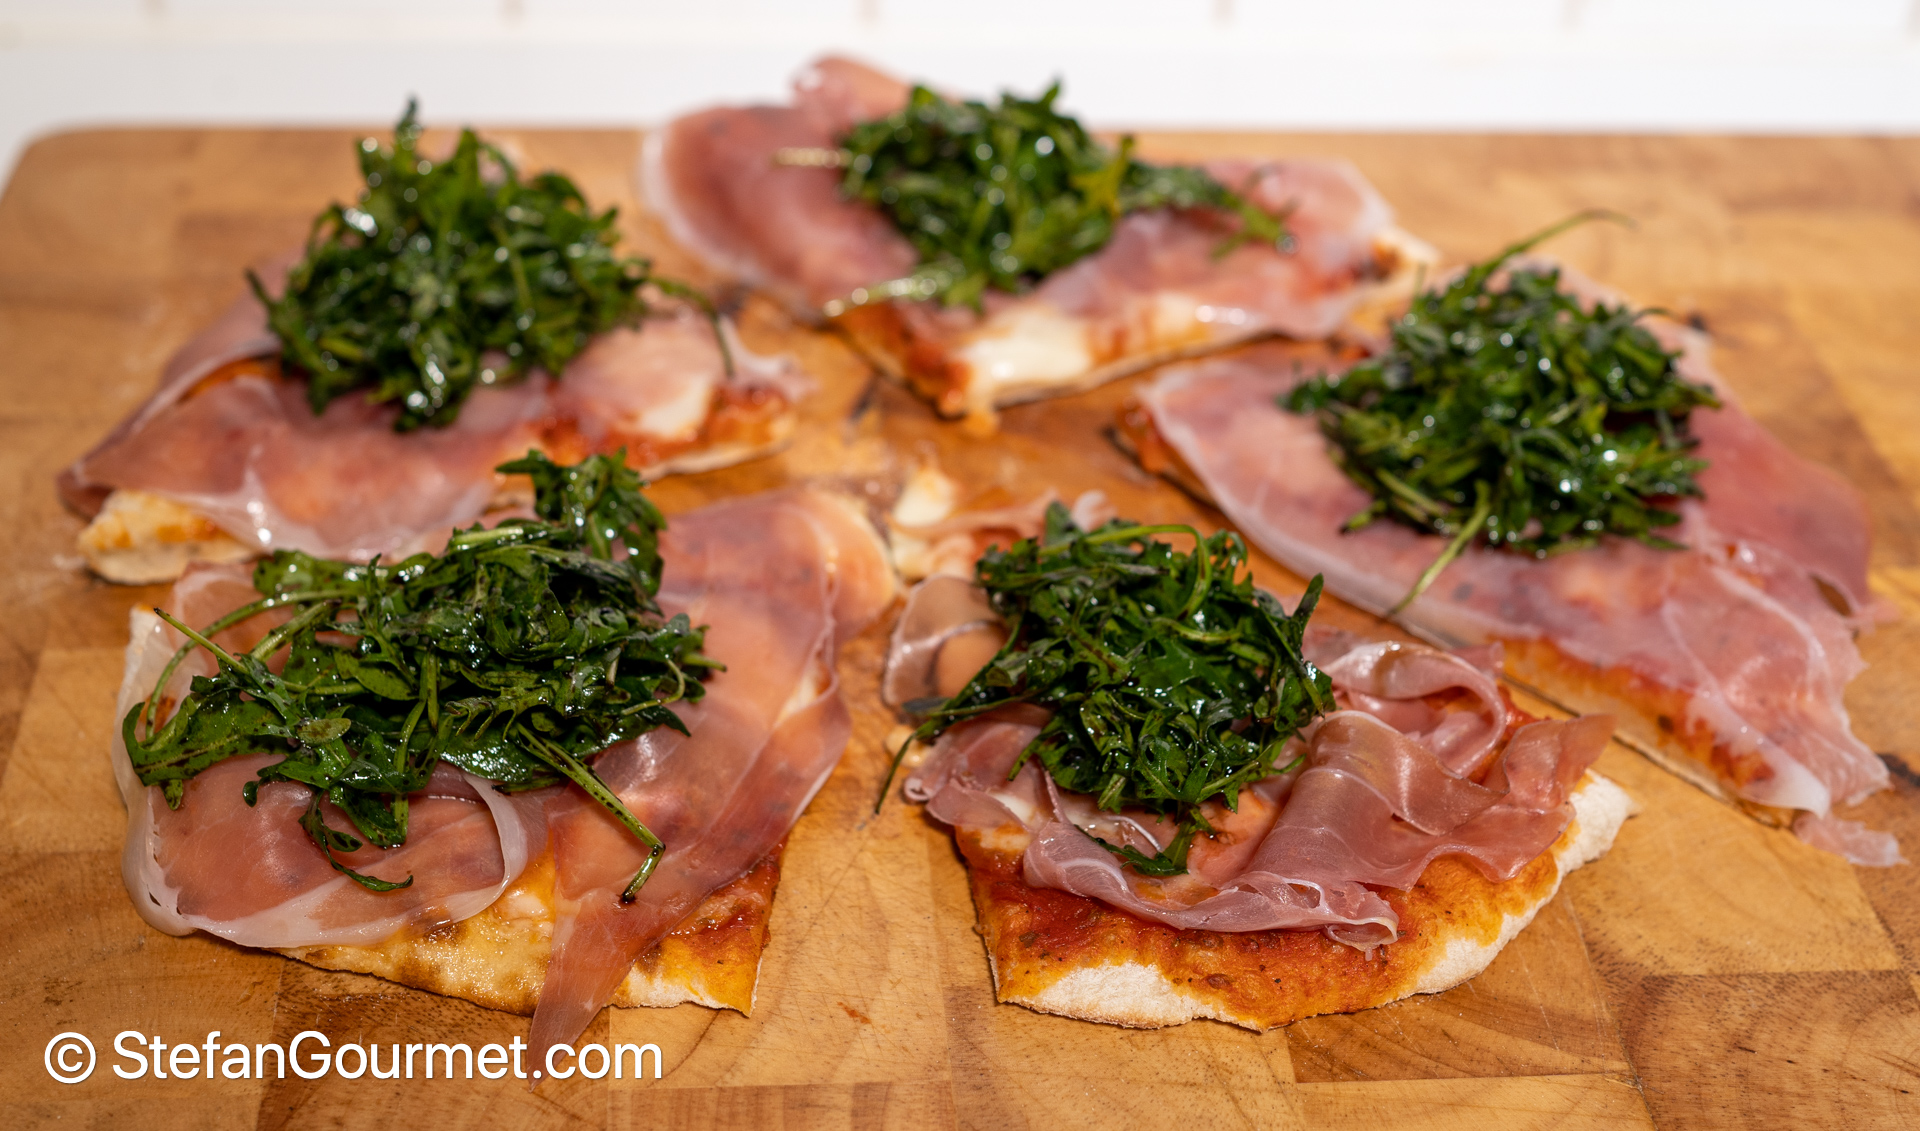
One of my favorites: Margherita with prosciutto and arugula. The arugula is dressed with extra virgin olive oil, balsamic vinegar, and salt.
9. Bake at a high temperature on a pizza steel or pizza stone
The most difficult thing to get right when baking pizza in a home oven is the texture of the crust. You want the crust to be crispy on the outside and soft on the inside. Most home baked pizzas are crunchy all the way through. To be able to achieve crispy on the outside and soft on the inside, you need a lot of heat, so the pizza will cook in 2-4 minutes only.
Air can’t contain a lot of heat and it can’t transfer a lot of heat either. So to bake a pizza in only 2-4 minutes in a home oven, you will need to apply three techniques:
- Preheat the oven for at least 1 hour at the highest setting. My oven goes up to 300C/575F. If the oven has been preheated for a long time, it will maintain its temperature better when the door is opened.
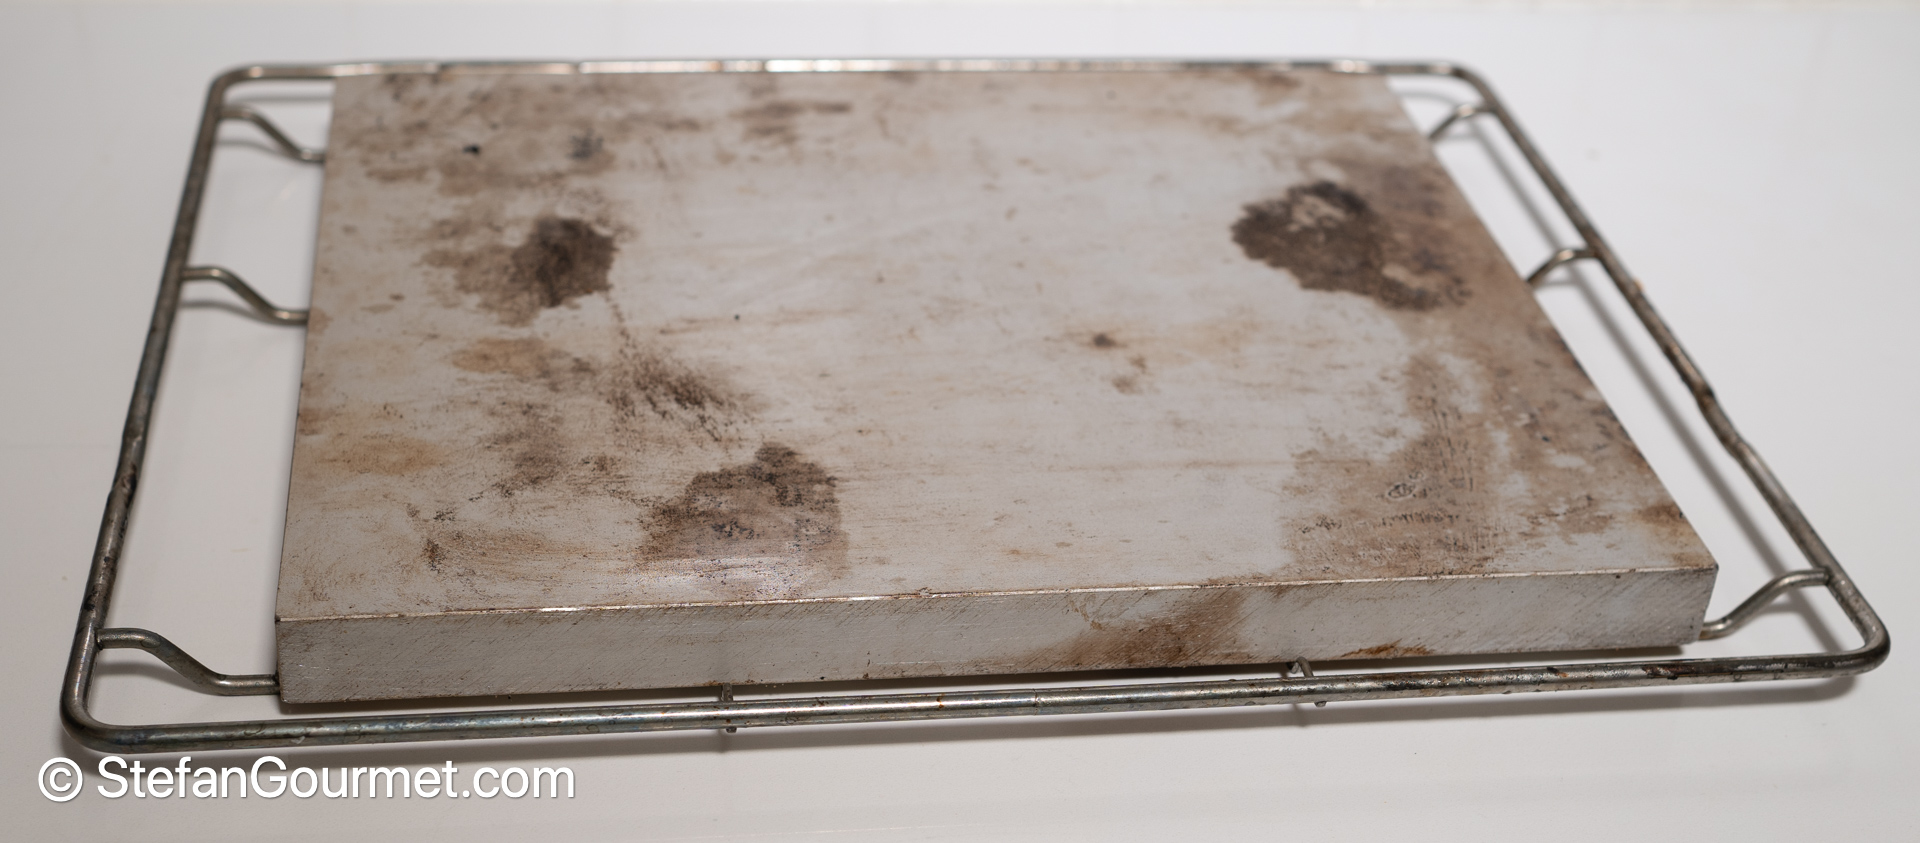
- Use a pizza steel or pizza stone and preheat it. I us a thick aluminum pizza steel that was custom made to fit into my oven. A pizza steel can store a lot of heat and it can transfer it quickly to the pizza (aluminium or steel will transfer it more quickly than a stone).
- Use the broiler setting in the oven for strong radiant heat, see below.
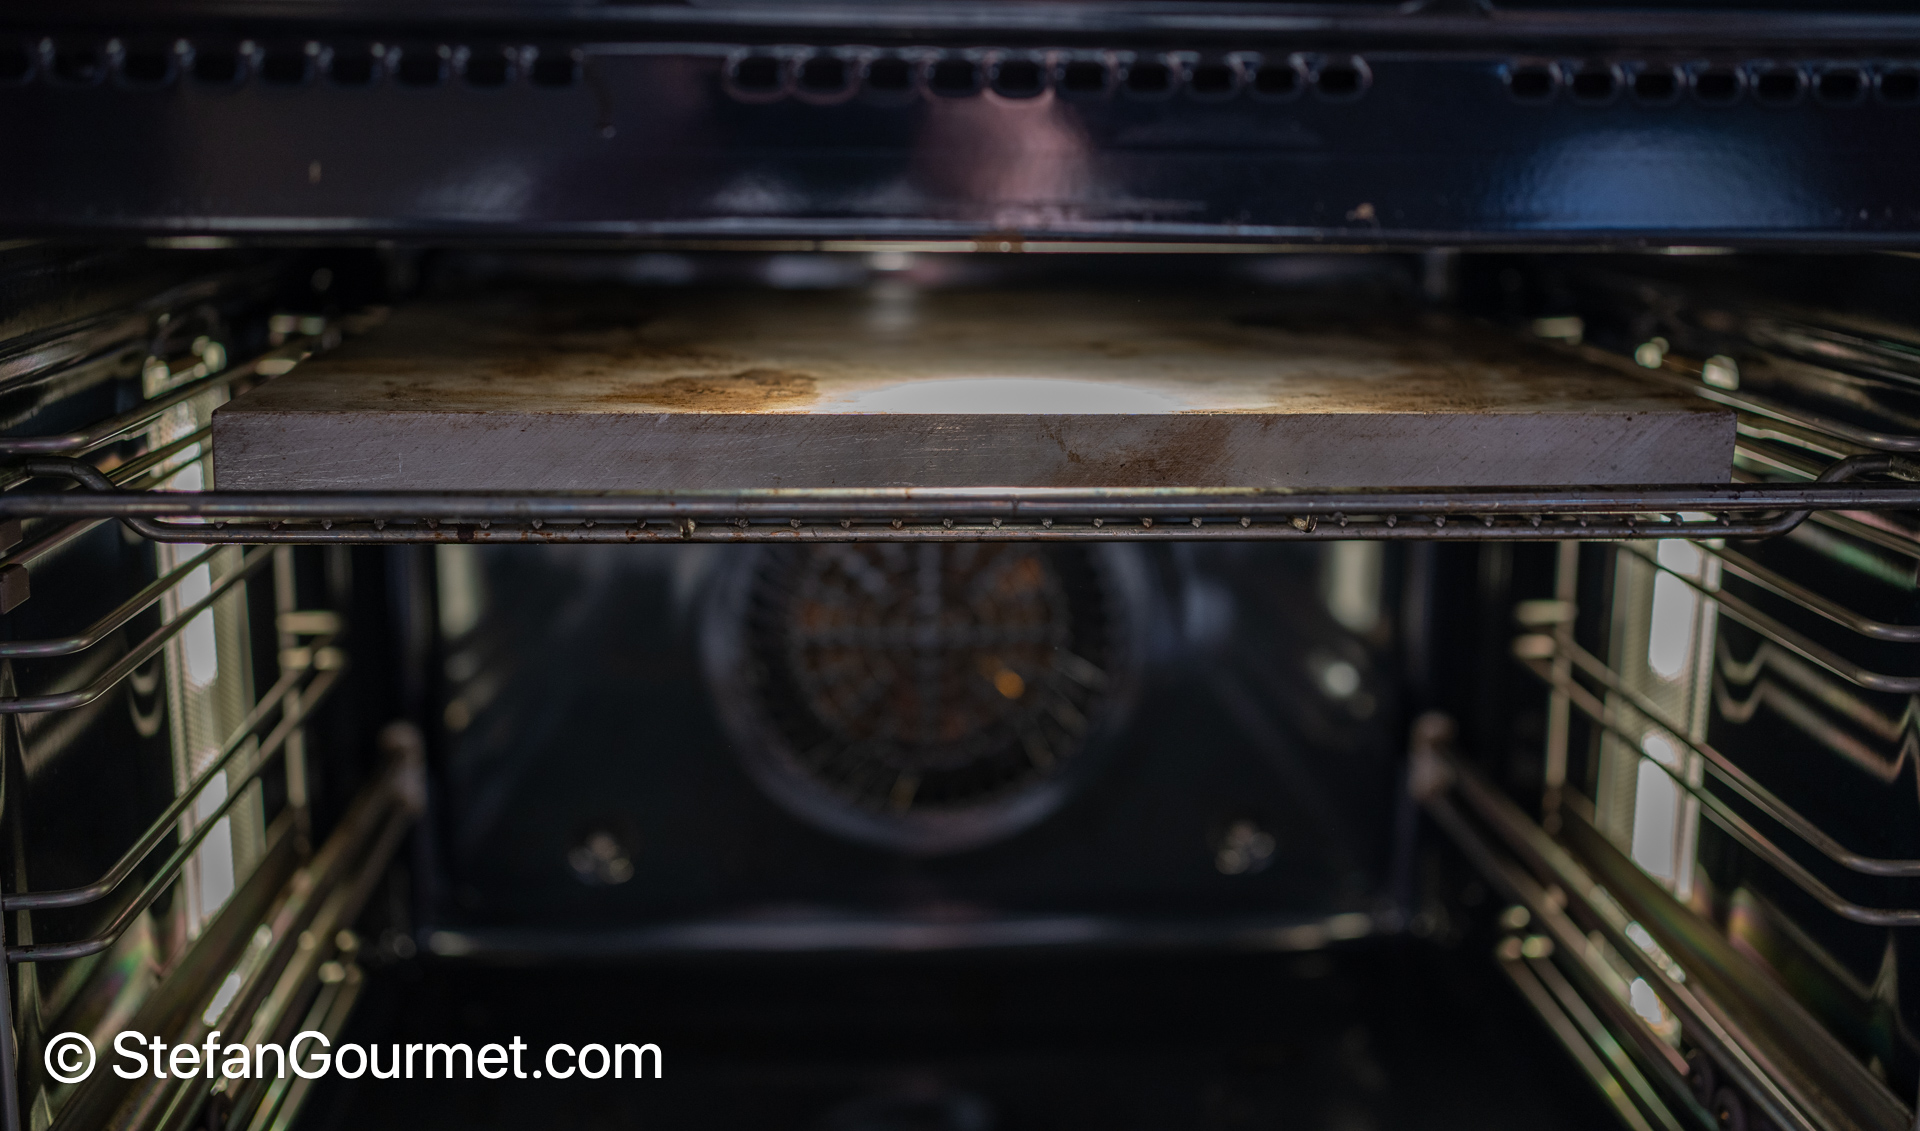
Place the pizza steel close to the broiler element, at about 5 centimeters (2 inches). Turn on the broiler 5-10 minutes before you plan to put in the pizza. The broiler will switch on and off. Try to figure out the on/off-cycle of your broiler, and try to put in the pizza when the broiler is switched on.
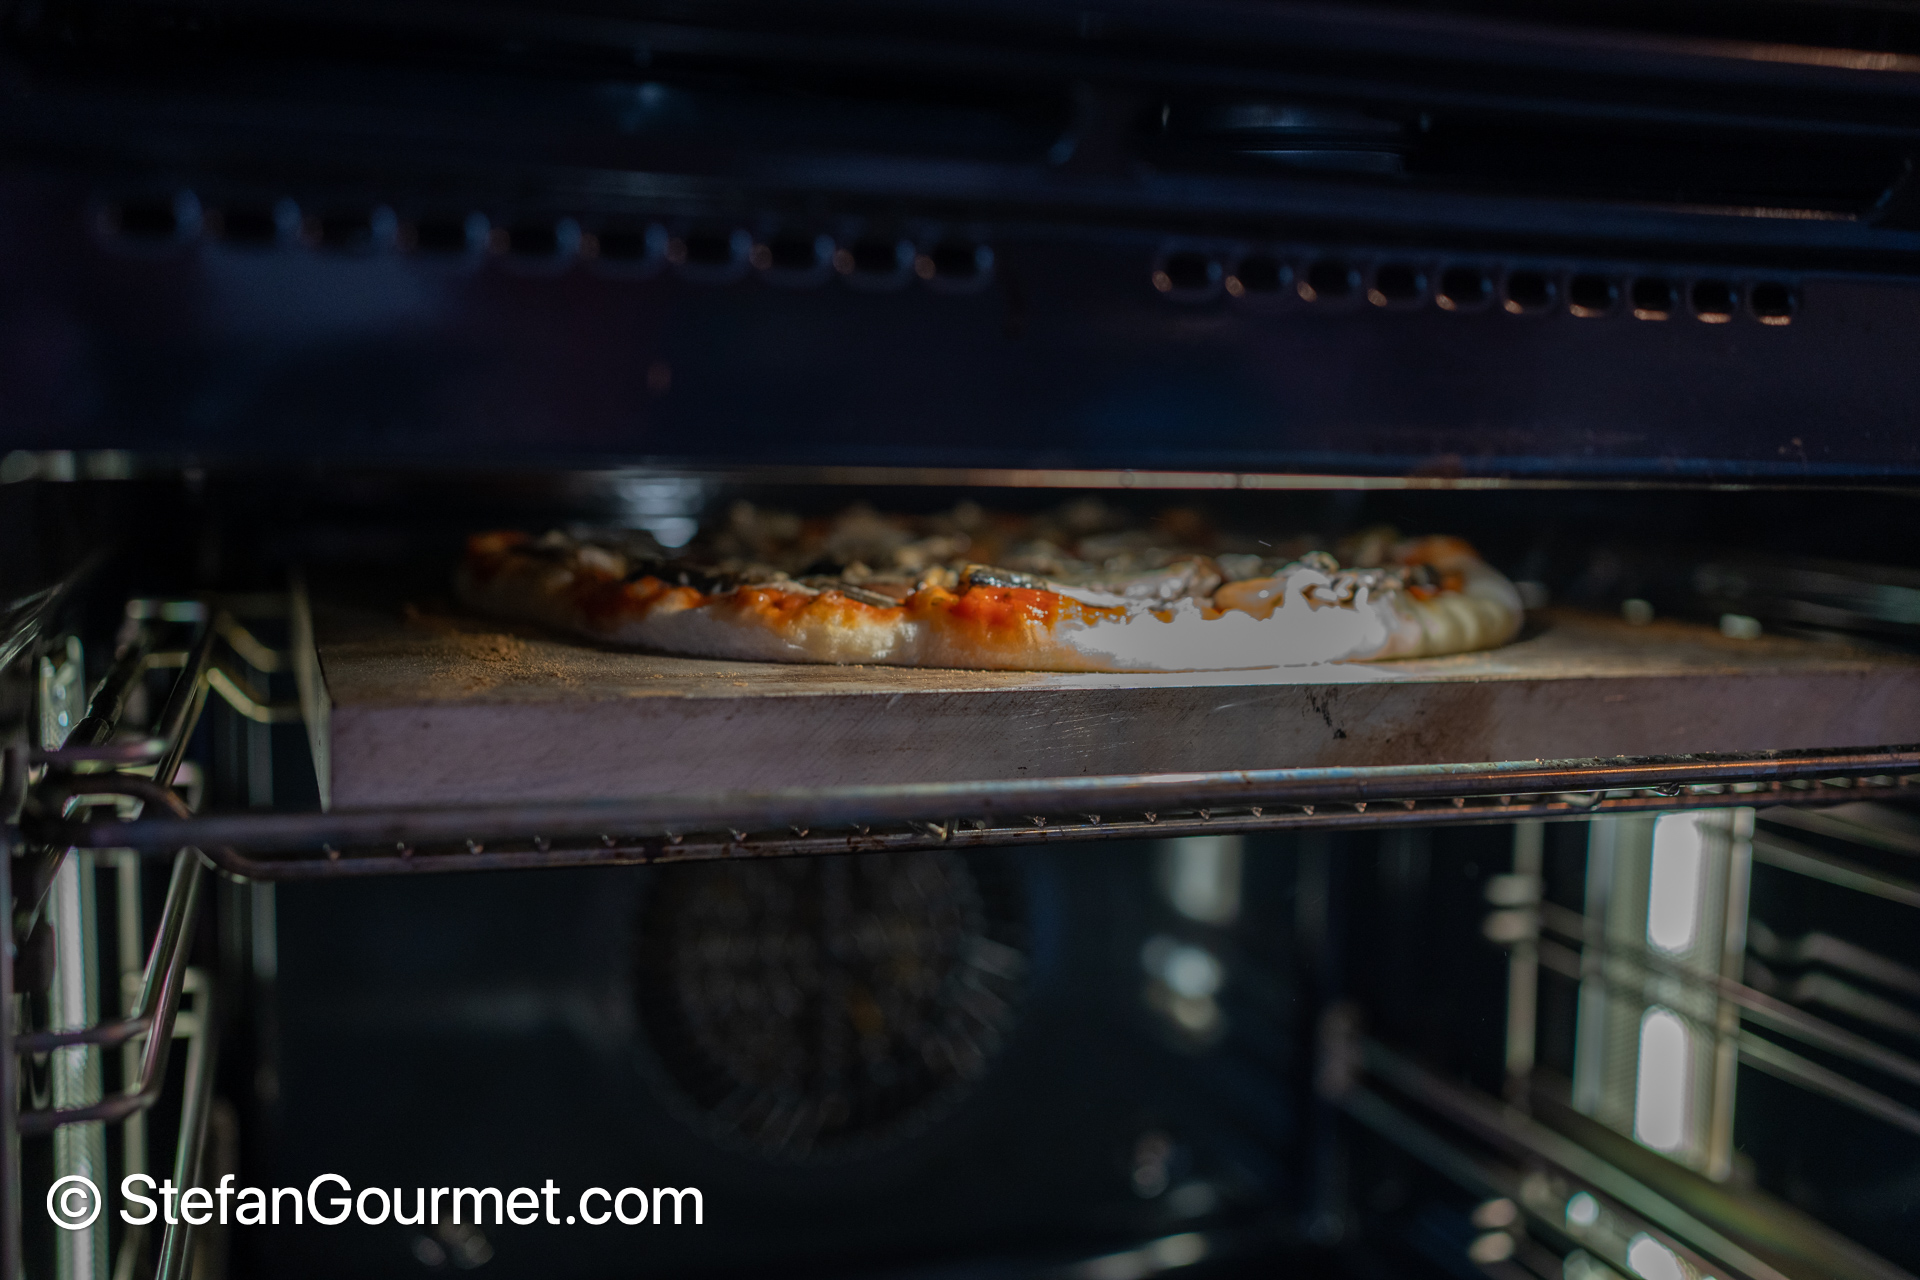
The combination of the heat from the pizza steel below and the radiant heat from the broiling element above will cook the pizza in 2 to 4 minutes.
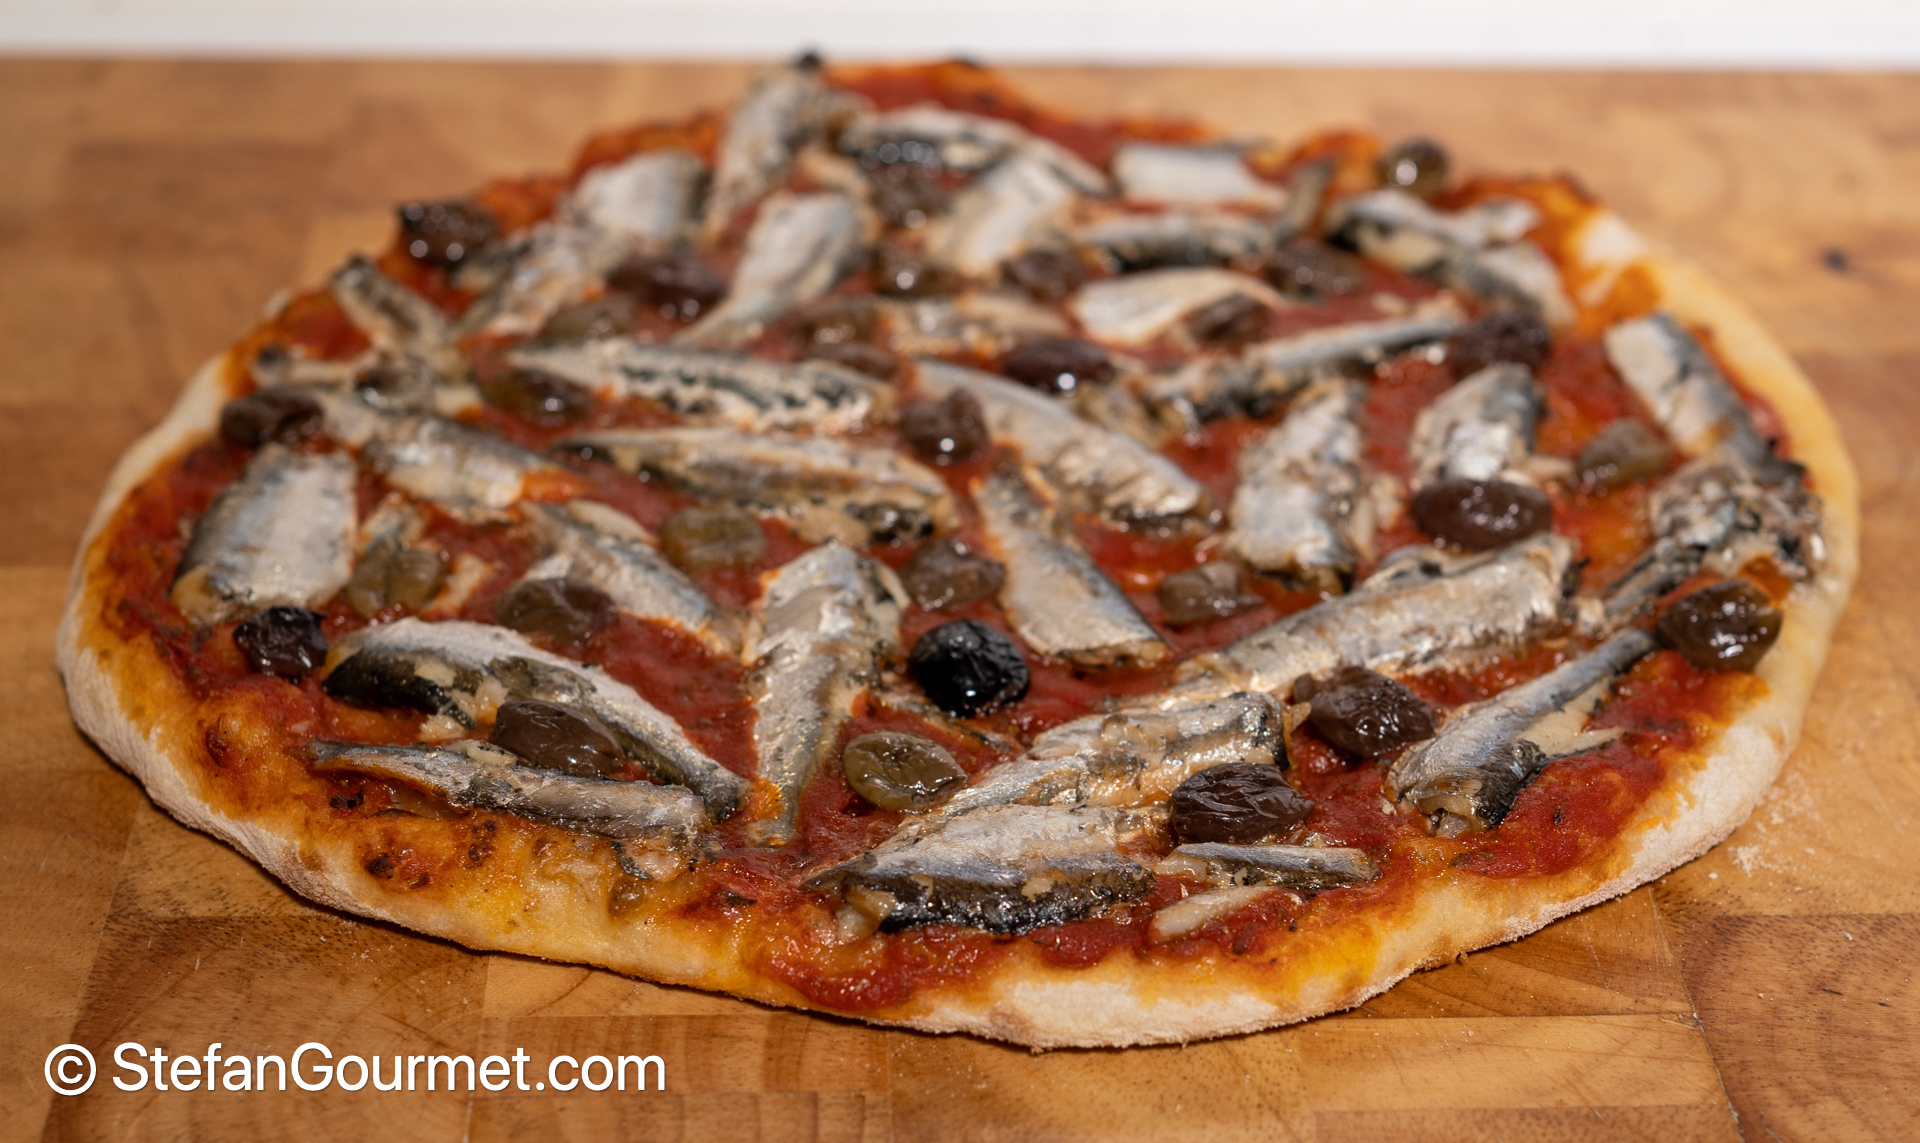
The pizza is ready when it is slightly charred. On the bottom you should see small golden brown spots.
You can only bake one pizza at a time. When you take out a pizza, put the oven back to preheat at the highest setting. Then cut the pizza into slices (as many slices as there are people) and serve. When you have finished eating, switch on the broiler while you roll out and prepare the next pizza. This way, the oven and the pizza steel will be able to reheat and be ready for the next pizza. If you were to bake the pizzas directly after each other, the pizza steel and oven would cool off too much.
10. Sprinkle the edge of the peel with flour

As mentioned before, the surface on which you roll out the pizza and then add toppings, should be sprinkled with flour. You will need a pizza peel (shovel) to transfer the pizza from the work surface to the hot pizza steel in the oven.
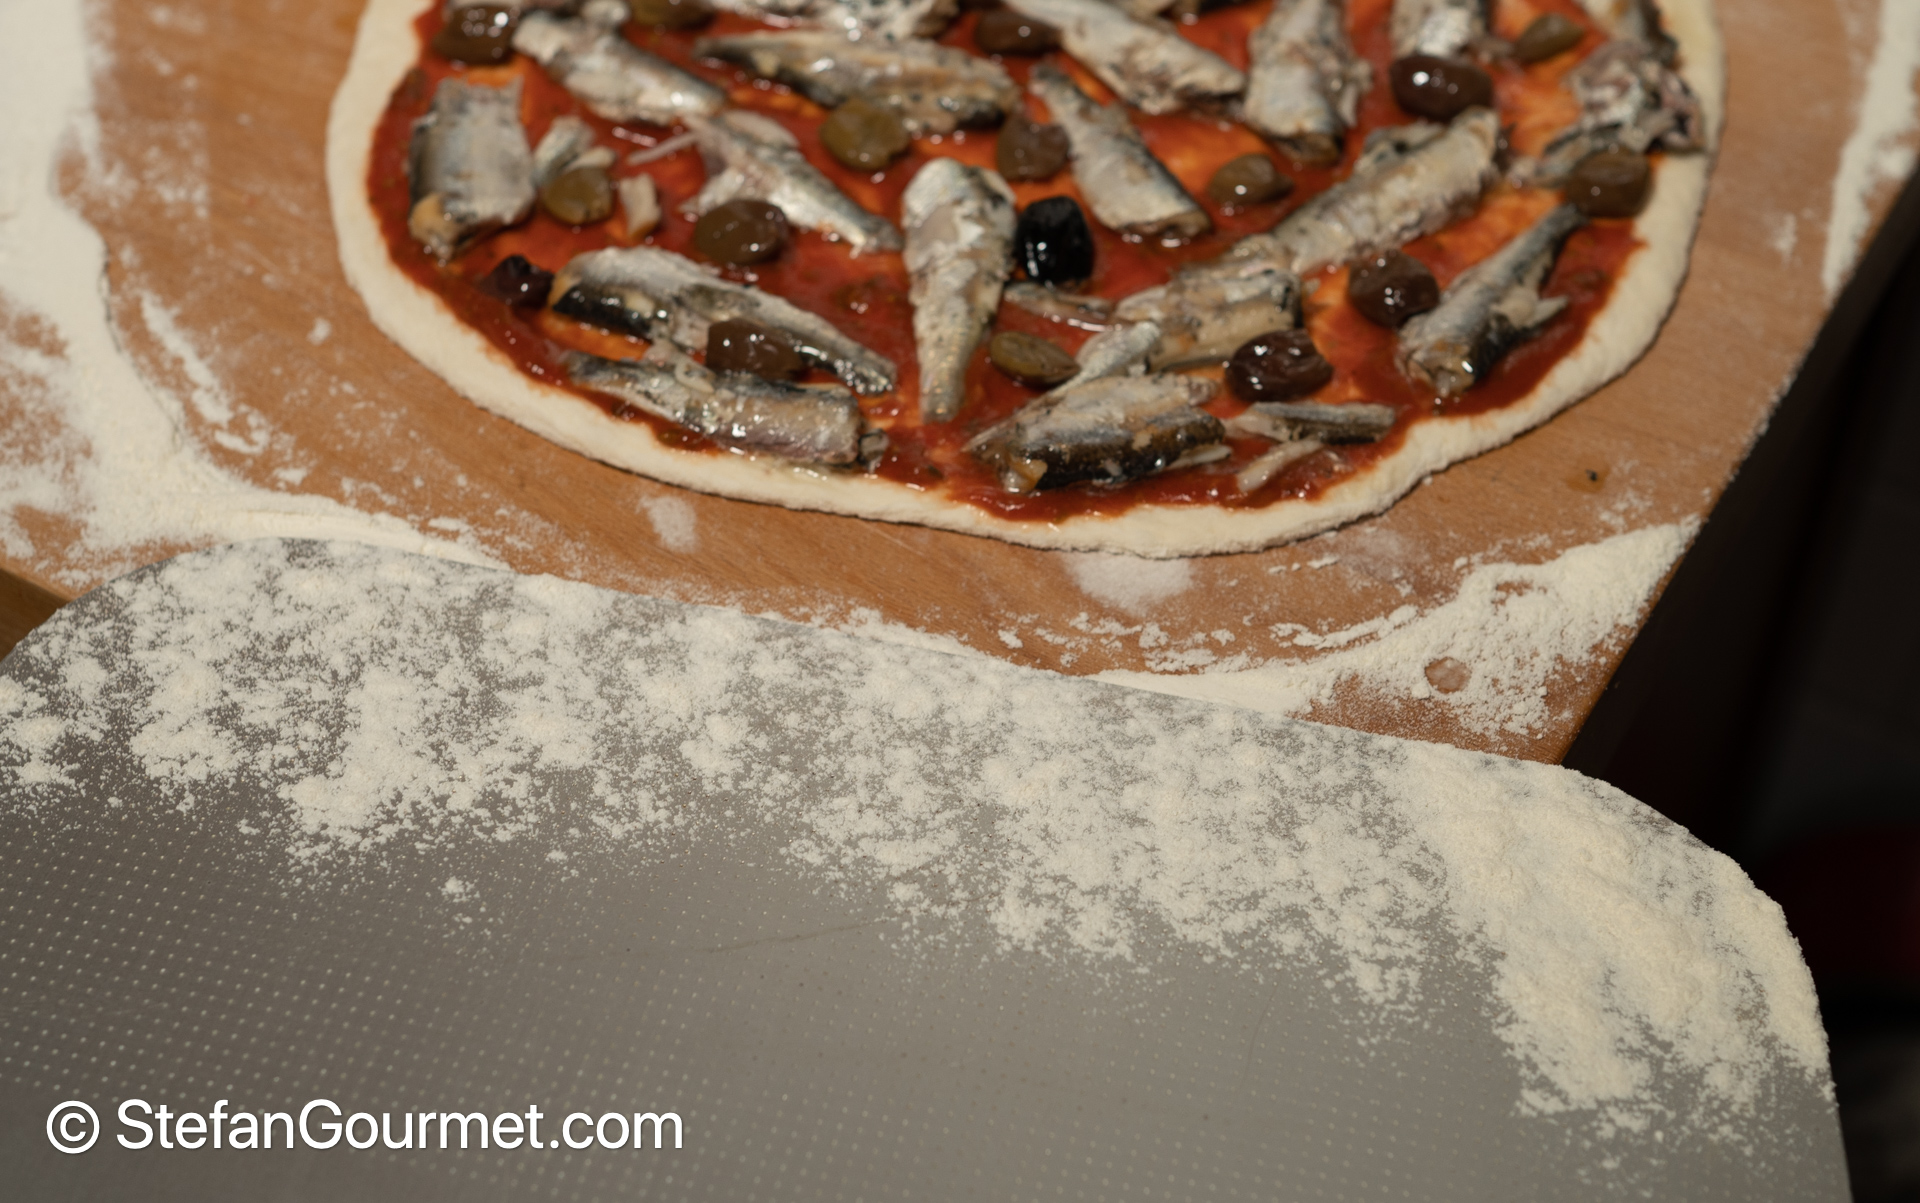
If you sprinkle just the edge of the pizza peel with flour, it is easier to pick up the pizza from the work surface with the peel. Insert the peel partway under the pizza, and use abrupt movements to insert it further. This takes some practice and it is easier if there are less toppings on the pizza.
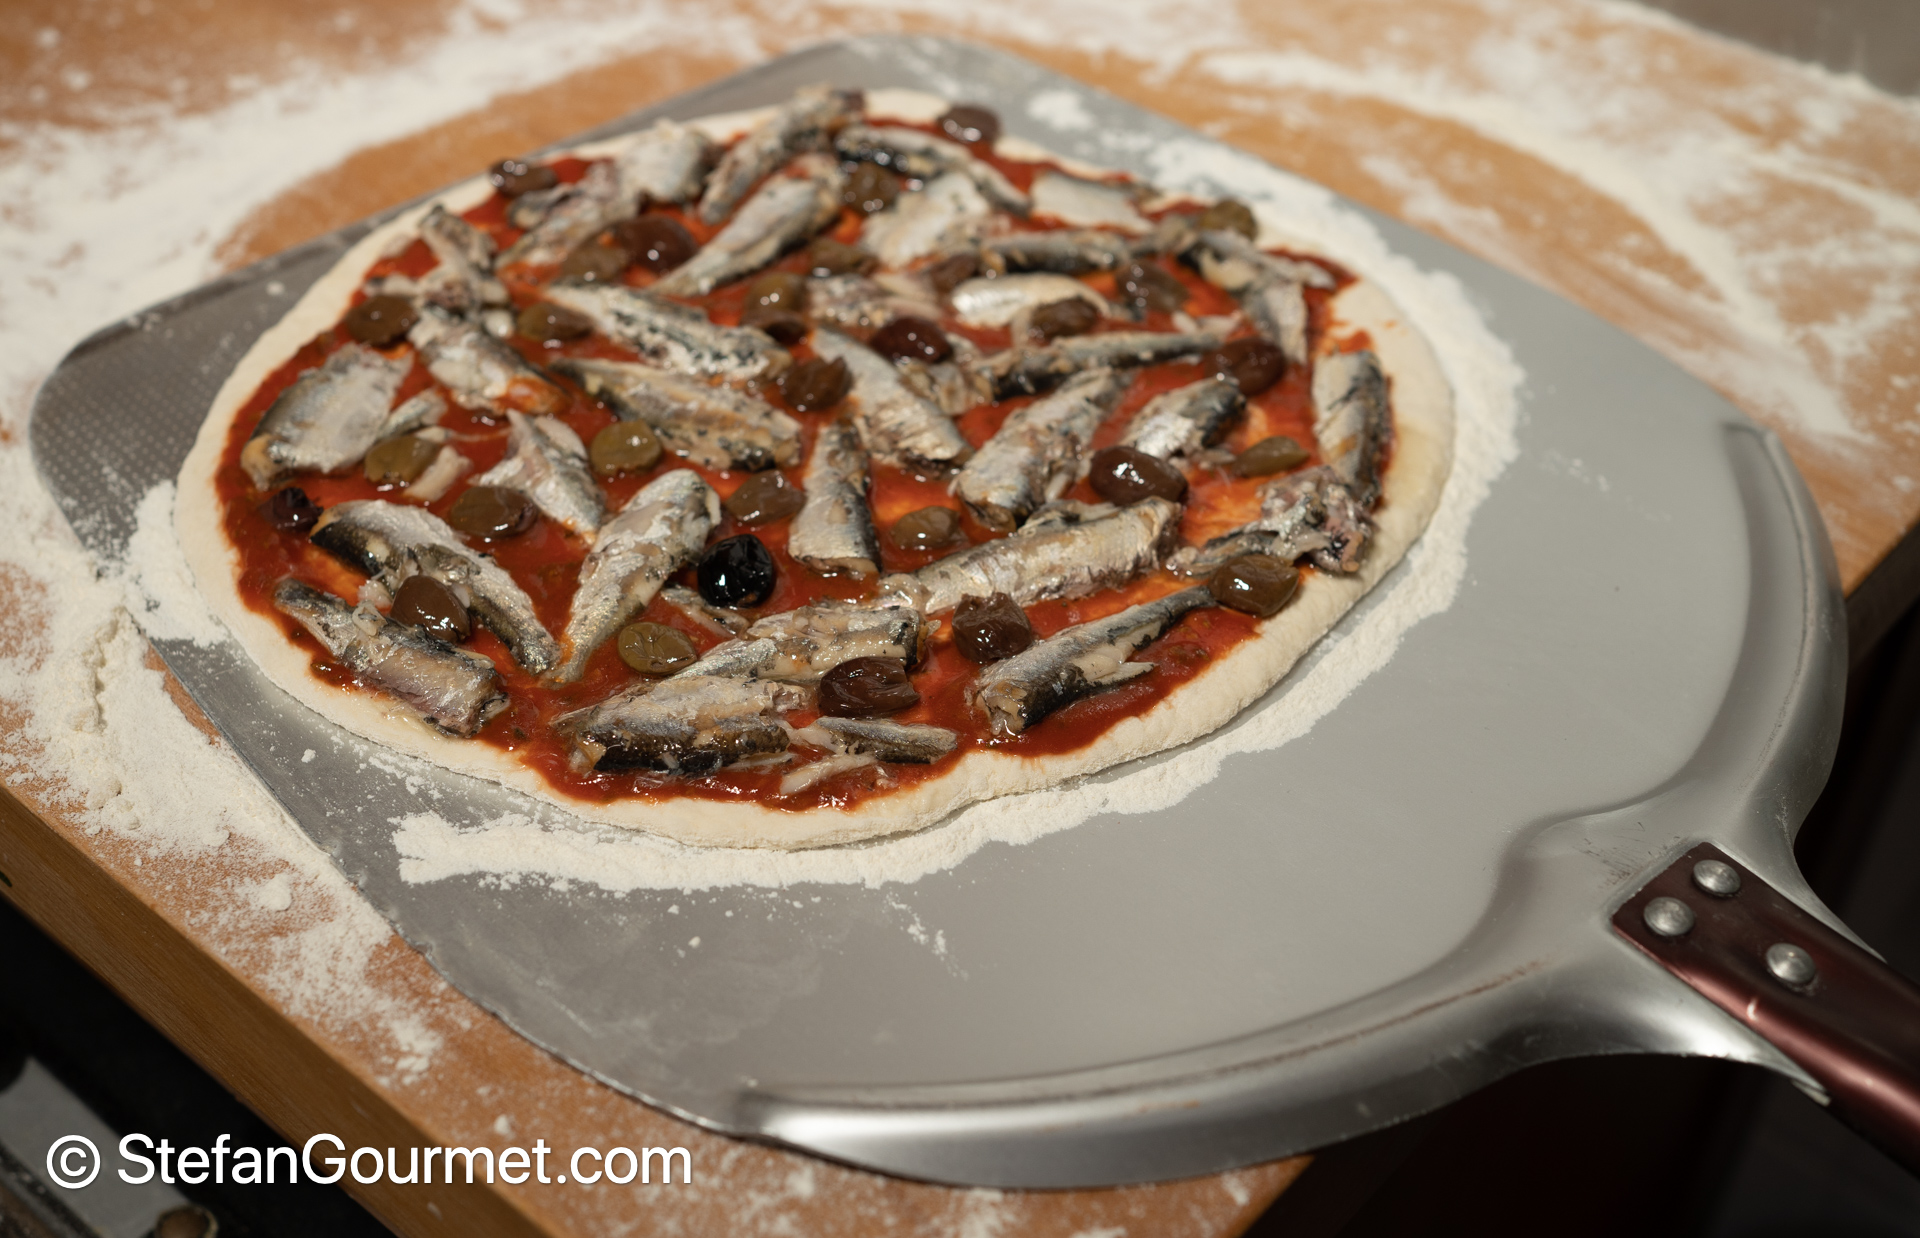
Once the pizza is completely on the peel, you can transfer it to the oven. You can also use the peel to get the pizza out of the oven once it is cooked.


Excellent tips Stefan thank you!! Love homemade pizza!
LikeLiked by 1 person
Nice ideas Stefan. We like our own better than from the pizza shop(s) nearby.
At home, I use a simple thin floor tile (~1€) instead of a pizza stone. Actually 2 will fit on the oven rack. We only do two thin crust free-form like the French do, one for each of us. I do set the oven to max temp to preheat but not for an hour. Maybe 20 minutes after preheat hits mark. The thin tiles heat much faster than thick and more costly pizza stones. Our oven can both heat and broil at the same time. Usually do not use the broiler. Pizza is done in 3-5 minutes or with broiler 2 minutes.
LikeLiked by 1 person
Do not have time to make pizzas too often but prefer homemade above store bought any day – anyway 50 lms is too far to drive for one 🙂 ! Have to study your tips . . . do have a pizza stone . . . have not heated my oven for anywhere close to an hour . . . . Must say have never made a pizza with tinned sardines and olives: one idea I’ll certainly copy, thanks !!!
LikeLiked by 1 person
some good points here, Stef. …. It would be interesting to see how the Modernist crew can support their claim that Italian-American immigrants’ pizza influenced pizza making in Italy: I will look it up, because it is a theory I have never heard of. You are right: no real definition of pizza, unless one is making Neapolitan pizza that has a precise rules. I did a professional pizza course in Italy (geared for the industry): we would use canned plum tomatoes only , passed through a muli, passata was regarded too thick (I feel the same for home pizza, where, often cooking time are longer) and it is really never used in italian pizzerie; it was always fresh yeast: I use both and for a long time I thought they performed the same, now, If I can, I favour fresh yeast because I feel the dough is better, more bouncy.
I often first cook the base on the floor of the oven and then I transfer it onto the stone, placed in the upper third section of the oven, with the grill on. With a good oven, one gets decent/good results. However, I feel that in a domestic oven, tray pizza is generally a safer and better option.Having said all this, I like them all. Thanks for this detailed post, which I am sure it will be useful for many.
LikeLiked by 2 people
Hi Stefano, I just remembered I never responded to your interesting comment.
It had never occurred to me to regard canned pelati pressed through a foodmill as something differrent than passata.
According to Modernist Cuisine there is no difference between using fresh yeast and using instant yeast. I have used both but not side by side. In my oven with my pizza steel the thin version is much better than a tray pizza, but I agree that a tray pizza is a safer option for those that do not own such equipment or have less experience.
LikeLike
Hi Stef…
Yup..passata and canned tomatoes are different. On dry and fresh: I used to think the same but I know feel fresh is better, but I have not compared them side by side. Has MC compared them side by side? I suspect many US baking book use dry yeast because fresh yeast is difficult to find there. I have never seen any professional Italian pizzaiolo use dry yeast (apart from Gabriele Bonci many years ago for his tray pizza – but he has changed his recipe few times)
Stefano
LikeLiked by 1 person
MC just states that you’d be hard-pressed to distinguish one from the other in terms of the yeast used.
They advocate instant yeast because of the convenience and reliability. My local supermarket carries fresh yeast, but it is perishable and because I didn’t notice a difference I’ve switched back to instant yeast.
LikeLike
I believe that eventuall… whatever works for you, that’s the way to go… I started my baking career with dry yeast, then I went onto instant dry and now– I am back to fresh yeast, if possible.. .full circle.. and that’s because I can feel a difference in the dough.
Maybe it is also just traditional: as i said, pizza is generally made with fresh yeast in Italy
LikeLiked by 1 person
è perfetta! Un applauso 🙂
LikeLiked by 1 person
What a great tutorial! My husband and I prefer thicker crusts, but that’s just personal preference. The only difference for me is that I use cornmeal on the stone instead of flour. But maybe that’s because my pizza peel is wooden, and not think like yours. Now i want pizza.
LikeLiked by 1 person
Stefan,
Love your cooking tips on everything! My favorite pizza is similar to yours, except that it includes gorgonzola and an egg in the middle. Also, the prosciutto should be cooked to soften it up. The arugula should begin to soften. Otherwise, 5 stars!
LikeLiked by 1 person
Excellent tutorial… Thank you so much, Stefan! I’m looking forward to employing several of your techniques in order to improve my pizza-making skills.
LikeLiked by 1 person